I send SO many thank you cards this time of year, so I thought I would make a set with some LDRS Creative Stamps. These cards can be easily mass produced and work fabulously for last minute gifts, too!
This love how bright and happy these cards are! And I was able to make them quickly and use up some of my colored cardstock! I cut down five pieces of white cardstock to A2 size (4.25" x 5.5") and used the gridlines on the Rectangle Spotlight 6x6 Stencil to line up the rectangle in the center of the panel.
I removed the stencil, cleaned it, and positioned it over a second piece of white cardstock. This time I blended In Your Face Hybrid Ink and Dan-D-Lion Hybrid Ink over the stencil.
My last color combination is Grape Ape Hybrid Ink and La La Lavender Hybrid Ink. Remember to clean your stencil in between each color combination so that you don't have ink cross contamination! If you wanted to save more time you could just use one color combination and save yourself the time of cleaning your stencil between each panel.
I chose a pretty image from the Floral Silhouette 4x6 Stamps and positioned it in the center of each of the rectangles and placed the sentiment from the Thank You Flowers 4x6 Stamps beneath the ink blended rectangle. I used Raven Hybrid Ink and stamped the same image on all five panels. I cut them down to 4"x 5.5" and used foam tape to pop them up onto coordinating colored card bases. If you don't want that extra pop of color you could stamp and ink blend directly onto white card bases. That's it! I'll see you again soon!
I'm gearing up for the Holidays and my mass production ideas are in full swing! I love to make simple cards and add a touch of something special, so I used the LDRS Creative Gingham Check Stencils to make a glittery set of Holiday cards!
I sprayed the back of the second layer of the Gingham Check Stencils with a temporary adhesive and added it on top of one of my ink blended panels. I used a spatula and spread gold glitter gel over the top, removed the stencil, and added the glitter gel onto the two remaining panels.
I trimmed down the ink blended panels to 4" x 5.25" and added them to A2 top-folding card bases and popped up the sentiments near the top center of each card.
That's it! This card design can be easily replicated and is great for mass production for the Holidays! Thanks so much for stopping by!
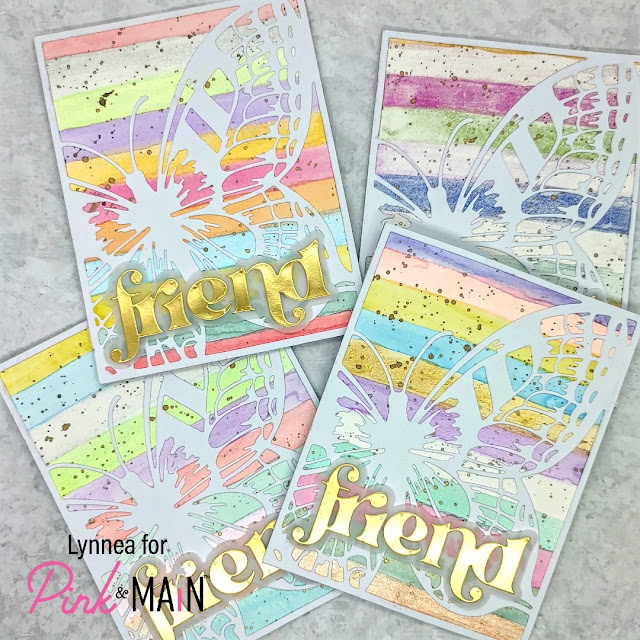
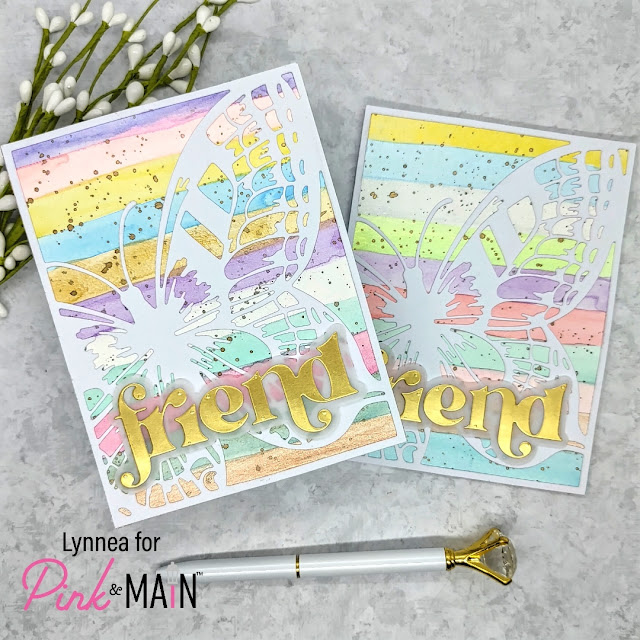
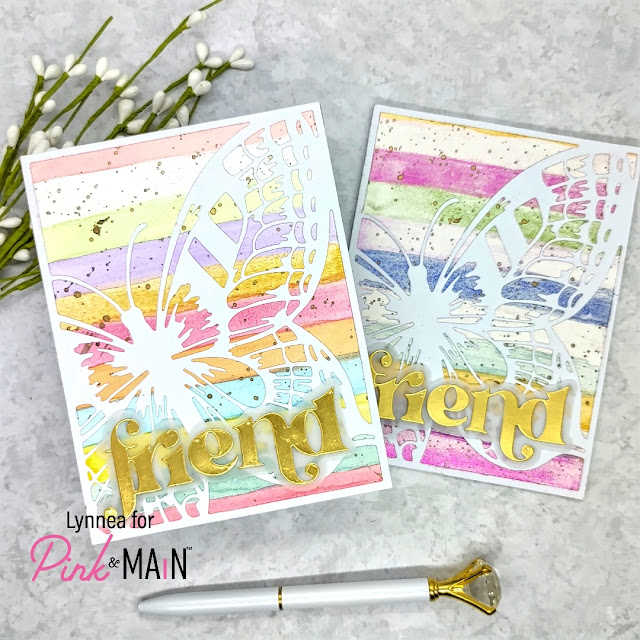
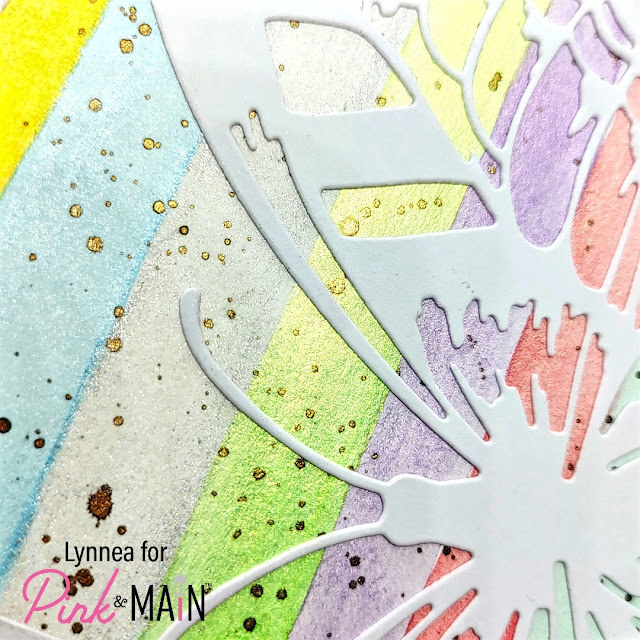
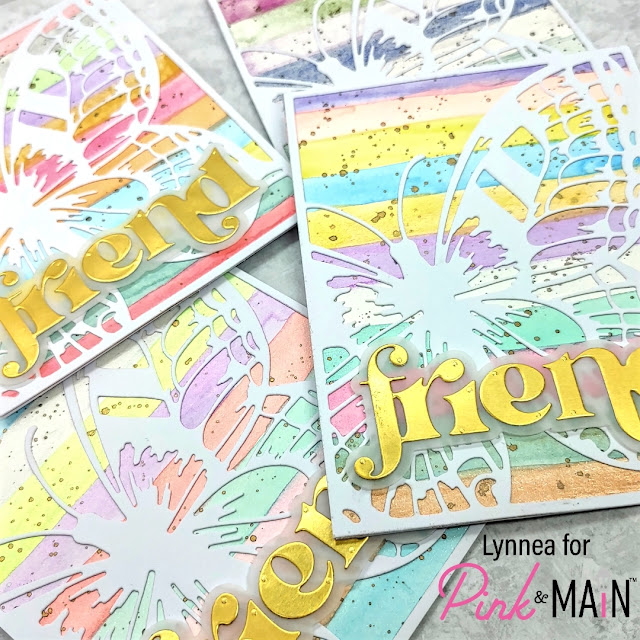
The Bold Butterfly Panel Dies can be used to make a gorgeous layered butterfly, but I decided to overlay only the Bold Butterfly Panel A Die over a watercolored background. This card was so quick to make that I decided to do a whole set. And! You could make this set even quicker if you used one of Pink & Main's gorgeous patterned paper packs!
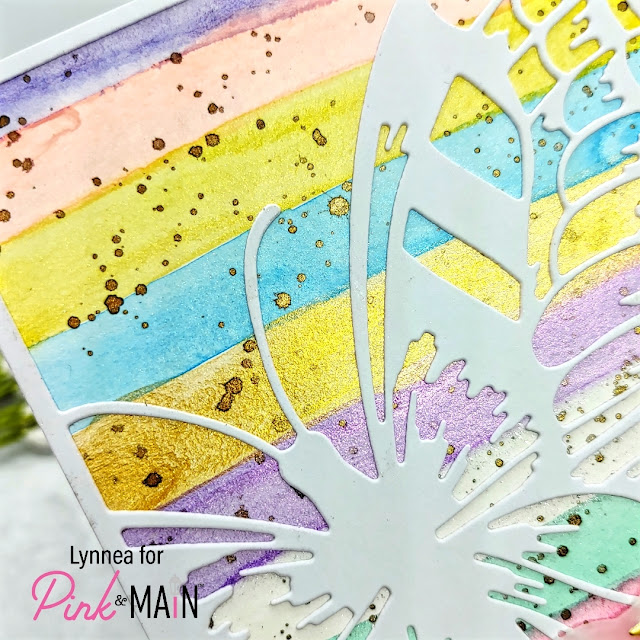
Every now and then I like to pull out my shimmer watercolors and make some backgrounds. For this set I used a bunch of different colors and created some simple striped backgrounds. There's no rhyme or reason to my stripes ... I just followed my heart haha! Then I added some spatters because I love spatters!
I cut out the Bold Butterfly Panel A Die four times from white cardstock and added one on top of each of my striped backgrounds. I love the simplicity! I didn't want to cover up much of the butterfly, so I decided on a simple die cut sentiment. I used the Rainbow Friend Die and cut the sentiments from Gold Foil Cardstock and the shadow from vellum and added them to the bottom of my cards using thin strips of foam tape.
Thanks so much for stopping by today! See you soon!
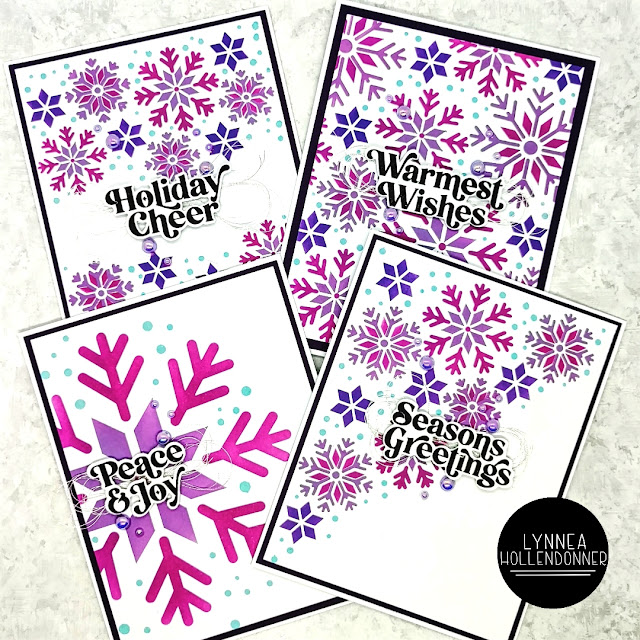
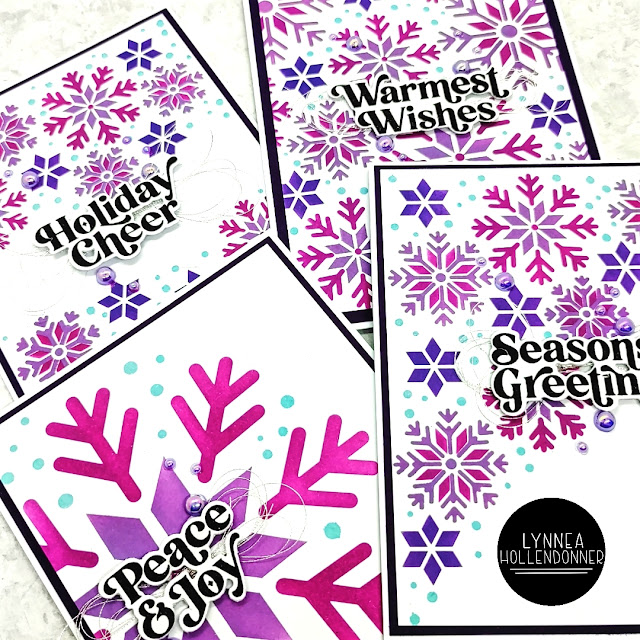
I needed a few last minute Holiday cards before Christmas and the Create in Quads Snowflake Stencils came in handy!
I used a few colors of Distress Oxide Inks and blended four cards at once and finished them off with some purple gems, silver thread, and some Holiday sentiments from my stash.
I am in LOVE with the Create in Quads concept! It makes it so easy to create multiple cards at once!
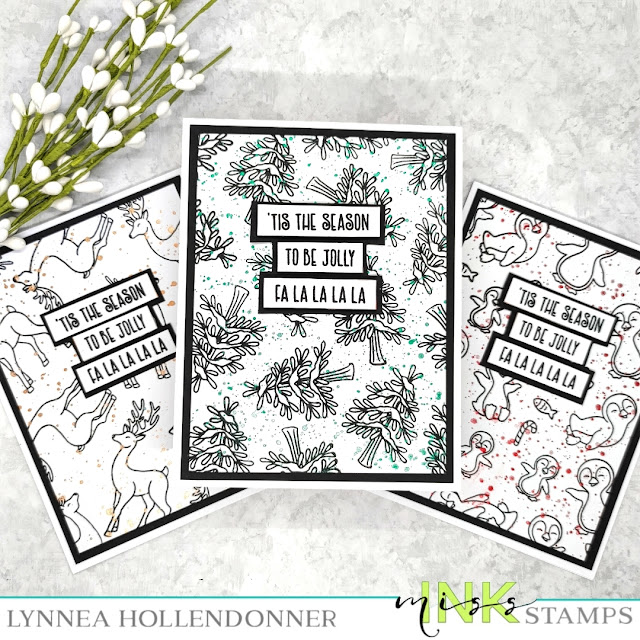
I have another last minute card set to share using a few different stamp sets from Miss Ink Stamps! I am in love with black and white this holiday season - it's just so classy!
You only need a few supplies for cards like these - making this design perfect for beginners or anyone who just wants a quick set of cards!
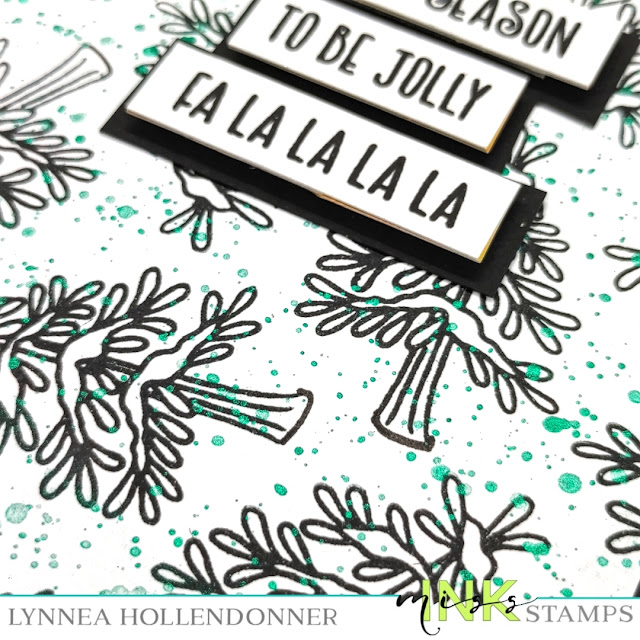
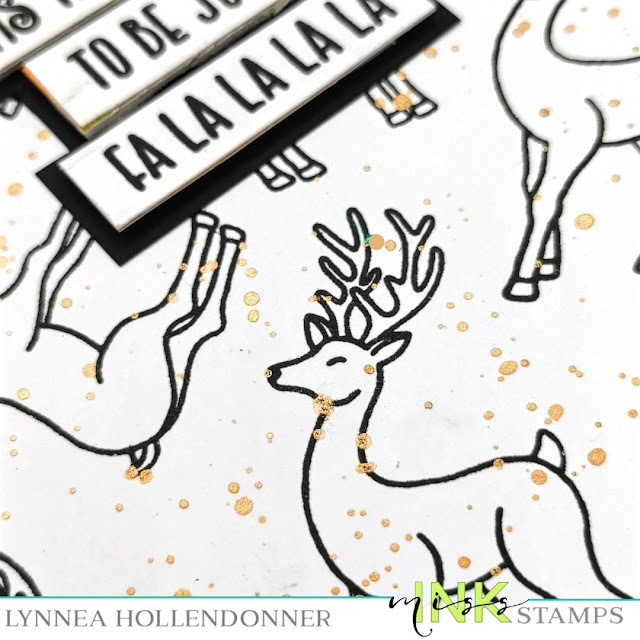
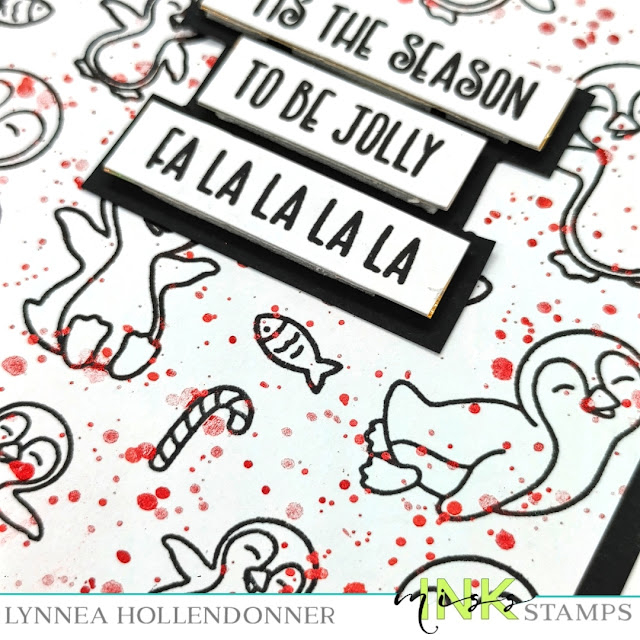
I used a dark black pigment ink to stamp three different backgrounds using the Calm and Bright, Oh Deer!, and Ice Day Stamp Sets. I stamped different images repeatedly across a background turning the images to make them look random.
I wanted to step up my cards a bit and add a pop of color, so I added some shimmer watercolor spatters to each card. I used different colors, but you could speed up the process by using just one.
I stamped sentiment strips from the Season's Greetings Stamp Set and foam mounted them onto black cardstock and trimmed around the strips to create a shadow layer. I trimmed down the stamped panels and matted them onto black cardstock and added those to white card bases. I love how everything is black and white with just a bit of color!
I hope this idea helps you out if you need some last minute Holiday cards! Thanks for joining me!
Tis the season for mass producing! Fa la la la la!! I'm sharing an easy mass produced design using LDRS Creative that's perfect for last minute Holiday cards!
This set of cards took hardly any time to make and each one is different! I used just a few products and whipped them up super quick!
One of the easiest ways to create a quick set of cards is to use patterned paper - and be honest - we all have more than enough of it! Let's use it up! I chose three patterns of paper from the Peace & Joy 6x6 Paper Pack and layered the die-cut coverplate pieces on top with liquid adhesive.
Another way to mass produce cards is to keep the coloring to a minimum. I stamped a sentiment from the Snowflakes & Blizzards Stamp Set and quickly colored int he leaves and berries. I die cut the sentiments with the Elegant Stitched Frames Slimline Die Set as well as a layer of patterned paper for an extra pop of color.
I added the sentiment pieces to my card with thin foam tape so that they would go through the mail easily and that's it! I only made three, but you could make a BUNCH in no time at all! Thanks for joining me!
Pink & Main is kicking off the Holiday season with an Instagram hop full of wonderful ideas for your Holiday card making! I created a set of cards that's great for mass producing!
Just a reminder before we jump in to this set of cards - this project is part of a hop on Instagram! Head there for a fun giveaway!
I wanted to create a set of quick Holiday cards and I share lots of tips for mass producing in my video!
I used the Blizzard Stencil and added Gold Glitz Glitter Gel to five 4-bar sized cards. I love creating simple cards with a touch of something special! It was easy to add the Glitz to a bunch of these cards and it doesn't take long to dry.
I added all of my snowmen and sentiments to the cards with foam tape and that's it! This whole set only took about an hour to make from start to finish!
Hello and happy Friday Frenzy from Whimsy Stamps! Whew, we are just flying through November! Already half way through! That means it's time for another easily mass produced Christmas card design!
When I am creating a card meant to be mass produced I tend to keep coloring to a minimum ( or in this case nonexistent! ) and I find that it's a good time to use up some patterned paper!
Hi! It's Christmas in July with Simon Hurley create. and I don't know about you - but I send more than one card at Christmastime! I send a BUNCH! Clean and simple and easily mass produced cards are just what I need! I used the Brilliant Baubles stamp set and I have some tips for you in my video!
I chose an easy design with minimal stamping and coloring, but I think it really packs a punch! I started with my stamping. I stamped the branch from the Swirly Ferns Peel-Apart Stamp Set by peeling away a single branch and hanging it off the right side of the card. Then I did some stamping with the Brilliant Baubles Stamp Set. I masked off a portion of the card and stamped the string keeping it short to fit my design on the card. Then I stamped five different baubles from the Brilliant Baubles Stamp Set. This makes it so that each card in the set is a bit different, but still simple and easy! While I was doing my stamping I also added a sentiment to the left side of the cards.
I kept my coloring simple since I was going with a mass produced design. Usually I don't like to color mass produced cards at all, but these images are easily colored. I chose just two red makers, two yellow/brown markers, and a few greens for the branch and colored each card. It didn't take long at all!
I added clear shimmer to each bauble and branch and then a bunch of gold gems! This step doesn't take long at all and makes the cards shine! I hope you found some helpful mass production tips and tricks! See you soon! You can find the products I worked with for this set of cards in the Simon Hurley create. shop!