Let's start with the pretty background! I used two colors of foil and two patterns from the Creative Backgrounds I 6x6 Toner Paper Pack. I am completely OBSESSED with the granite-styled pattern and I knew that I wanted to use it on my card. I trimmed it down to the size of an A2 card, placed a piece of rainbow colored foil pretty side up onto the toner design, and ran it through my laminator. Pure perfection! I decided to trim a bit off the bottom and bring in a second foiled design. I repeated my process with a striped pattern and a silver star foil. I love the mix of colors and pattern!
I stamped the tulip and a couple of butterflies from the Tulip Stamp Set onto a separate piece of cardstock with Raven Hybrid Ink and colored them with alcohol markers. I used the Tulip Coordinating Dies to perfectly cut out my images.
I stamped my sentiment from the Tulip Stamp Set directly onto my background, but it just didn't stand out against the foil, so I went on to my backup plan! I stamped the sentiments onto white cardstock with Raven Hybrid Ink and cut them out with my scissors and popped them up onto my card with foam for a bit of dimension. And that's it! See you soon!
This card is perfect to send to a friend to remind them how amazing they are! I used a handful of LDRS Creative products to make this happy little card.
Let's start with that amazingly shiny background! I foiled a paper from the Floral Toner Toppers 6x6 Paper Pack with a gold glitter foil and my laminator and set that piece to the side to use for another card. You could definitely use it for this card, but I wanted a bolder background. When you foil the Toner Toppers you're left with a gorgeous negative piece of foil that you simply can't throw away! I trimmed down a piece of paper from the Toner Sheets 6x6 Paper Pack and added the negative piece of foil on top and ran it through my laminator. Now I have a second, bolder background and none of my pretty foil is wasted!
It's quite simple to finish off the card from here! I popped up a couple of floral images from the Lovely Watercolor Ephemera Pieces and added them to the corners of my card. I stamped a sentiment from the Everyday Sayings Stamp Set with Raven Hybrid Ink and used the Everyday Sayings Coordinating Dies to cut out the sentiment. I love this die set because not only can you cut out the sentiments, but you can cut a shadow piece, too! I added my sentiment with foam tape between the flower pieces and finished the card with Lovely Watercolor Enamel Dots. Thanks for joining me!
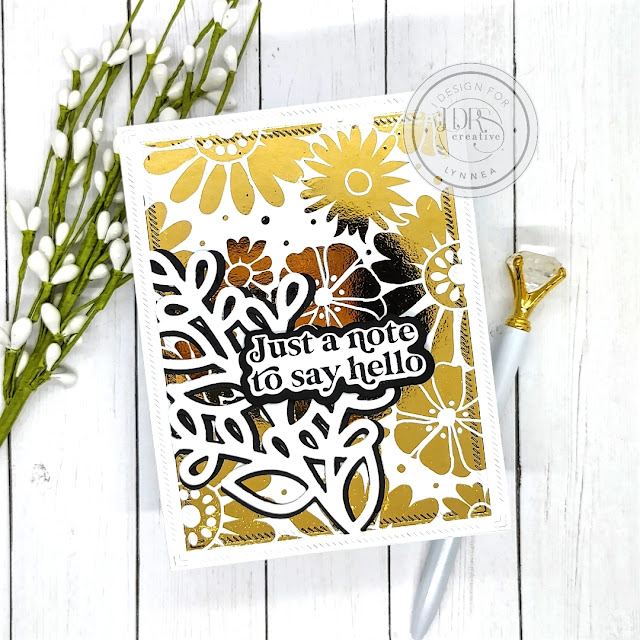
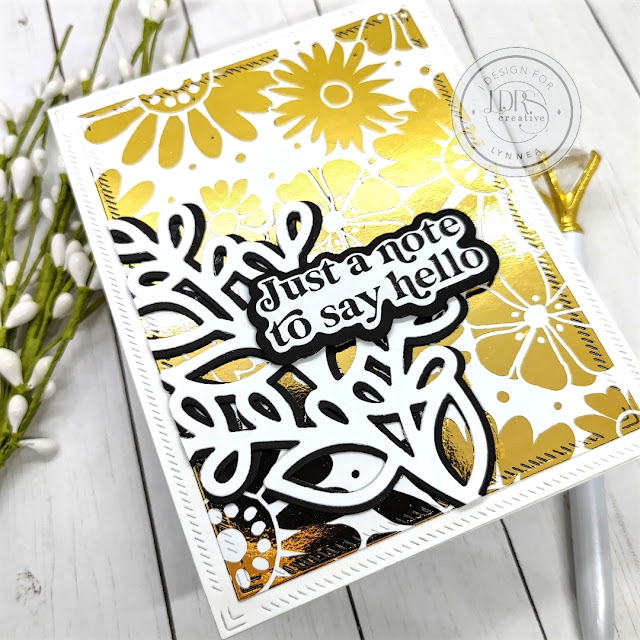
Nothing beats the magic of foiling! I used a bold pattern from the new LDRS Creative Floral Toner Toppers Paper Pack and created a clean and simple card with a pop of foiled flair!
If you've never tried foiling now's your chance! There are new Toner Toppers Paper Packs from LDRS Creative in both 6x6 and 4x9 size with gorgeous, easy to foil patterns! I am head over heels for the Floral Toner Toppers - especially this bold pattern! All you need to add foiled goodness to the Toner Toppers is a toner reactive foil. You can find a whole RAINBOW of colors, but I decided to go with gold and keep to a more neutral color palette. I cut my paper from the Floral Toner Toppers 6x6 Paper Pack with the second die in the A2 Diagonal Stitched Layered Card Toppers Die Set and then used my scissors to trim a piece of gold foil slightly larger than my background panel. I placed the foil pretty side up (silver side against the toner printed design) over the background and ran it through my laminator with a parchment paper carrier sheet.
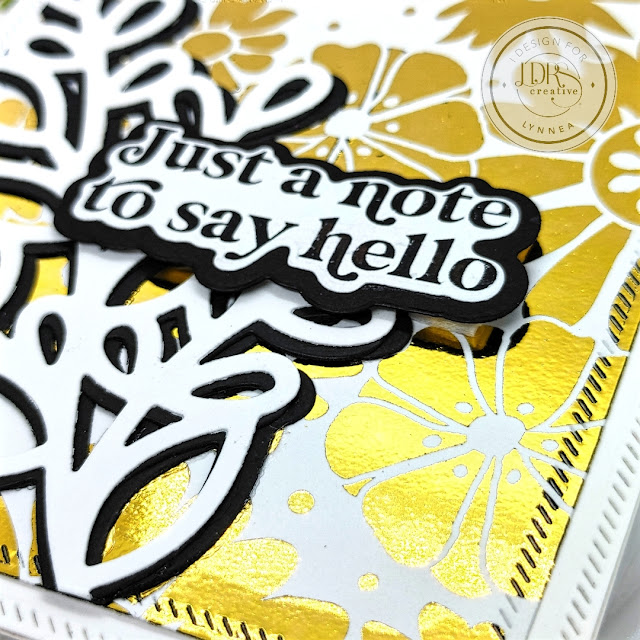
I wanted to keep the elements on the front of my card simple since I had such a gorgeous, bold background. The Lovely Wildflower Cluster Die Set was just the thing I needed! I mentioned before that I wanted to keep to a neutral color palette, so I thought I would add a pop of black, but the die just wasn't standing out. I tried white and that was worse than just the black, so I decided to go back to an old trick and create a faux background for my die-cut. I cut the vine piece from the Lovely Wildflower Cluster Die Set once from white and twice from black and adhered the black pieces behind the white pieces and slightly offset them - one slightly left and one slightly right. This gives me a shadowed look without any fussy cutting! I adhered it to my background panel hanging off the right side and trimmed off the excess with my scissors.
I stamped a sentiment from the new Everyday Sayings Stamp Set with Raven Hybrid Ink and used the Everyday Sayings Coordinating Die Set to cut out the sentiment. The die set has two dies for each sentiment so that you can cut close to the sentiment and cut a shadow as well - LOVE THAT! I cut a shadow from black cardstock and added the sentiment with foam tape. I cut a panel of white cardstock with the largest die from the A2 Diagonal Stitched Layered Card Toppers Die Set and adhered all of the pieces to a card base. And that's it! Be sure to watch my video above for lots of foiling tips and tricks. I'll see you soon!