Gatefold cards are a fast (and easy) way to bring a bit of fun to your projects. I have a quick step-by-step video on the LDRS Creative YouTube Channel showing how I made this card!
Now let's create the gatefold card base. I love gatefold cards because you don't need any fancy supplies or extra cardstock. Take a piece of standard 8 1/2" x 11" cardstock and cut it in half at 5 1/2" so that you have a piece of cardstock that measures 5 1/2" x 8 1/2". This is where you'd usually fold the cardstock in half to create a standard A2 card base, but we're going to mix it up! I scored at 2 1/8" from each end and folded the flaps toward the center to create a "kissing gatefold" card base.
I wanted to add a bit of texture and design to the background of my card, so I die-cut the Modern Geometric A2 Coverplate I Die from white cardstock and cut it in half at 2 1/8" and glued one piece to each of the gatefold flaps.
I adhered the floral cluster to the center of the card, being careful to only add my foam adhesive to the left side of the image (otherwise you'll glue the card closed!). Then I added a scattering of pearls around the card and to the centers of the flowers. That's it! Thanks so much for joining me!
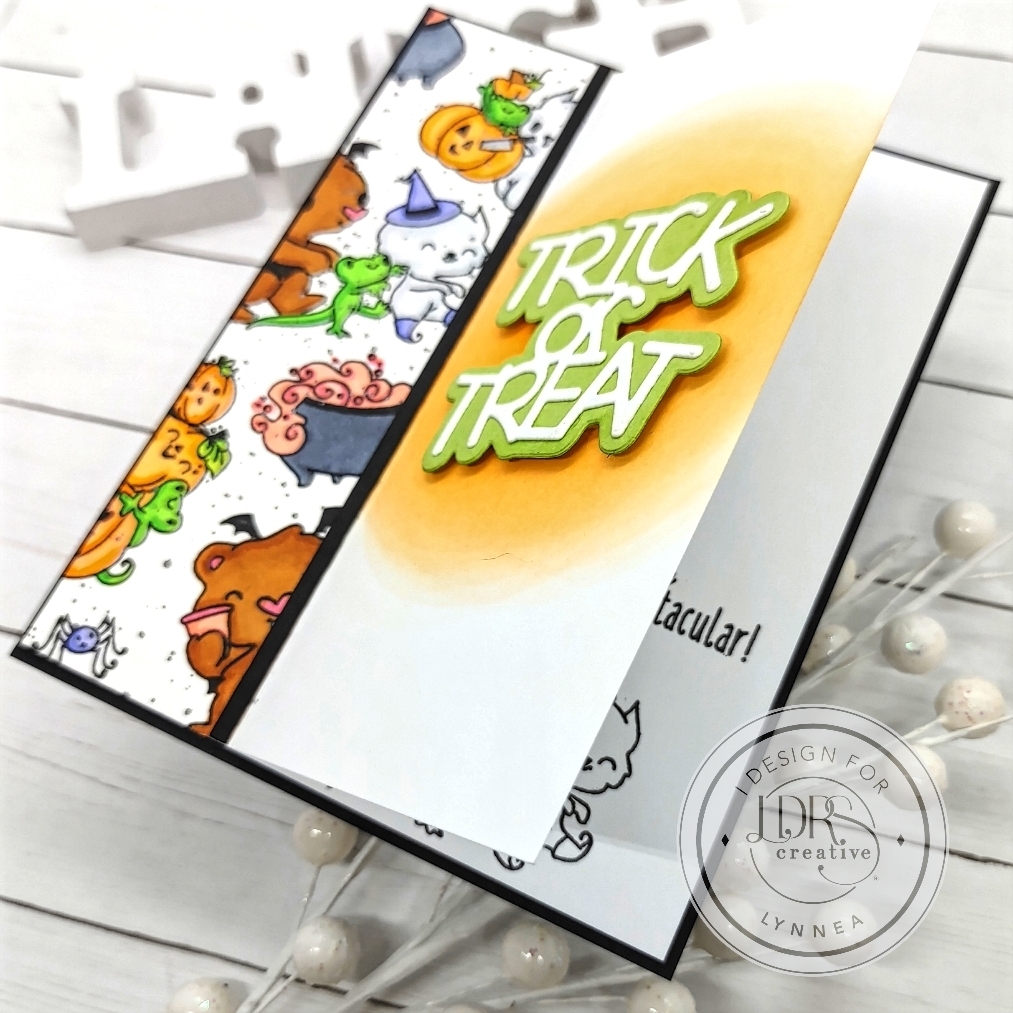
It's amazing what adding an extra fold to your card can do! I have a last minute Halloween card made with LDRS Creative goodies to share with you!
I started by stamping images from the Halloween Party 4x6 Stamps onto a strip of 1 3/4" x 5 1/2" white cardstock with Raven Hybrid Ink and colored them in with alcohol markers.
Now it's time to make the fun fold card. It's SUPER easy! I started with a piece of 5 1/2" x 8 1/2" piece of cardstock (half of an 8 1/2" x 11" sheet of cardstock) and scored it at 2 3/4" and 4 1/4". Fold it in half at 4 1/4" and you'll have a regular side fold card and then fold on the second score line and you'll have a sort of "Z" shaped card. I added a bit of ink blending with In Your Face Orange Hybrid Ink onto the right side of the card to be a halo behind my die-cut sentiment and started putting the card together.
I adhered the stamped and colored strip of cardstock onto the left side of the card and trimmed off the excess. I added the strip of black cardstock right along the edge of the score line to give it a finished edge and popped up my die-cut sentiment. Then I glued the folded portion of my card together so that the card only opens on the 2 3/4" score line. I wanted to add a black mat, so I cut a piece of cardstock slightly larger than my card (4 3/8" x 5 5/8") and adhered the card to the black piece.
I usually leave the inside of my cards blank, but I thought this fun fold card called for something special! I stamped some critters and a sentiment from the Halloween Party 4x6 Stamps on the inside of my card and that's it! I hope you enjoyed this fun card!
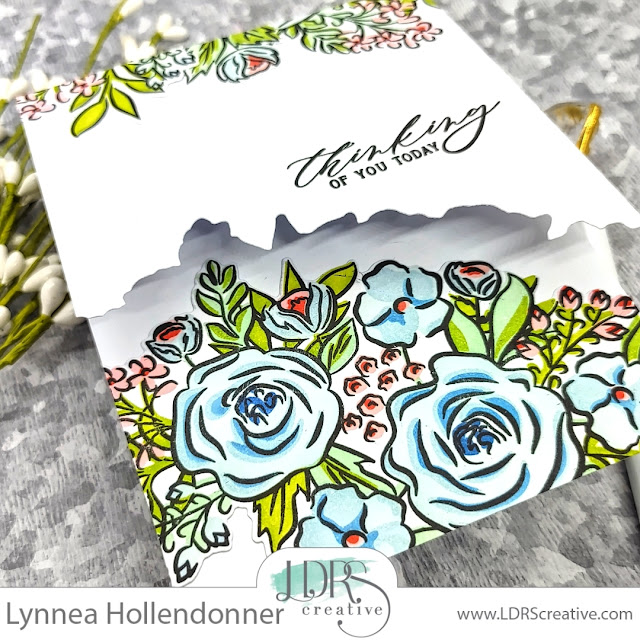
It's time for another card featuring one of my favorite products from LDRS Creative in 2021! I love that they came out with multiple stamps with coordinating layering stencils, but the Garden Grandeur Set is by far my favorite!
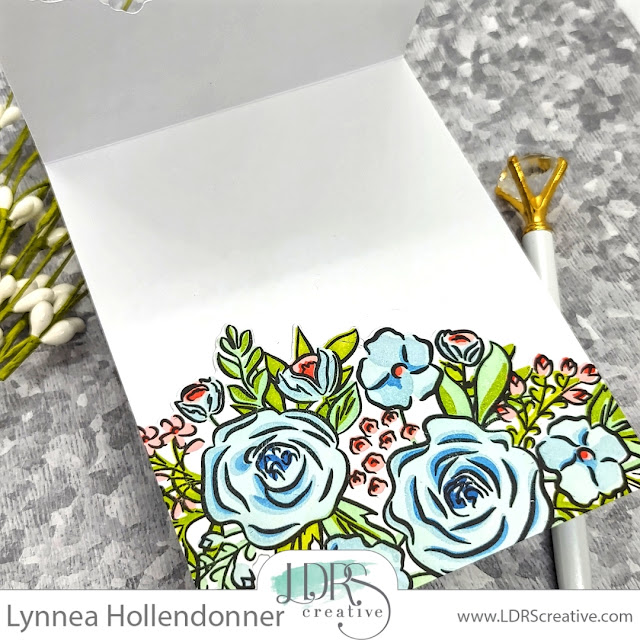
I used the Garden Grandeur Die to cut away a portion of the front of an A2 card base and lined up the die-cut image and adhered it to the inside of the card. Now I have a fun cutaway design! I used the remaining hangover pieces and adhered them to the top of the card to balance the design and stamped a sentiment to finish things off.
I hope you enjoyed seeing some of my favorite LDRS Creative products in action! I'll see you again soon!
It's time for the October release from i-crafter! And there's a lot more to make your Holidays bright! I'm showing you how simple it is to create with the Holiday Dovetail Die Set in today's video. Mass producing stunning cards with this die set is a breeze!
The Holiday Dovetail Die Set easily makes an interactive peek through card. Be sure to use double sided patterned paper or cardstock with this die as you'll not only see the front but the back of the paper in the finished product as well.
I added a die cut sentiment from the Holiday Dovetail Die Set onto my card. You want to make sure you keep any added elements on the right side of the fold.- in my case the mint side. This will make sure you can easily open the card.
Are you here for more easy scene building inspiration from LDRS Creative? Because I have some! I created an easy bridge card using the Mermaid Treasures Stamp Set!
The fold for the bridge card base is very easy and I show you just how to do it in the video. I started with a piece of 5 1/2 x 5 3/4 inch heavy cardstock. Then I folded at 3/4" and 1 1/2" from each side on the longer side of the cardstock. Make a quick accordion fold and you have it! I created my scene background with a variety of LDRS Creative Hybrid Inks and the Under the Sea Stencil and added a couple of strips of patterned paper from the Puddle Jumper 6x6 pack to the outer edges.
I added images to my scene from the Mermaid Treasures Stamp Set and completed the bridge card by adding a sentiment strip across the bridge. And that's it! This is such an easy scene to make and the extra fun fold is simple, but makes it so much more interesting!