Showing posts with label Artesprix. Show all posts

Tuesday, April 9, 2019

Rainbow Stamping with Artesprix Markers

Hey, everyone! I have one last project to share using the Artesprix markers in the March box from The Hedgehog Hollow! This time I made a quick and easy rainbow coin purse! 


I love the Circles and Sentiments stamp set from The Stamp Market - especially this floral circle image! And of course I had to "rainbow" it! Haha! I used 6 markers from the pack. I mounted the image in my MISTI so that I could stamp it repeatedly onto some computer paper. I started in the middle with the orange color and colored directly onto the stamp and stamped it onto the paper. I moved on to the pink and overlapped where I had colored the orange. I did the same with the other colors making sure to overlap. The colors didn't blend as I had hoped, but I still think it's pretty cute!


Once my stamping was done I placed the computer paper image side down onto the coin purse and pressed an iron straight down for about 4 minutes. That's all! So simple, right!! And I love that you can do this with any stamp you have and love! Thanks for stopping by to see my project!


Tuesday, March 26, 2019

Kid's Apron with Artesprix Markers

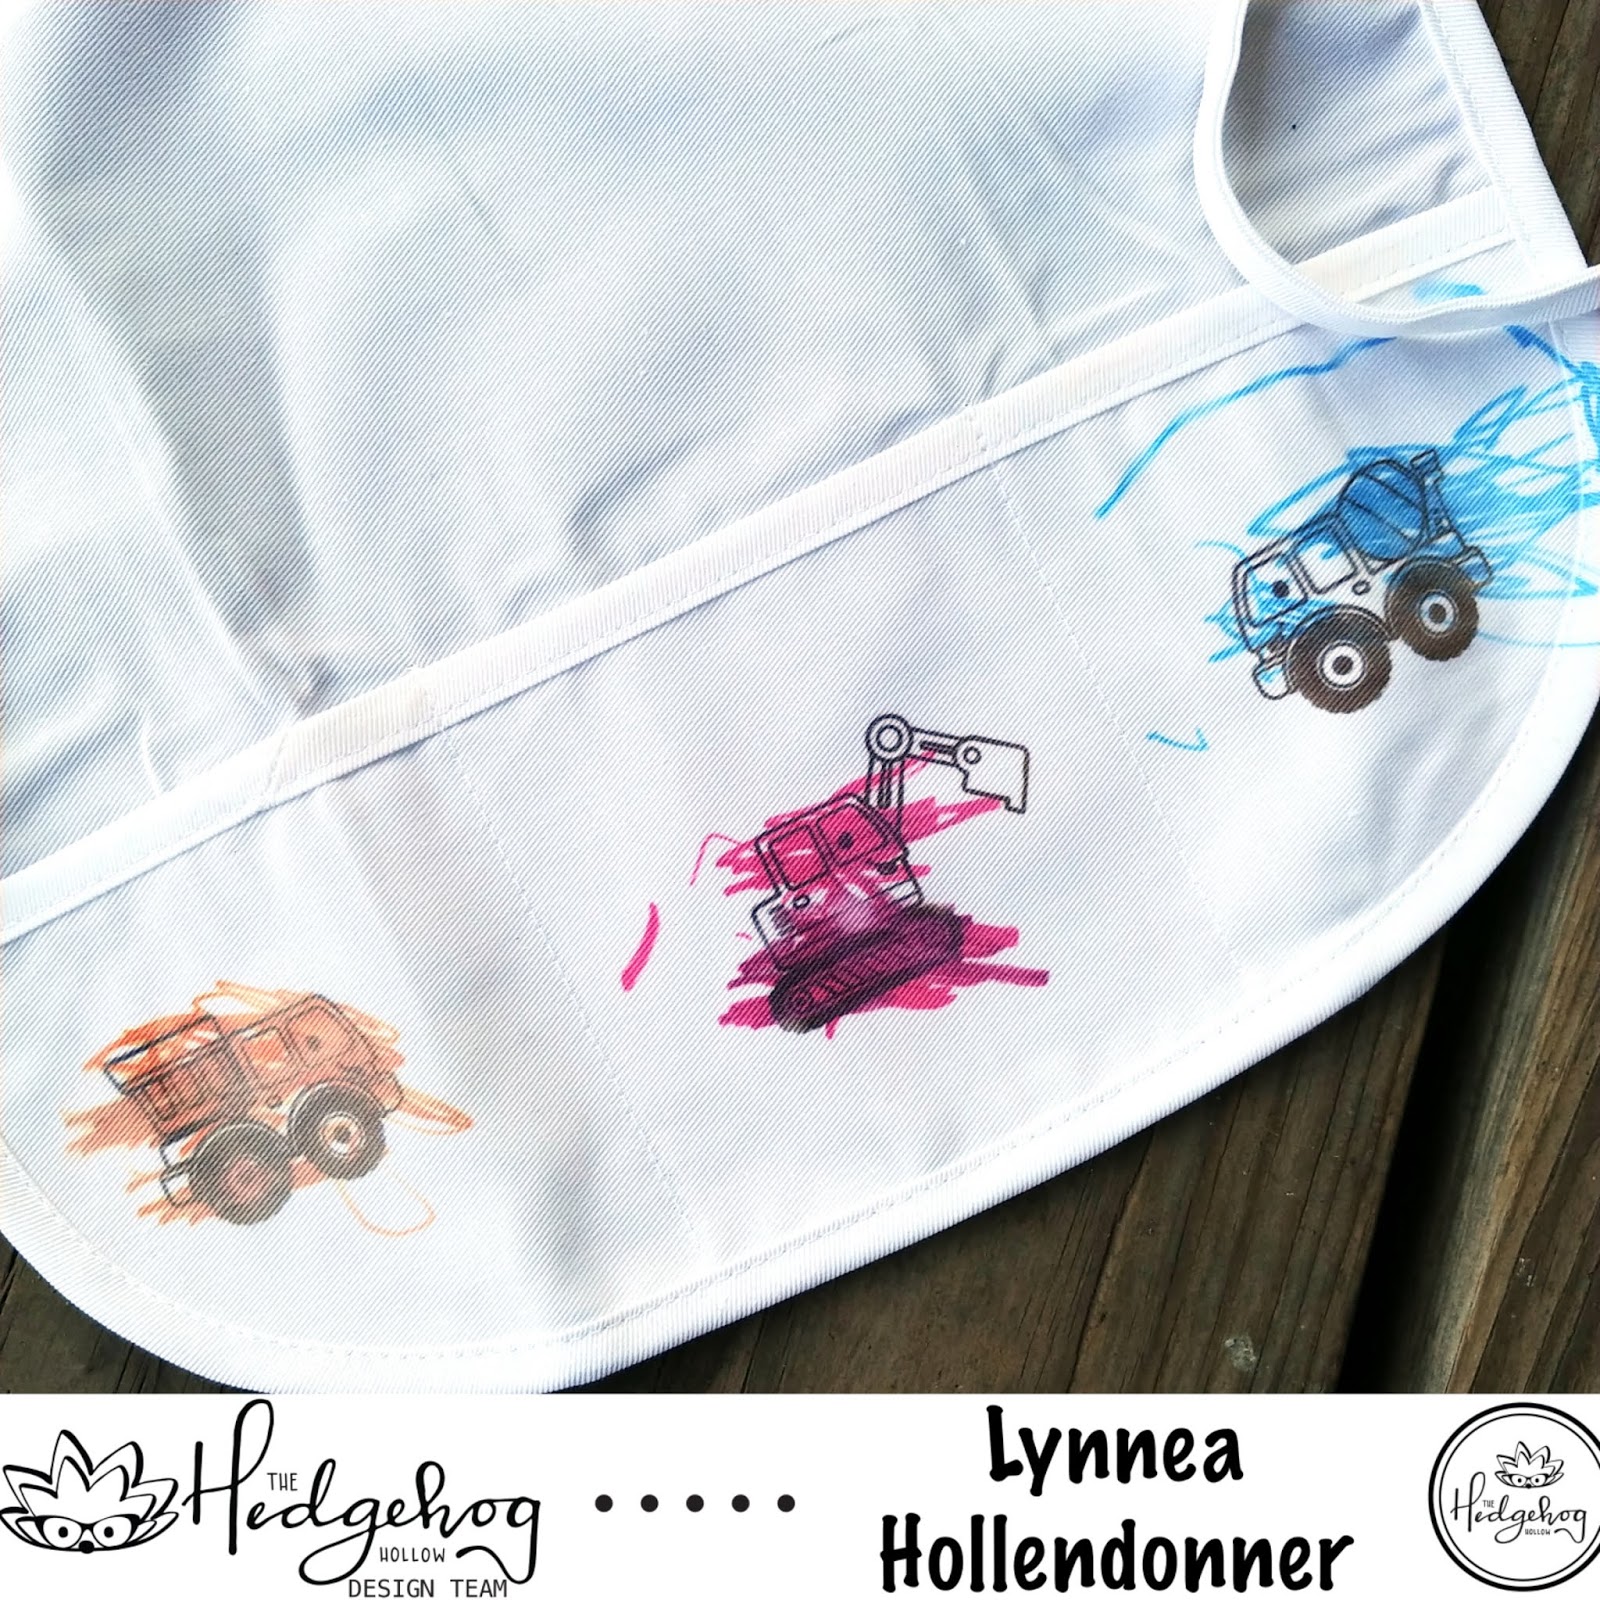
Hi! I love that the Artesprix sublimation markers in the March kit from The Hedgehog Hollow can be used on any fabric containing polyester! I headed out to my local craft store and picked up a kid's apron for my son to decorate! He loves to cook and craft with me and he needs an apron of his own!


I wanted to let Jax (3 years) have creative freedom since this is his apron - but I did have to help him a bit! If you haven't watched my video on how to use the Artesprix sublimation markers along with your stamps I encourage you to click here and watch! He picked out which stamps he wanted - the Keep on Trucking stamp set from Your Next Stamp is his current favorite! I used the black marker and colored on the stamp and stamped them onto plain typing paper. I used the same process as in my video - work in small areas using my MISTI so that I can double stamp to get a crisp black outline.


Then I let him color in his images! He had so much fun! Once he was done I heated up my iron, put the image face down onto the apron, and pressed with the hot iron for about 4 minutes. I do want to mention that these images did not turn out as vibrant as my last project because this apron is only 50% polyester. Artesprix recommends that you use at least 80% polyester, but I still love how it turned out!


I used the black marker and wrote his name onto a piece of computer paper and used the iron for 4 minutes to transfer the image onto the top of the apron. Remember that images will be mirrored once they are applied so if you are using text you will need to write the mirror image onto the paper! Thankfully his name was easy to do!

Thanks for stopping by! I hope you'll try these markers on other fabrics around your house!


Tuesday, March 19, 2019

Stamping on a Tote Bag with Artesprix Markers

Hey, everyone! I'm always looking for new and fun ways to use my stamps and coloring them with the Artesprix sublimation markers from the March 2019 box from The Hedgehog Hollow is so much fun! I have a video at the end of this post, so be sure to watch it to see my whole process!


I love the flower arrangement in the Beautiful Flowers stamp set from Simon Says Stamp! It's gorgeous! I knew I wanted to use it on the tote bag that comes in the March 2019 kit from The Hedgehog Hollow. To use stamps with the Artesprix markers I highly encourage you to use a stamping platform of some kind as you will need to work in small areas and stamp the image on top of itself repeatedly. I have a MISTI, so I mounted the large floral arrangement in my MISTI and inserted a piece of regular copy paper to stamp onto. I used the black marker from the marker set and colored onto the stamp. I worked in small areas - a few leaves or a single flower at a time. I would color the outline of the image, huff onto the ink, and stamp then repeat. I did each area twice to make sure my black outline would be nice and dark. Once I had the entire image stamped I started coloring using the Artesprix markers. I only used 3 colors - the red, green, and a bit of yellow for the flower centers. It's important to note that the colors will appear dull as you're coloring, but the heat and pressure of an iron will brighten them. Next I turned my colored image pretty side down onto the tote bag and used some thermal tape to help hold my image in place and put another piece of copy paper on top so that I would have an extra barrier between my image and my iron. The kit comes with a piece of cardboard and I found it helpful to place that into the bag so that the image didn't bleed through to the other side. Then I took a household iron on the highest setting and held it straight down onto the bag and pressed for 4 minutes. And just like that I have a beautiful bag!


I do want to say that this took some practice for me, so I have some tips for you! You want to make sure your iron is good and hot. In face - I had it heating up the whole time I colored my flowers. Next, make sure you push STRAIGHT DOWN onto your image and don't move the iron! I think it's ingrained into our heads to do the typical swivel motion with your wrist - but trust me ... don't! I ruined a few projects before finally getting this one right! Last - the kit comes with the tote and a coin purse, but you can use any material that has polyester in it! It's recommended to use something that has a percentage of 80% of polyester or higher for best results. I hope you got inspired by today's project! See you soon!