Showing posts with label Stack & Collage. Show all posts

Monday, May 25, 2026

LDRS Creative | 5 Minute Anniversary Card Idea

Tomorrow is my 14th wedding anniversary, so I wanted to create a special handmade card for my partner - something heartfelt, modern, and quick to make. I reached for the LDRS Creative About LOVE Collage 4x6 Stamps and paired them with the Stepped Edge Die to create this easy freeform collage-style design.


Products used - 


Instead of using the Stepped Edge Die along the edge of a card like usual, I die cut it down the right side of a white panel to create an unexpected layered detail. From there, I started building my collage design on the left side of the panel using several sentiments from the About LOVE Collage 4x6 Stamps.

One of my favorite tips when creating collage-style cards is to keep your color palette simple. Limiting your colors helps all of the stamped elements work together. You can easily swap these shades to match your own style or occasion. I went with light purple, aqua, and raspberry ink colors. I began with the large “LOVE” sentiment and layered in smaller phrases like “XOXO” and “you’re my person.” I also added a few tiny black hearts for contrast and finished the collage with the sentiment, “I’d fall for you again and again and again and again…” which perfectly echoes the stair-step pattern created by the die.


To finish the card, I added foam tape behind the stamped panel and adhered it to a aqua/mint card base. I love the shadows and dimension from the foam tape. And that's it! An easy 5 minute anniversary card!

Thursday, March 12, 2026

LDRS Creative | Easy Ink Swiping Background + Collage Stamping Card

Let's create a colorful collage-style card using the LDRS Creative About LOVE Collage Stamps and the Never-Ending Wildflower Stamps!


Products used - 


I started by swiping four new ink colors directly onto my cardstock to create a quick and vibrant background. This technique is super simple and gives you a beautifully blended base in seconds! Once the background was finished, I built a freeform collage design using gray and black inks. I also stamped the Never-Ending Wildflowers lightly in the background to add texture without competing with the collage elements.


I'll be back tomorrow with another card and video tutorial using products from the new LDRS Creative release! See you then! 

Wednesday, October 1, 2025

LDRS Creative | Vintage Inspired Post Card

There’s something timeless and charming about vintage postcards, and today’s card captures that feel perfectly! I used the LDRS Creative Post Card 3x4 Stamps as the focal point of my design and added extra interest with layered cardstock and subtle stamped accents from the Texturize It I & II Stamps. The mix of textures and postmark details makes this simple card feel like a treasured piece of old mail. 


Products used - 


This card is simple, with just a few layers of cardstock and some stamping! I cut a piece of white cardstock to 3x4" and stamped the Post Card Stamps using a bit of masking and some red and blue inks. I stamped the sentiment with black ink towards the top.


I used both of the Texturize It Stamps to add distressed postage elements to the background using a mix of blue and black inks. I layered everything on some shades of light blue cardstock, and that's it! Thanks for joining me! 

Wednesday, September 24, 2025

LDRS Creative | North Pole Collage Projects

Make your holiday gifting extra magical! In this tutorial, I'll show you how to create matching tags and a gift card envelope straight from the North Pole using the North Pole Collage 4x6 Stamps, Mixed Tag Dies, and the Gift Card Scallop Envelope Die. Watch this Stack & Collage technique in action and see just how easy it is to make Santa’s special delivery part of your holiday crafting!


Aren't these tags just the most adorable things you've ever seen?! I just LOVE how the North Pole Collage 4x6 Stamps let you customize tags (and more!) with sentiments that you can check off naughty or nice, sleeping or awake, etc. It's so much fun!


While I had my supplies out, I decided to make a gift card envelope that matches the tags so that I could have a full set of gift giving goodies ready for the holidays! So perfect, right?! Make sure you check out my video at the top of this post to see how quickly and easily everything came together!

Monday, September 1, 2025

LDRS Creative | Envelope & Postage Collage Stamps

Rainbows make me happy! I used the LDRS Creative Envelope & Postage Collage Stamps with the Postage Collage Masking Stencil to create a rainbow color blocked background with the most adorable postage elements!


This card was so quick and simple to make! I just did a bit of stenciling and offset stamping! 


I hope you enjoyed the video! Come back soon! 

Monday, June 16, 2025

LDRS Creative | A Rainbow of Summer Scenes - Quick & Colorful Cardmaking!

Looking for a quick and colorful way to bring summer vibes to your cardmaking? This easy stamped card is packed with feel-good sunshine - no coloring required! I used the Vacation Puzzle Scenes from LDRS Creative to create a playful rainbow of stamped images that show all the best parts of summer. Grab your inks and let’s dip our toes in the water with this fun and effortless tutorial!


Products used - 


I stamped the main grid from the Puzzle Frames 6x8 Stamps with Alloy Hybrid Ink and added two half circles to two of the rectangles so that I could use some of the curved scenes on my card. From here it's just about having fun stamping the scenes from the Vacation Puzzle Scenes 6x8 Stamps! I chose to fill the center of the puzzle grid with four images in gray so that the sentiment would stand out. The images around the outer edge however, RAINBOW! I stamped Tickled Pink, In Your Face Orange, Dan-D-Lion, Key Lime Pie, Marina Madness, La La Lavender, and Boysenberry Blast Inks - so pretty! 


I trimmed down the panel and added it onto an aqua card base. My sentiment comes from the Lighthouse 4x6 Stamps and I stamped it onto a small die-cut piece from the Mixed Postage Rectangle Dies. I popped it up in the center of my stamped panel, and that's it! 

Wednesday, February 5, 2025

LDRS Creative | Valentine's Day Hearts Puzzle Card

Valentine's Day is almost here and I have the perfect card to share with you to celebrate the special day! This card is perfect for a partner, friend, or anyone you love.


Products used - 


I started by stamping a "freeform puzzle" design using the Puzzle Frames 6x8 Stamps and Raven Hybrid Ink. I stamped the rectangle and then two squares on top so that I would have a 2x2 square design. I filled in the puzzle using stamps from the Hearts Puzzle Scenes 6x8 Stamps. I colored them very simply using red and light gray Copic Markers and fussy cut the design with scissors. I used one of the dies from the Mixed Scallop Rectangle Dies and cut a piece of Cotton Watercolor Paper and pressed the Just a Note Impress-ion Press + Foil Plate into the bottom of the panel.


I wanted to keep the card simple with a bit of texture in the background, so I pressed the Heart Mix 5x7 Impress-ion Press + Foil Plate into a piece of Cotton Watercolor Paper using Alloy Hybrid Ink. I layered all of my panels using some red cardstock to separate the panels for a pop of color. That's it! Thanks for joining me!

Monday, January 20, 2025

Snail Mail Collage Valentine's Day Card with Masculine Colors

Check out this absolutely adorable Snail Mail Collage Valentine's Day Card! I wanted to step away from traditional pinks and reds, so I used a masculine color palette with blue, green, gray, and a pop of yellow. 


Products used -


I struggle with masculine cards - how about you? I have many guys in my life, and this card is definitely one that I can recreate and make a bunch of Valentines in no time at all. I used the Snail Mail Collage 4x6 Stamps and stamped a freeform collage layout with just a couple of icons and a handful of sentiments. I distressed the panel with a stamp from the Texturize It Collage 4x6 Stamps.


I finished off the card with some of my favorite square dies - Hand Torn Squares Dies and Delicate Stitches Scalloped Squares Dies. Perfect! Thanks so much for joining me!

Monday, September 2, 2024

LDRS Creative | Spooky, Scary Halloween Collage Card

The weather is changing, there's a chill in the air, and Halloween is ALMOST HERE!  Get ready for the spookiest time of the year with the Haunted Collage Stamps and create spooky, scary projects in no time! 


This card is so easy to make and would be perfect for mass production for kids, teachers, or anyone who loves a good spook! I cut a white piece of cardstock using the Mixed Scallop Rectangle Dies and stamped a "base" for my card with the Ledger 3x4 Stamp. I stamped the rest of my design using the Haunted Collage 4x6 Stamps and a few colors of ink. I like to stick to just a handful of colors, but you could push the envelope and use a bunch of colors if you wanted!


I layered another die-cut panel from the Mixed Scallop Rectangle Dies onto an orange card base and popped the stamp panel up with foam to complete the card. That's it! Thanks for joining me! 

Monday, August 19, 2024

LDRS Creative | Down the Chimney Collage Stamps

It's time to start sneaking some peeks of the upcoming Good Cheer Collection! This collection has everything you need for the fall and winter holidays and MORE and will be live on Thursday, August 22nd. Let's get started with this adorable Christmas stack and collage card! 


Products used -


*links to new products will be live on August 22nd


I love holiday card designs that can be easily replicated and duplicated! This one requires just a few die-cuts and some easy stamping! I chose to stick to a traditional red, green, and brown color scheme, but you could switch this up and use pink and teal for a different look if you wanted! 


I hope you enjoyed this quick peek into the Good Cheer Collection! We'll have more coming soon! 

Monday, August 12, 2024

Stack and Collage Adventure Card

Let's go on an adventure! The mix of sentiments, icons, and adorable Pocket Pals on this card will make anyone smile, whether you're 9 or 99! 


Products Used -


I stamped a ledger-style background using elements from the Tracks & Treads II 4x4 Stamps and Alloy Hybrid Ink. I used the Adventure Awaits Collage 4x6 Stamps to add sentiments and icons to my design. I started with the largest words "explore" and "wild" and filled in from there. Don't be afraid to overlap your stamping! It adds depth to the design.


I stamped a few images from the Swiss Family Robinson Pocket Pals 4x6 Stamps, colored them with Copic Markers, and cut them out with the Swiss Family Robinson Pocket Pals Coordinating Dies. I trimmed my background panel to 4" x 5.25", added it to an orange A2 card base, and added the colored images with foam tape. That's it! This card is going into my son's lunch box on the first day of school, but you could use it for many different occasions! 

Monday, June 10, 2024

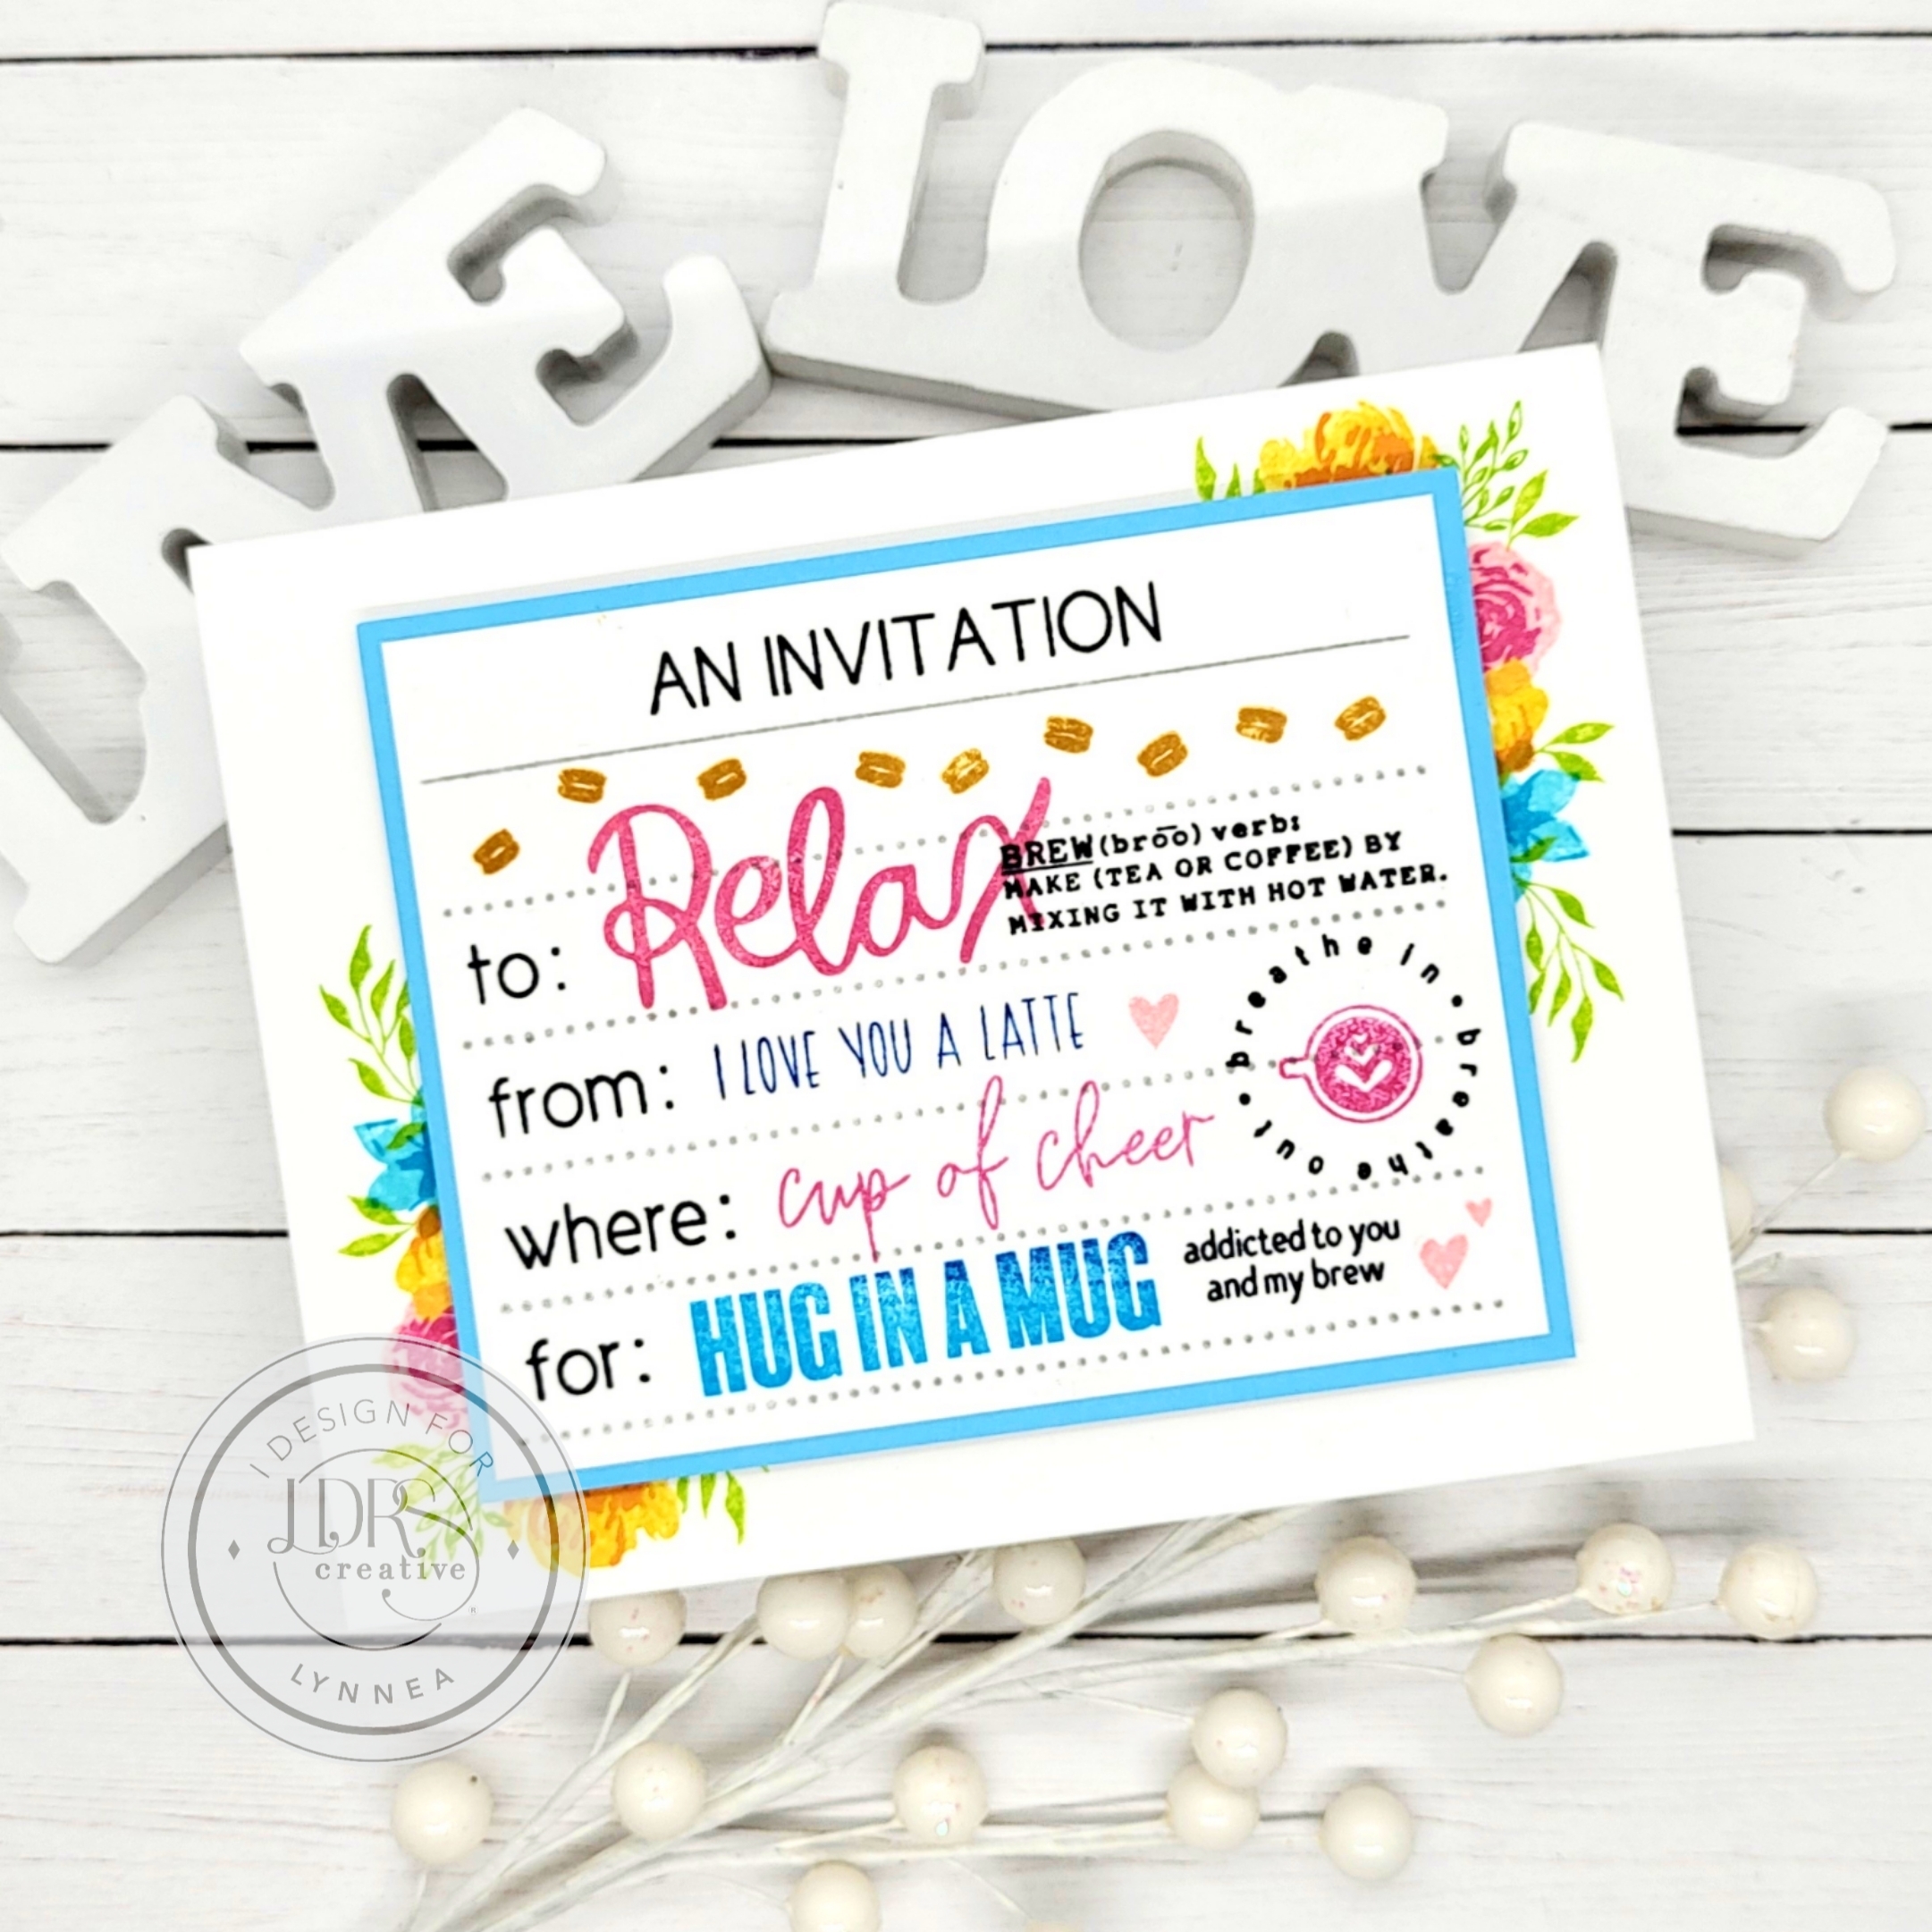
Coffee Themed Stack & Collage Invitation

You're invited for a coffee date! Send a cup of cheer with this Stack & Collage invitation card. Watch the video tutorial to see how easily everything came together!


Products Used - 


I stamped the Invitation 3x4 Stamp with Alloy Hybrid Ink Pad onto a piece of white cardstock and chose a few sentiments from the You're Invited Collage 4x4 Stamps to stamp with Raven Hybrid Ink Pad to build the base of the invitation. I kept a simple color palette for the rest of the coffee themed invitation and stamped sentiments and icons using Tickled Pink Hybrid Ink and Bali Blue Hybrid Ink. Once I was done stamping the invitation portion of my card, I trimmed the panel and added it to a light blue mat and set it aside while I worked on the rest of the card.


I used the Wildflower Layered Botanicals 4x6 Stamps and a few of the flowers onto a white card base to accent the invitation piece. The layered flowers are the perfect frame and help bring some extra color to the card. That's it! Thanks so much for joining me!