Showing posts with label Watercolor. Show all posts

Friday, June 6, 2025

LDRS Creative | Clean & Simple Lighthouse Card with a Rustic Coastal Vibe

Today I’m sharing a clean and simple card that captures the quiet magic of an underwater lighthouse scene. I used the Lighthouse Stamps and Layering Stencils to bring the focal image to life, then added a subtle textured background with the Postage Collage Dies for just the right amount of depth. A soft wash of light blue watercolor frames the scene and adds that dreamy, rustic feel. Let’s dive in and take a closer look at how this card came together!


Products used - 


I started my design by stamping the image from the Lighthouse 4x6 Stamps onto an A2 Cotton Watercolor Panel with black ink. I knew I wanted to add some watercoloring to the background and inks blend VERY well on watercolor paper. If you haven't tried it, I encourage you to give it a go and see how you like it! I used the Lighthouse Layering Stencils to color the image with a variety of LDRS Creative Hybrid Inks. You could definitely watercolor the image, but I tend to reach for the layering stencils. They're fast and I don't have to think as much.

Once my stenciling was done, I added a light wash of blue color, keeping the color darker towards the outline of the image and letting it fade out to the background. This technique is done by adding clean water around the image, going right up to the outline, and then dropping in blue watercolor close to the image. I used my brush to help move the color a bit, and then let it whisk out to the edges and dry naturally. 


When the panel was dry, I cut it with the Postage Collage Dies to give it some texture. I cut a red mat slightly larger than my panel and added both layers to a white card base. I finished the card by stamping a sentiment, cutting it out, and adding it to the card with foam tape. That's it! Thanks for joining me!

Monday, July 1, 2024

Rainbow Watercolor with Letterpress

Rainbow watercolor is an easy way to brighten up any card! See how easy it is to create a rainbow with just three colors! 


Products Used - 


I started my card by watercoloring a rainbow wash onto an A2 Cotton Watercolor Panel. I used just three colors of watercolor - pink, yellow, and blue - and blended and overlapped them to create the remaining colors of the rainbow. I did three layers of color, drying between each layer. Once the panel was completely dry, I added some black ink spatters and pressed the Corner Meadow Impress-ion Press + Foil Plate into the corner with Raven Hybrid Ink.


I finished the card with a die-cut sentiment from the Simply Word Dies and an additional sentiment strip from the Simply Sentiments 4x6 Stamps. That's it! Thanks for joining me!

Wednesday, May 29, 2024

SNEAK PEEK!! | LDRS Creative Corner Meadow Impress-ion Press + Foil Plates

Staying in the lines is OUT and messy watercoloring is IN! Watch as I show you how to use shimmer watercolor powders to color the Corner Meadow Impress-ion Press + Foil Plates. Mark your calendars! These gorgeous Impress-ion Press Plates and the rest of the Summer Collection will be available TOMORROW, May 30th! 


*Links to products included in the Summer Collection will be live on Thursday, May 30th at 12:01am ET*


This card is so simple to make and can be recreated with regular watercolors if you wish! I started by pressing the image and sentiment from the Corner Meadow Impress-ion Press + Foil Plates into an A2 Cotton Watercolor Panel with Raven Hybrid Ink


Now it's time for the fun part! I used yellow, blue, and red shimmer watercolor powders to color my image. I started with yellow, spritzed the powder with water, and then dried the color. I repeated this process with the blue and red powders and let the colors mix together to create a rainbow. 


I dried the panel completely, trimmed it down to 4" x 5.25" and added it to a black A2 card base. That's it! Make sure you come back tomorrow for our Summer Collection release party! See you then!

Monday, April 22, 2024

Pretty Watercolored Peonies Card

Hi! It's Lynnea with a new video tutorial to share with you! I did a bit of letterpressing and a bit of watercoloring and made a simple and pretty card. 


I started by letterpressing the Peony Impress-ion Press + Foil Plate into an A2 Cotton Watercolor Panel with Raven Hybrid Ink. Next I pressed the Stripes Impress-ion Press + Foil Plate right where the peonies stopped to create a striped border. I grabbed some of my favorite watercolors and added color to the pressed image. I stamped a sentiment from the Billowing Blossoms 4x6 Stamps and cut it out with the Coordinating Dies and added it towards the bottom of my panel. 


All that's left to do is trim down the panel, add a blue layer, and add everything to an A2 card base! Thanks for joining me!

Monday, March 4, 2024

Tulip Mix Background Card

I've fallen completely IN LOVE with the Tulip Mix Background Impress-ion Press + Foil Plate from LDRS Creative! I pressed it into my card, added some quick watercoloring, and finished it off with some pops of white elements. Easy peasy and perfect for spring! 


I pressed the Tulip Mix Impress-ion Press + Foil Plate into an LDRS Creative A2 Cotton Panel with Raven Hybrid Ink so that I would have a crisp, black impression. I grabbed my palette of rainbow watercolors and added color to the background. I didn't use any shading, just a simple wet on dry painting technique. The impression causes valleys which displace the water, and that coupled with the line art in the image, create dimension without any added effort.


I cut the Floating Squares Die from white cardstock and positioned it hanging off the right side of my watercolored panel. I added a die cut sentiment from the Simply Word Dies and a sentiment strip from the Simply Sentiments 4x6 Stamps. I trimmed the panel and popped it up onto a white card base. That's it! Thanks so much for joining me! 

Friday, September 30, 2022

LDRS Creative September Features Day 2 | More Christmas Inspiration

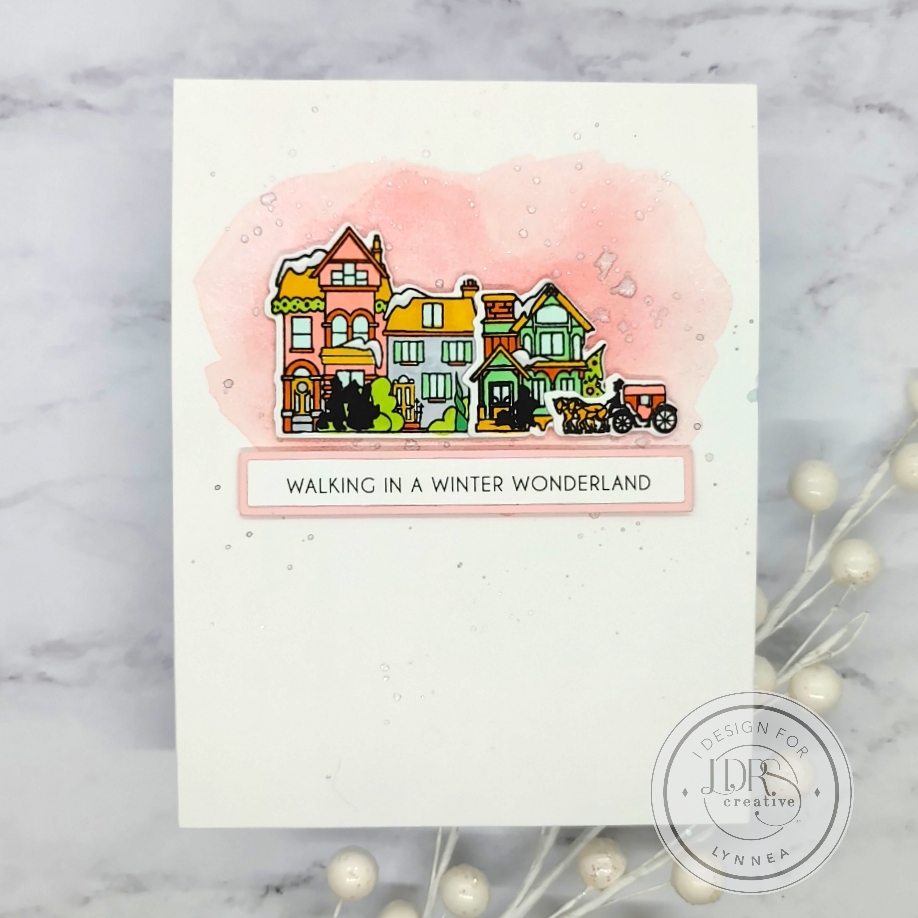
I love seeing pink at Christmastime! I used the LDRS Creative Christmas Village Stamps and made a tiny village scene! 


I started by stamping some images from the Christmas Village Stamps, coloring them with Copic Markers, and cutting them out with the coordinating dies


I used a few shades of pink shimmer watercolors and created a wintery cloud of color to sit behind my village scene. I used a silver shimmer watercolor to add some snow flurries to the background and popped up my images with foam tape. 


I added a sentiment strip from the Christmas Sentiment Stack and that's it! I hope you enjoyed this pink Christmas card!

Tuesday, August 30, 2022

LDRS Creative | Adding a Pop of Color with the Ginkgo Leaves Dies

I'm sharing a pretty slimline birthday card using stamps and dies from the new LDRS Creative Summer 2022 Collection


I love a black background with a bold pop of color! I started by covering a couple of pieces of cardstock with shimmer watercolors and then used the Ginkgo Leaves Die to cut out two large sprigs. 


I used the Elegant Stitched Frames Slimline Dies and cut a white card base, a gold and black layer, and then a gold, black, and white layered label shapes. I stamped a sentiment from the Essential Birthday Sentiments 4x6 Stamps onto the white label. I added shimmery white watercolor spatters to the black panel and added the Ginkgo Leaves die-cuts on top and trimmed off the excess. 


I layered all of the various pieces together with a mixture of liquid adhesive and foam tape for dimension. Thanks for joining me!
Monday, August 29, 2022

LDRS Creative | Easy Square Notecard with the Mini Foliage Dies

Ready for a card that can be color customized for any season and is easy to mass produce? I used a handful of new products on this watercolored card. Head over to the LDRS Creative Inspiration Blog for more the details!


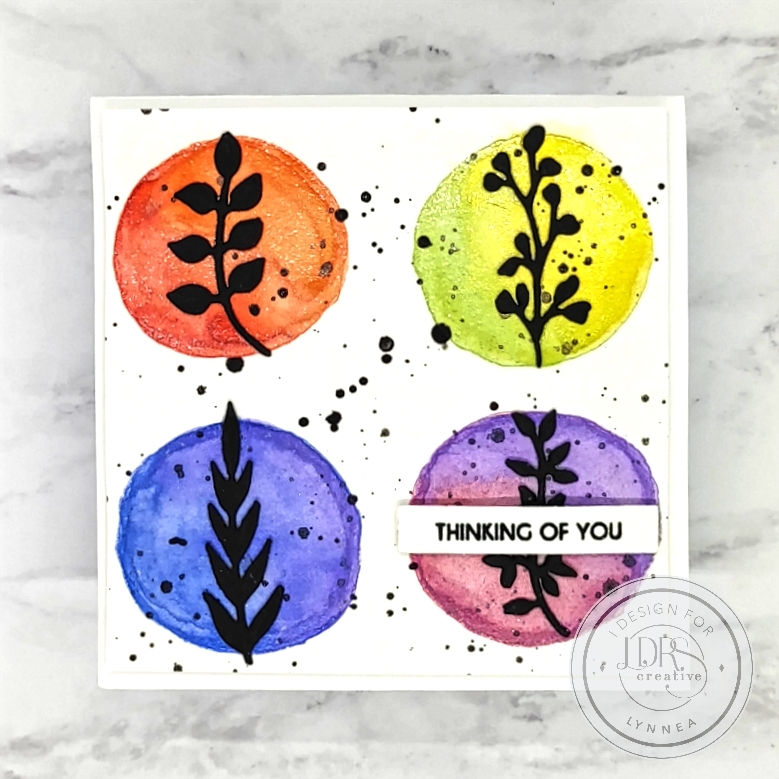
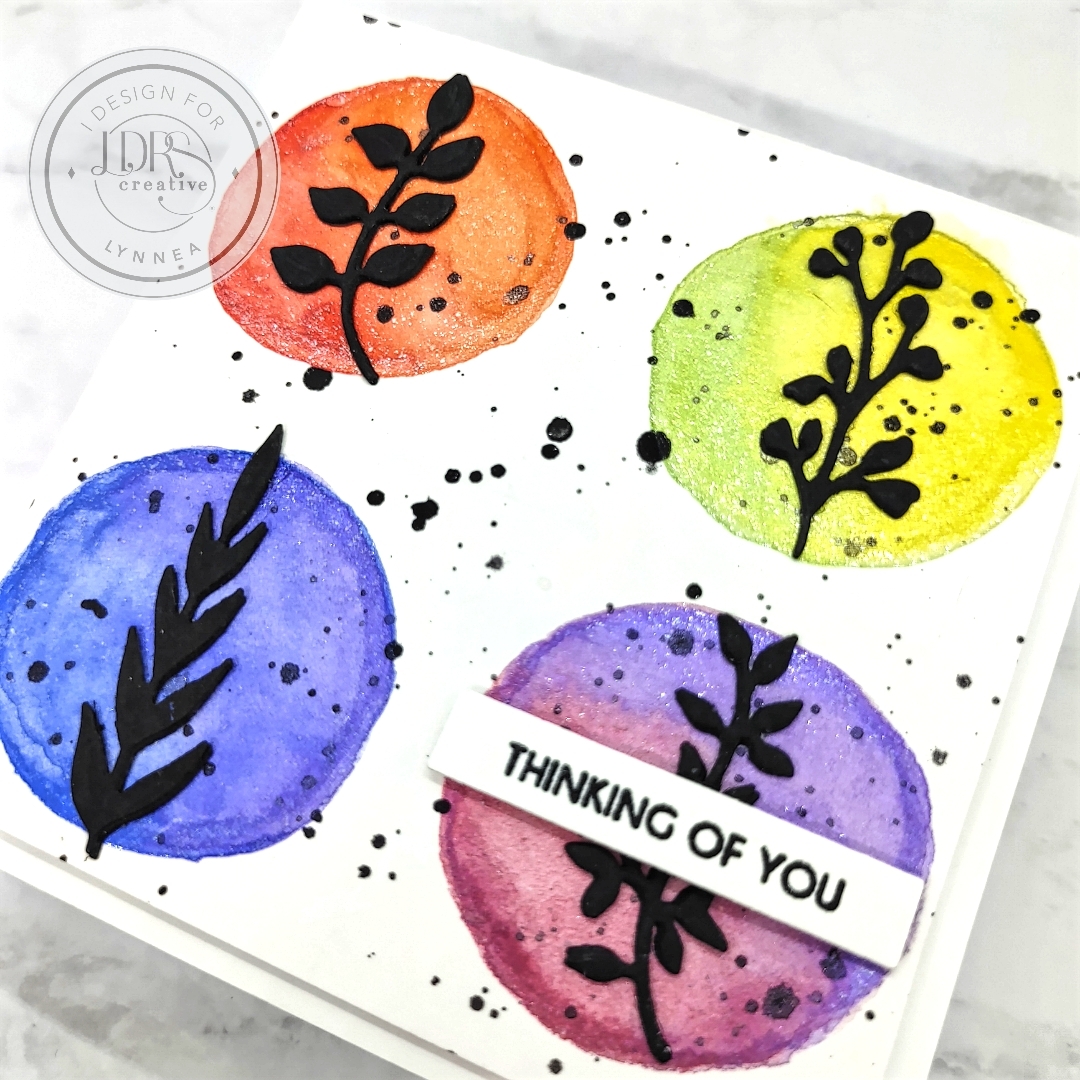
I love the Mini Foliage Dies! You can use them to build a wreath, create a faux coverplate background, ... the list goes on! I like to use them as little silhouetted springs! I started by cutting a piece of watercolor cardstock to 4" square and used a rainbow of shimmer watercolors to create four watercolored circles. I let two colors blend together on each circle, heat set them, and added some black spatters. 


I used the Mini Foliage Dies and die cut four different sprigs from black cardstock. I cut them each multiple times and stacked three or four of them together for dimension and adhered them to the center of each circle. 


I wanted a simple sentiment that wouldn't take away from the background, so I stamped the Amazing You Sentiment Stack and cut it out with the Sentiment Stack Die II and added a single strip to the bottom right of my card. I used foam tape to add the panel onto a 4" square card. And that's it! 

Tuesday, July 19, 2022

LDRS Creative | Aspen, Ginkgo, and Myrtle Leaves Cards

Adding some shimmer watercolors is such a quick and easy way to step up your die-cuts and create pretty multicolored backgrounds! 


I love that you can add a bunch of color super easily to a large background and then cut it into pieces to add colorful accents to a card. The new Aspen Leaves, Ginkgo Leaves, and Myrtle Leaves Dies are perfect for this! 


I started with a full sized sheet of watercolor cardstock and colored the entire piece with shimmer watercolor powders. These are an inexpensive medium that go a LONG way! Just add a bit of powder, spritz with water, and watch the magic happen! I used yellow, blue, and red so that they would mix to create new colors on the background. 


Once the background was complete I used the Aspen Leaves Die, Ginkgo Leaves Die, and Myrtle Leaves Die to cut the background. I was left with a bunch of multicolored leafy pieces! I completely covered the backgrounds of two cards and used a leftover piece on a third card. 


I stamped the Amazing You Sentiment Stack onto black cardstock with Watermark Embossing Ink and heat embossed with White Embossing Powder. I used the Sentiment Stack II Die to cut out a bunch of sentiment strips and started adding them to my cards with foam tape. 


Since the backgrounds were so simple I added multiple sentiment strips to each card to help fill it out. 


I love how each of these cards were made with the same products and technique, but they all have a different look! I hope you try it out!

Wednesday, March 30, 2022

Miss Ink Stamps | Pretty Birds Card with Shimmer Watercolor Background

This card is amazingly simple to make! I used the Miss Ink Stamps Pretty Birds Stamp Set as the focal point and some of my handmade shimmer watercolors to make a textured background! 


I started by adding some simple textured stripes of watercolor vertically down my card and added some black watercolor ink spatters for extra texture. 


I stamped the branches and a couple of birds from the Pretty Birds Stamp Set and colored them with Copic Markers and cut them out with my scissors. I popped them up with foam tape in the center of my card. I was sure to use bolder colors than my background so that they would stand out. 


I added a sentiment strip below my images and that finishes the card! Thanks for joining me!\

Monday, March 21, 2022

LDRS Creative | Floral Rainbow Slimline Card

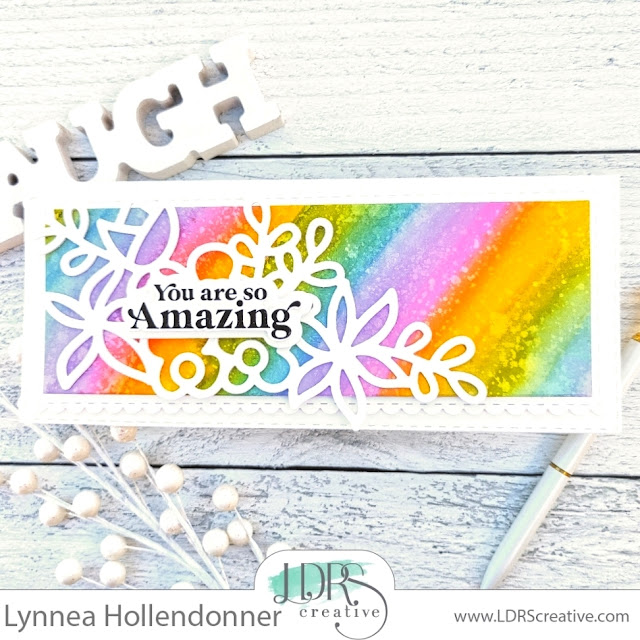
Sometimes all you need is a bright background and a pop of white! I used new dies from LDRS Creative and some watercolors on this slimline card. 


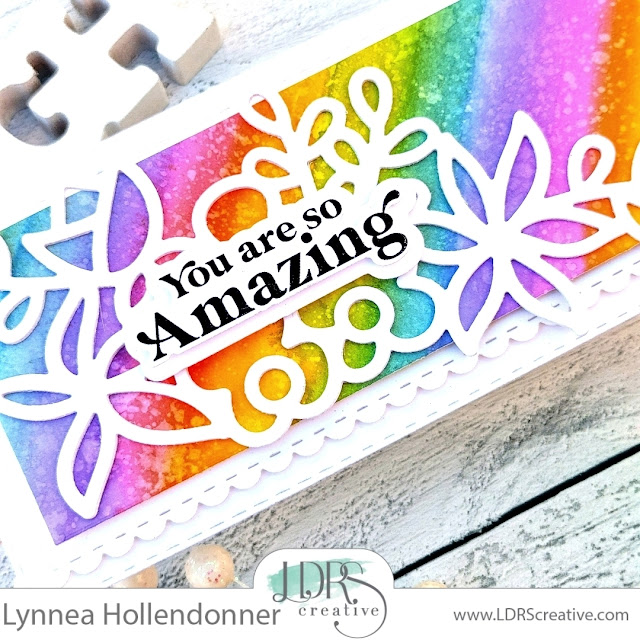
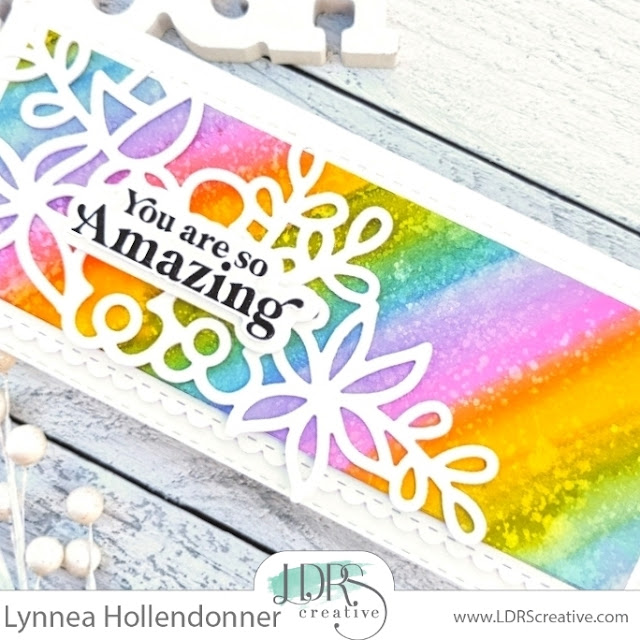
I used some watercolors from my stash and created a rainbow watercolored background on a piece of LDRS Creative 4x9 Slimline Watercolor Paper. I made sure to overlap the colors to get even blending and once my background was dry I spritzed water over the colors and picked it up with a microfiber cloth creating textured water spots. I used the smallest die in the Floral Scallop Slimline Die Set to cut down the panel and used the next largest scalloped die to cut a piece of white cardstock. I folded a piece of cardstock in half and used the largest die to cut a slimline card base and layered the pieces together. 


I love the large floral outline dies that are new from LDRS! I die cut the Lovely Wildflower Cluster Die four times from white cardstock and used liquid adhesive to stack them together for dimension. Stacking dies together is one of my favorite hacks to use instead of trying to cut thin slivers of foam tape. It's much quicker! 


I stamped a sentiment from the Everyday Sayings Stamp Set with Raven Hybrid Ink and die cut it with the Everyday Sayings Coordinating Dies. I also cut a shadow from white cardstock and layered them together with foam tape and added the sentiment in the center of the floral cluster. Thanks for joining me! 
Saturday, January 29, 2022

InkOn3 | Easy Atelier Ink Watercolor Background

Easy peasy, lemon squeezy! Here's a simple Atelier Ink watercolored background for you! 


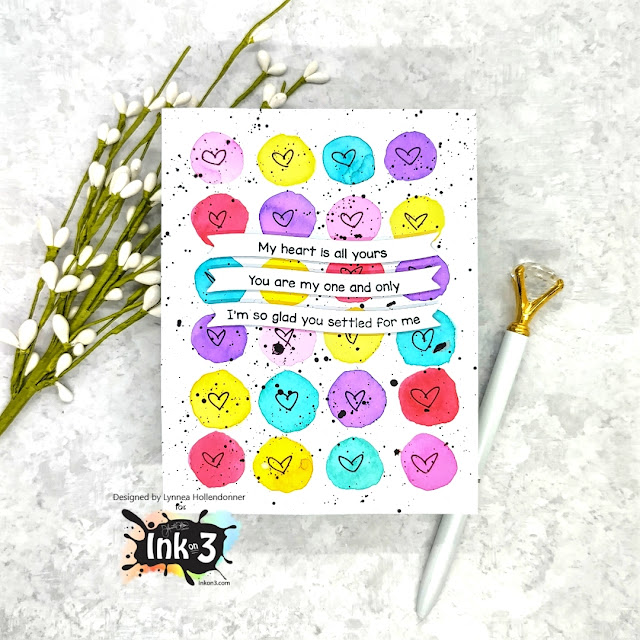
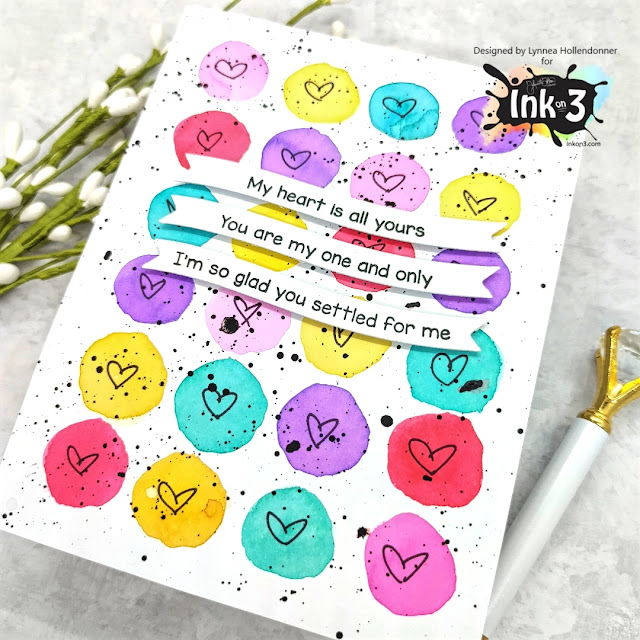
I started by smooshing a few different colors of Atelier Ink onto my glass work surface and then watercolored small hearts all over my background. I kept the circles loose and easy without any real shading. Just a simple and colorful background! 


I used a fine tip Sharpie and drew small hearts into each circle and then spattered the background with black watercolor. 


I finished the card by adding a few sentiment strips from the LDRS Creative Love Wave Stack with Blackout Hybrid Detail Ink!

Thursday, December 9, 2021

Trinity Stamps | Simply Sentimental You Stamps and Dies

Bright and easy backgrounds are my favorite! I used shimmer watercolors and the new Simply Sentimental You stamps and dies from Trinity Stamps for this clean and simple card! 


I watercolored rainbow stripes onto a piece of watercolor cardstock with shimmer watercolors and then stamped the Encouragement Text Background Stamp over the top with black ink. 


I stamped the large "you" from the Simply Sentimental You Stamp Set as well as a coordinating sentiment and die cut them with the Simply Sentimental You Die Set


I popped up my sentiments with foam and then added a bunch of Blacked Eyed Baubles Embellishments to complete the card. Thanks so much for stopping by! 

Saturday, August 28, 2021

InkOn3 | Floral Atelier Ink Watercolor

This card was so easy to make and it's one of my favorites I've made in a long time! I watercolored these gorgeous florals with InkOn3 Atelier Inks and they're just gorgeous! 


Atelier Inks are great for stamping and ink blending ... but I really LOVE the way they work as watercolors! They are so vibrant! I stamped the Concord & 9th Heartfelt Blossoms Stamp Set with Blackout Hybrid Detail Ink and heat embossed with Crystal Clear Fine Detail Embossing Powder. The embossing helps to keep the watercolor in the lines - which is something I definitely need! I used Goddess Green, Bee Sting Yellow, Sweet Petunia Pink, and Trinity Teal Atelier Inks to watercolor my background and then used the coordinating die to cut it out. 


I created a peek through background by stamping the Altenew Pinstripe Stamp with Blackout Hybrid Detail Ink and popped up my watercolored image on top with foam tape. I wanted a sentiment that would perfectly match my background, so I blended Trinity Teal Atelier Ink onto white cardstock and then die cut the sentiment. The color of the sentiment perfectly matches my watercolored frame! 


I finished off this pretty Atelier Ink watercolored card with some pastel pearls. Thanks for joining me! 

Friday, August 27, 2021

Trinity Stamps | Autumn Release Video Hop

Welcome to Trinity Stamps Autumn Impressions Release! We have some amazing new Trinity Stamps products to share and awesome inspiration from our DT. Today we have an IG hop AND a video hop to share with you.


I used the new Pick of the Patch 4x11 Stamp Set for my project. I LOVE how big the main stamp is! You can easily use the image on a slimline card, a 5x7 card, or an A2 card! I white heat embossed the pumpkin patch and added some of the optional jack-o-lantern faces to create a haunted pumpkin patch and watercolored them with shimmer watercolors. I accented the card with some glitter cardstock and a patterned paper from the Rainbow Brights Slimline Paper Pack


I hope you enjoyed this spooky tutorial! The Pick of the Patch 4x11 Stamp Set and the rest of the Autumn Impressions Release from Trinity Stamps is available NOW! Happy shopping! 

Thursday, August 19, 2021

Trinity Stamps | Summer Blooms 4-Bar Cards

Just look at these small 4-bar sized cards using the Trinity Stamps Summer Blooms Kit! They're just adorable! 


I am completely in love with the Summer Blooms Kit! Such gorgeous stamps and papers! I paired them with the 4-Bar Card Die Set and the A Sentiment for (Almost) Everything Stamp Set to create two quick cards! 


Friday, August 13, 2021

LDRS Creative | Corner Garden Watercolored Card

I love to watercolor! It was my first method of coloring that I fell head over heels for and I'm falling back in love with it again! I used the LDRS Creative Corner Garden Stamp Set and did some shimmer watercolor on this simple card. 


Whenever I watercolor I like to do clear heat embossing to raise the edges of my stamped image. It helps me stay within the lines! I stamped both images from the Corner Garden Stamp Set onto LDRS Creative Watercolor Cardstock with Raven Hybrid Ink and heat embossed them with Clear Embossing Powder


I decided to watercolor with shimmer watercolors, but I encourage you to use what you have on hand! These florals would be gorgeous colored with watercolor pencils, watercolor markers, or regular pan watercolors, too! I think the shimmer watercolors give an extra punch of something special to this simple card. 


I colored my images with coordinating colors of paints - pink, blue, and purple - so that the colors wouldn't clash. Once I was done painting I quickly heat set my paints so that they would be completely dry before I die cut the images with the Corner Garden Die Set


I die cut the Floral Mosaic A2 Coverplate Die from white cardstock and mounted it with foam tape on top of a piece of light blue cardstock. I added my painted flowers on top with foam tape for dimension. 


I stamped a sentiment from the Garden Grandeur Slimline Stamp Set and fussy cut it with scissors and added it to the center of the flowers with foam tape to finish the card. Thanks for joining me!