Christmas is just around the corner, and time is running out to get those holiday cards in the mail! Here's a quick and simple design idea using the LDRS Creative Christmas Inlay Stamps - perfect for creating a stack of festive cards in no time!
In this video, I made four cards in about fifteen minutes. That's pretty quick! If you need a bunch of cards and don't have a lot of time on your hands, this is definitely the way to go. I chose to stamp the deer and trees from the Christmas Inlay 6x8 Stamps, but there are a few different motifs that you could stamp. I stamped my scene and sentiments onto white cardstock and trimmed the panels down with the Hand Torn Squares Dies. I used those same dies to cut out red and green cardstock for layering.
I'm going to be mailing these cards, so I only put foam tape behind the white stamped panel, but if you're hand delivering you cards, you could go crazy and pop up each layer for lots of dimension. That's it! I hope you all have a fabulous day!
I have a sweet treat to share with you! This delicious set of cards would make a fabulous gift for a friend or family member! Join me on the LDRS Creative YouTube Channel for the video tutorial!
I love making sets of cards! They're great to keep on hand for teacher gifts or for whenever you need to send out a handful of cards. I used the Tutti Fruiti Impress-ion Letterpress Dies along with some other supplies to make this quick set of mini slimline cards.
I used Raven Hybrid Ink and pressed the three images from the Tutti Fruiti Impress-ion Letterpress Dies into Neenah cardstock. Usually, I would use watercolor cardstock, but I knew I wanted to do Copic coloring. Copics and watercolor paper don't mix well, so I just added an extra shim to my Betterpress and used Neenah. While I had my Betterpress platform out, I made a few sentiments for my cards using the Love & Friendship Sentiments Impress-ion Letterpress Dies.
I used my Copic markers and colored all three of my images and then used the coordinating dies to cut them out.
I love using coverplate dies to create a bit of interest in the background, but still keep the focus on the image in the forefront. I cut white cardstock with the Slimline Basket Weave Pocket Dies and added a black backer. All that's left is to add the images and sentiments to the center of the cards.
I hope you enjoyed this short and easy tutorial! I'll see you soon!
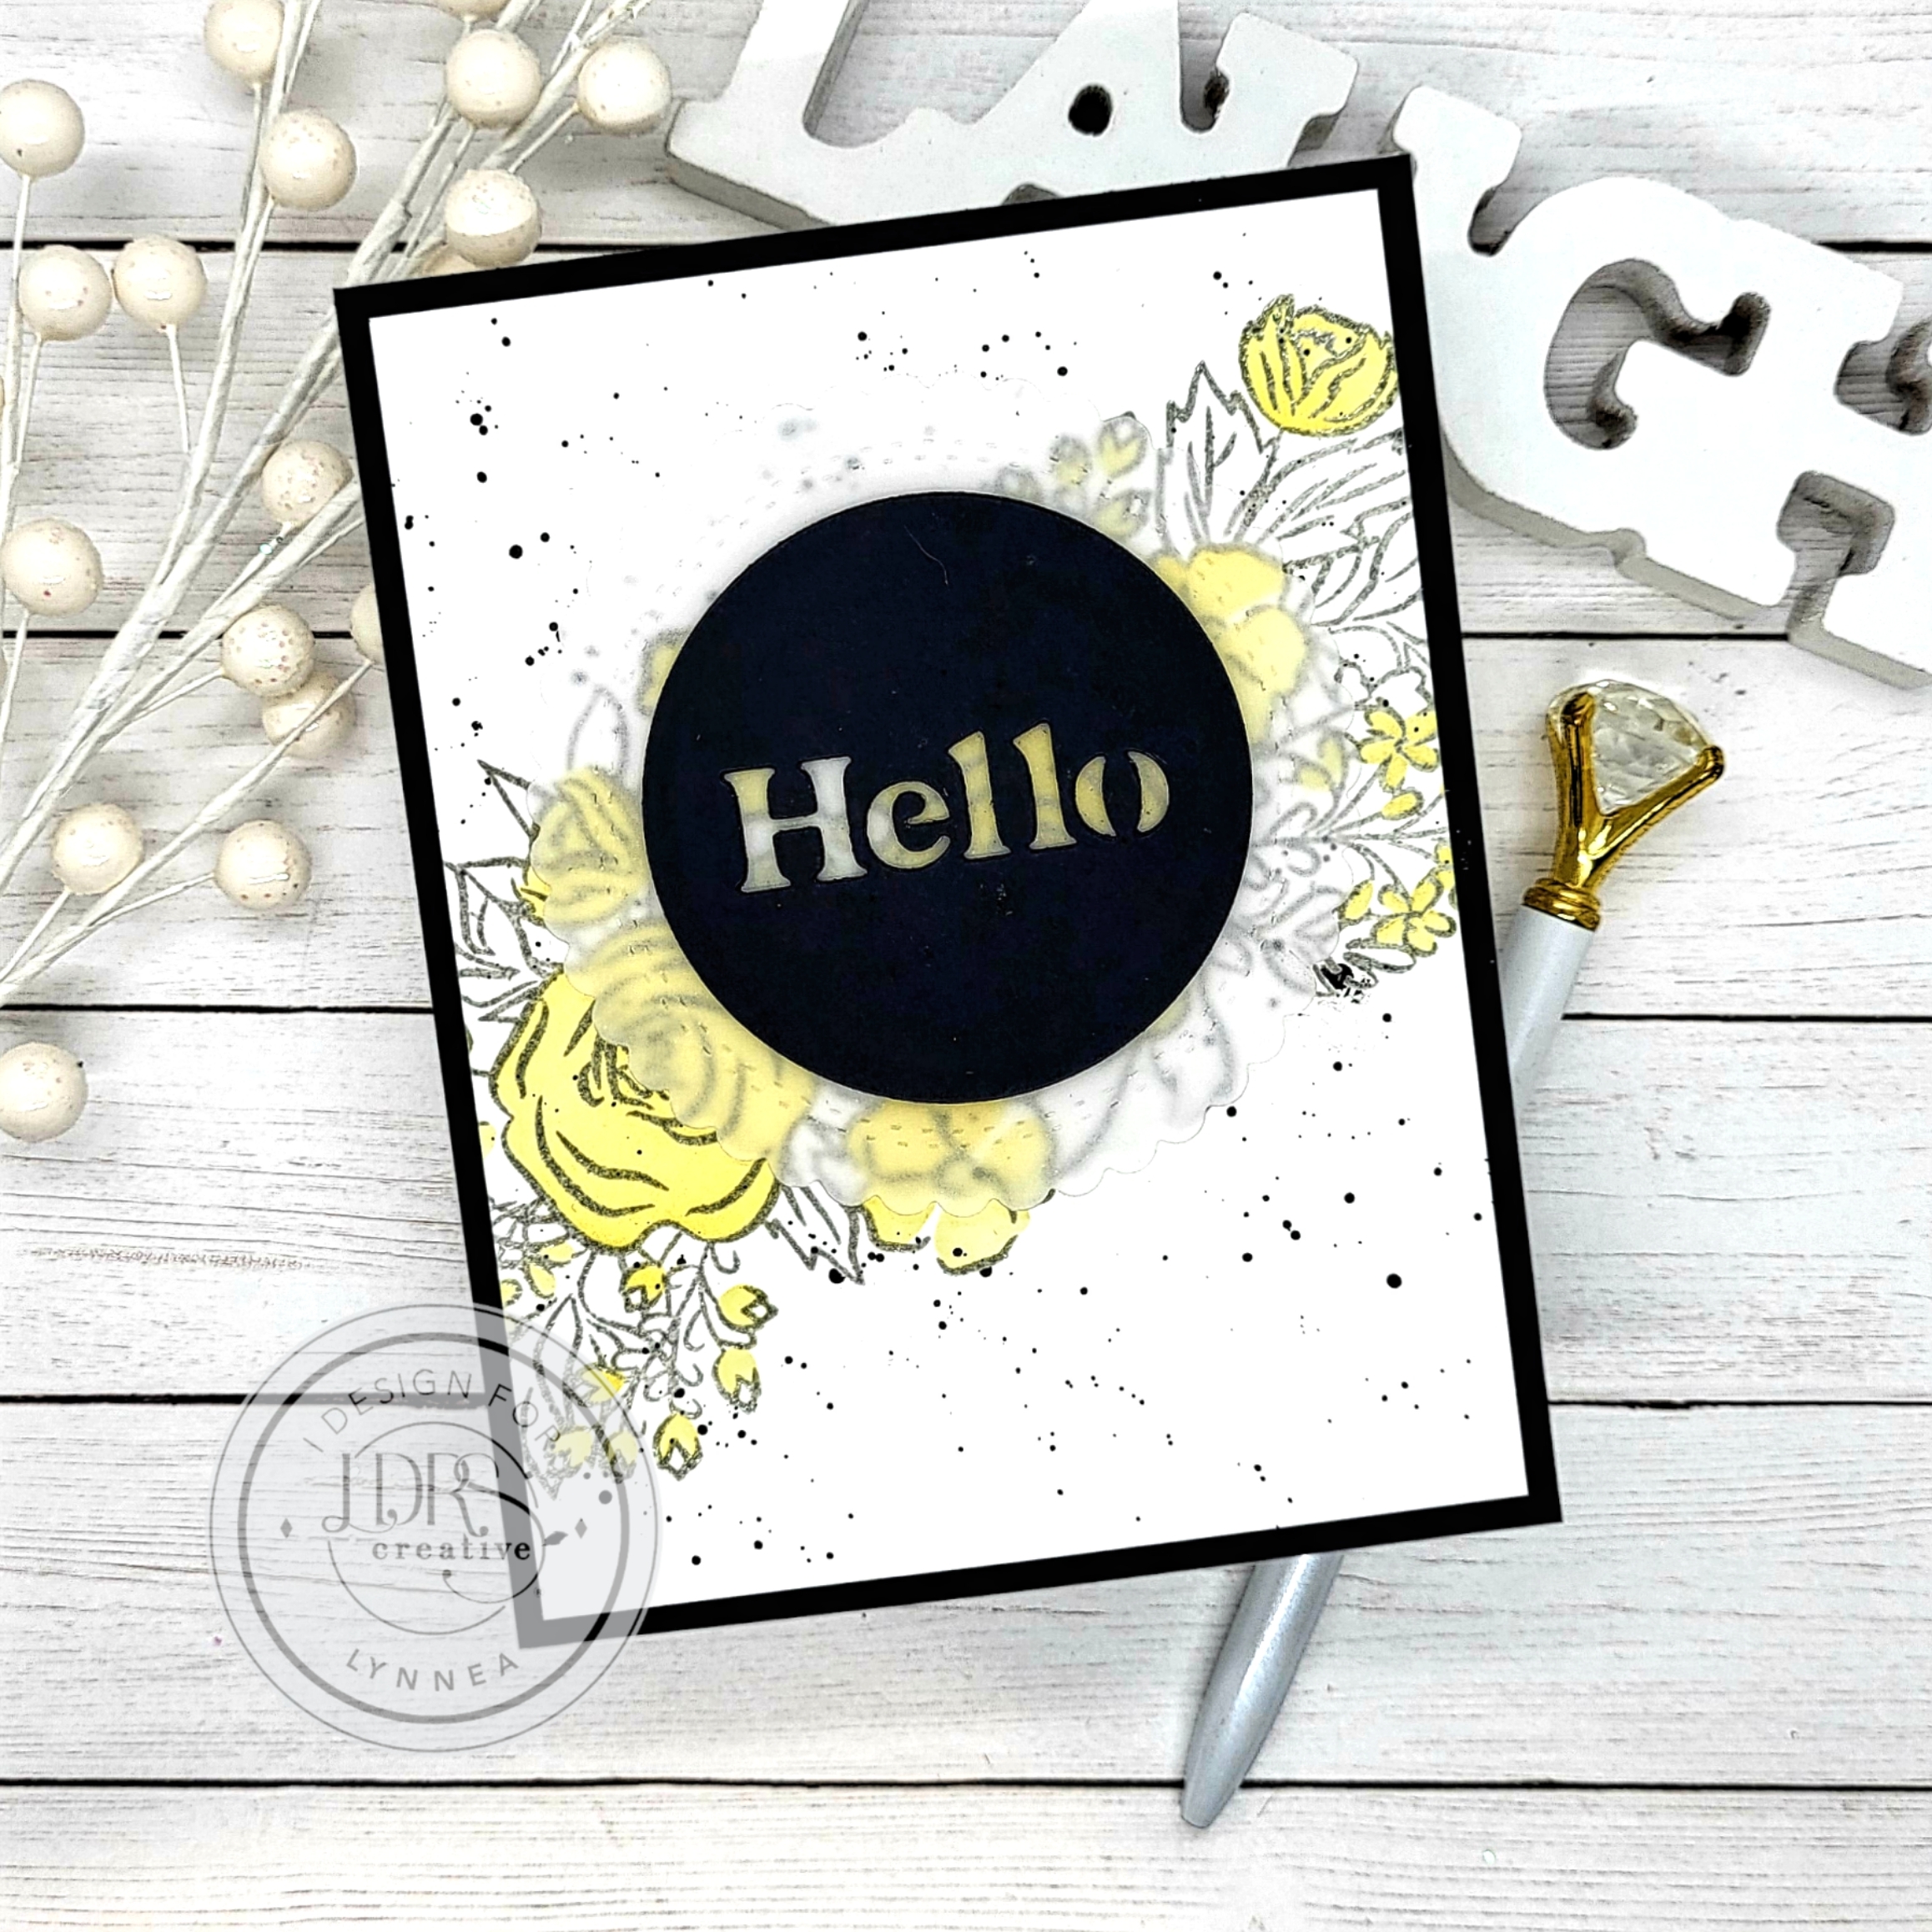
Have you heard the news?! There's a HUGE BLACK FRIDAY BLOWOUT SALE happening NOW at the LDRS Creative online store! I thought I'd give you some inspiration using three of my favorite LDRS Creative slimline floral stamps and layering stencils to create subtle backgrounds with little pops of color. Check out the LDRS Creative YouTube Channel for the full video tutorial! **This sale is for a limited time only and expires Sunday, November 12th at 11:59pm ET!**
Let's stretch our stash and use slimline stamps in a new way! I made three quick and easy cards using the same technique for each card. It's a great way to create a set of cards that have the same aesthetic, but are slightly different - great for gift giving!
I grabbed the Garden Grandeur, Tropical Floral, and Thankful Flowers Slimline Stamps and stamped each image diagonally across a piece of white cardstock. I knew I wanted to ink blend, so I needed to seal in the ink so that it didn't smear when I blended over the top. I used a simple inking technique so that I could add clear embossing powder. I used a stamping platform and first inked with Watermark Emboss Ink and then inked right over that with Alloy Hybrid Ink. This doesn't damage the pads in any way, but it gives me a bit more working time to add the embossing powder and heat set the image.
I used a selection of stencils from the Garden Grandeur, Tropical Floral, and Thankful Flowers Slimline Layering Stencils to add color the base of the flowers of each image. I didn't add any dimension or any color the greenery - I just wanted a little pop of color in the background of each card. I used Soft Kisses, Marina Madness, Lantern Yellow, and Dan-D-Lion Hybrid Inks to create monochromatic backgrounds. Once my stenciling was completed I added black watercolor spatters and trimmed each panel to 4" x 5.25" and added them to black card bases.
I wanted a bold sentiment, so I die cut the Circle Phrase Insert Dies from black cardstock three times each and used liquid adhesive to stack them together to create a more dimensional element. I cut the largest die from the Double Stitched Scalloped Circle Dies to cut vellum and adhered the black sentiments onto them. I added them to the center of each card with foam tape.
That's it! I love looking at my supplies and using them in different ways. It makes me feel so accomplished! Don't forget!! All three of these slimline stamps and layering stencils are on a SUPER SALE, but only for a limited time! Shop the Black Friday Blowout Sale NOW through Sunday, November 12th at 11:59pm ET!
I love working with patterned papers and ephemera pieces because you can create many projects super quickly! I used the LDRS Creative Favorite Things Paper Collection and made three different sized cards in a jiffy!
You could make any of these cards in any size, but I decided to make three different sizes - a standard A2, a square, and a mini slimline card!
Next up is the square card! I don't particularly like making card bases, so I make them in bulk! I'll spend a day just scoring and cutting A2 card bases so that I have them ready to go. When I want to make a square card I just take an A2 card base and trim it to 4 1/4" square. I chose a striped patterned paper from the Favorite Things 4x9 Paper Pack. It's the perfect width to add to a square card and have a slight border around all four sides. I used the largest die from the Delicate Stitches Scalloped Square Dies and cut a white frame and added it to the patterned paper. I grouped together a bunch of fruit images from the Favorite Things Ephemera Pieces and added them to the card with foam tape. I stamped a sentiment from the Cosmos 4x6 Stamps and cut it out with the coordinating dies. Card number two is done!
My third card is a mini slimline card - 6x6 paper packs are a match made in heaven for this size card! I cut a card base and folded it to 3"x6" and trimmed a piece of paper from the Favorite Things 6x6 Paper Pack to 2.75" x 5.75". I also cut a strip of gingham check paper to 0.75" x 5.5" and a white strip to 1"x5.75" and added all the pieces to the card base. I chose some of the sweet treat images from the Favorite Things Ephemera Pieces and arranged them in a line across my card. I added a sentiment and that's it!
I hope you enjoyed walking through these three cards with me! They were super easy to make! I hope this inspires you to grab your Favorite Things papers and ephemera pieces and start playing!
I send SO many thank you cards this time of year, so I thought I would make a set with some LDRS Creative Stamps. These cards can be easily mass produced and work fabulously for last minute gifts, too!
This love how bright and happy these cards are! And I was able to make them quickly and use up some of my colored cardstock! I cut down five pieces of white cardstock to A2 size (4.25" x 5.5") and used the gridlines on the Rectangle Spotlight 6x6 Stencil to line up the rectangle in the center of the panel.
I removed the stencil, cleaned it, and positioned it over a second piece of white cardstock. This time I blended In Your Face Hybrid Ink and Dan-D-Lion Hybrid Ink over the stencil.
My last color combination is Grape Ape Hybrid Ink and La La Lavender Hybrid Ink. Remember to clean your stencil in between each color combination so that you don't have ink cross contamination! If you wanted to save more time you could just use one color combination and save yourself the time of cleaning your stencil between each panel.
I chose a pretty image from the Floral Silhouette 4x6 Stamps and positioned it in the center of each of the rectangles and placed the sentiment from the Thank You Flowers 4x6 Stamps beneath the ink blended rectangle. I used Raven Hybrid Ink and stamped the same image on all five panels. I cut them down to 4"x 5.5" and used foam tape to pop them up onto coordinating colored card bases. If you don't want that extra pop of color you could stamp and ink blend directly onto white card bases. That's it! I'll see you again soon!
I'm gearing up for the Holidays and my mass production ideas are in full swing! I love to make simple cards and add a touch of something special, so I used the LDRS Creative Gingham Check Stencils to make a glittery set of Holiday cards!
I sprayed the back of the second layer of the Gingham Check Stencils with a temporary adhesive and added it on top of one of my ink blended panels. I used a spatula and spread gold glitter gel over the top, removed the stencil, and added the glitter gel onto the two remaining panels.
I trimmed down the ink blended panels to 4" x 5.25" and added them to A2 top-folding card bases and popped up the sentiments near the top center of each card.
That's it! This card design can be easily replicated and is great for mass production for the Holidays! Thanks so much for stopping by!
Adding some shimmer watercolors is such a quick and easy way to step up your die-cuts and create pretty multicolored backgrounds!
I love that you can add a bunch of color super easily to a large background and then cut it into pieces to add colorful accents to a card. The new Aspen Leaves, Ginkgo Leaves, and Myrtle Leaves Dies are perfect for this!
I started with a full sized sheet of watercolor cardstock and colored the entire piece with shimmer watercolor powders. These are an inexpensive medium that go a LONG way! Just add a bit of powder, spritz with water, and watch the magic happen! I used yellow, blue, and red so that they would mix to create new colors on the background.
Once the background was complete I used the Aspen Leaves Die, Ginkgo Leaves Die, and Myrtle Leaves Die to cut the background. I was left with a bunch of multicolored leafy pieces! I completely covered the backgrounds of two cards and used a leftover piece on a third card.
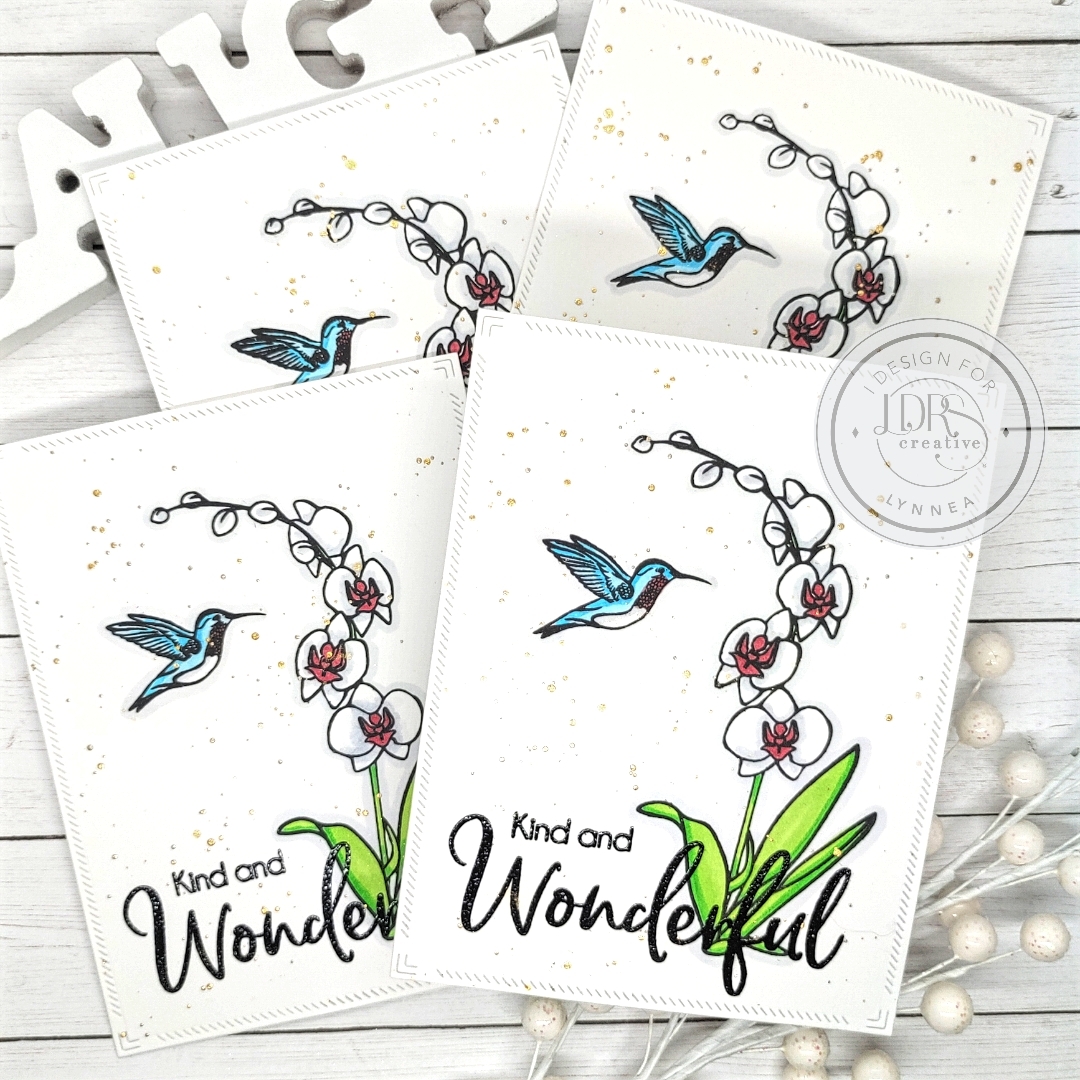
Do you ever find yourself needing a quick set of cards? I like to give them as gifts to friends, teachers, family, etc. I used the new Orchid Stamp Set from LDRS Creative and whipped up this set of cards in about 30 minutes!
This set of cards was so simple to make, but I added little details along the way to step up the design. Remember that you can always add or take away as many details as you like. There are lots of ways to simplify this set of cards and make them even quicker to make!
I started by using the largest die from the A2 Diagonal Stitched Layered Card Toppers to cut four panels of white cardstock. This is a small detail that just brings a little bit of life to the card. It's a step that can absolutely be skipped if you want, but I like the bit of interest.
I used my stamping platform and stamped the orchid and hummingbird from the Orchid 4x6 Stamp Set with Raven Hybrid Ink onto each of the four panels. My STAMPendable Stamping Tool came in handy to make sure I got clean, crisp stamping each time. I added some quick alcohol marker coloring using just two markers for each color. I color slowly, so I like to keep coloring simple when I'm mass producing a design.
Once my coloring was completed I used Raven Hybrid Ink to stamp the sentiments from the Orchid 4x6 Stamp Set. Here's another tip to step up your card! I wanted to make my sentiment stand out from the colored image, so I added LDRS Creative Clear Embossing Powder and quickly heat set the sentiments. This is another step that you could skip, but it really makes the sentiment pop!
There's only one last thing to do before I call these cards finished - add a bit of shimmer watercolor spatter! It's my favorite finishing touch and I couldn't let these cards go without a bit of sparkle! I flicked on some gold shimmer watercolor, added the panels to card bases, and these cards are done! Thanks so much for joining me! See you again soon!
Welcome to Annalisa's 1K Subscriber Video Hop! I'm honored to call Annalisa my friend and so proud of her HUGE accomplishment!
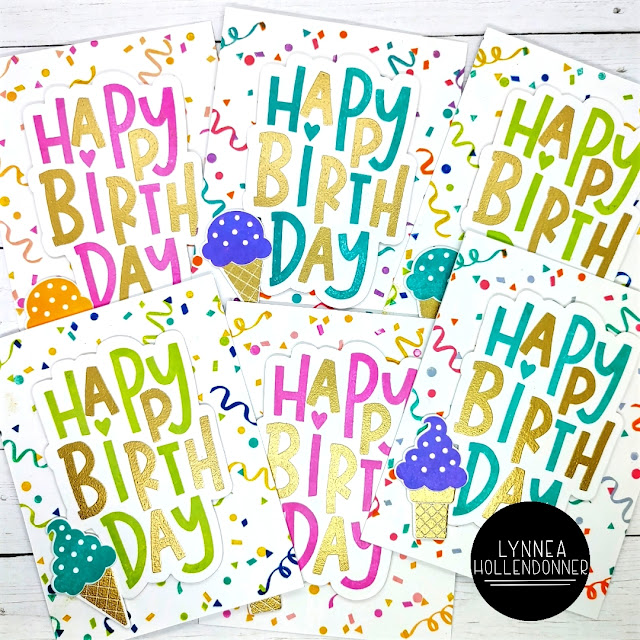
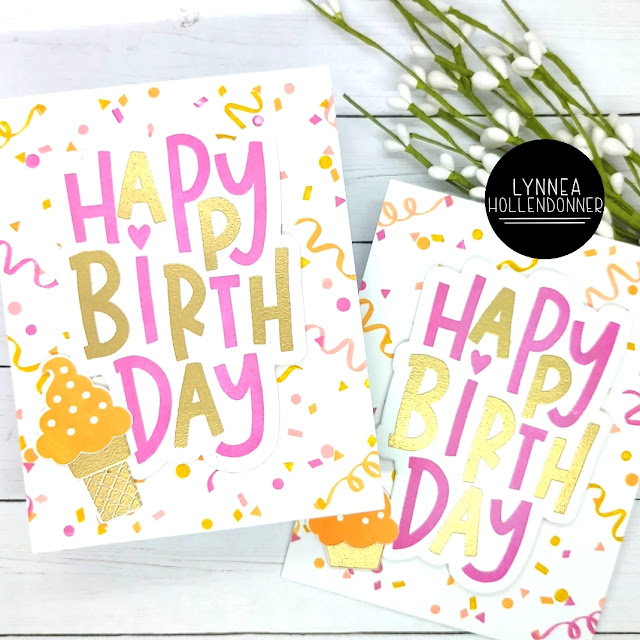
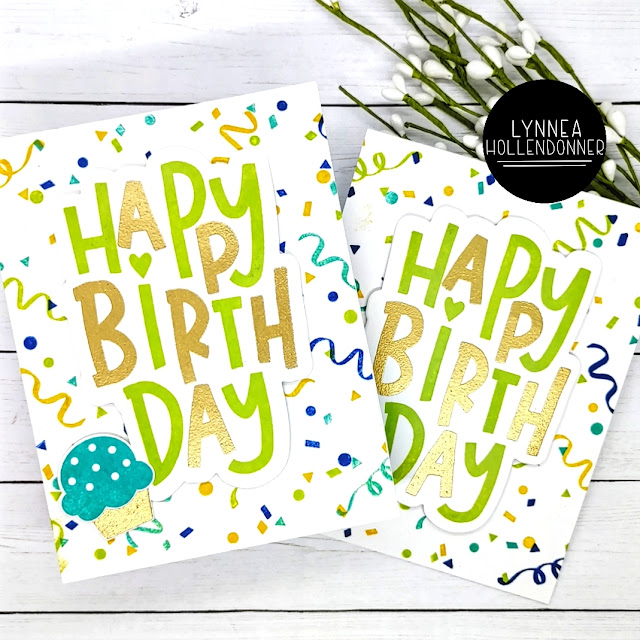
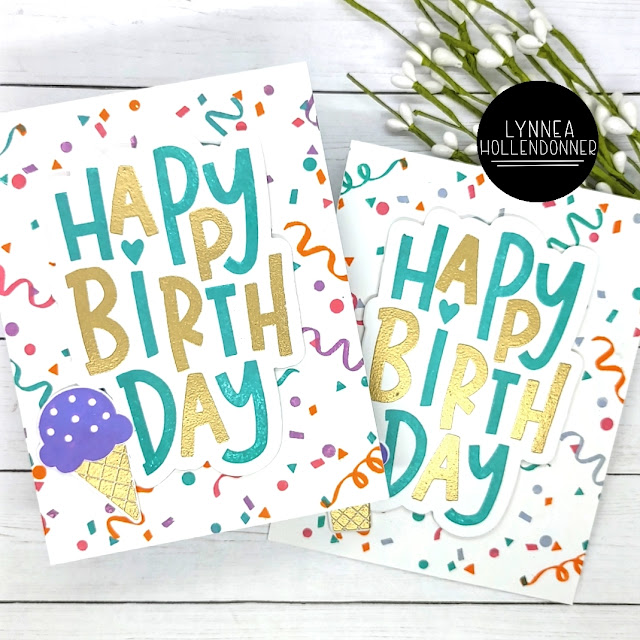
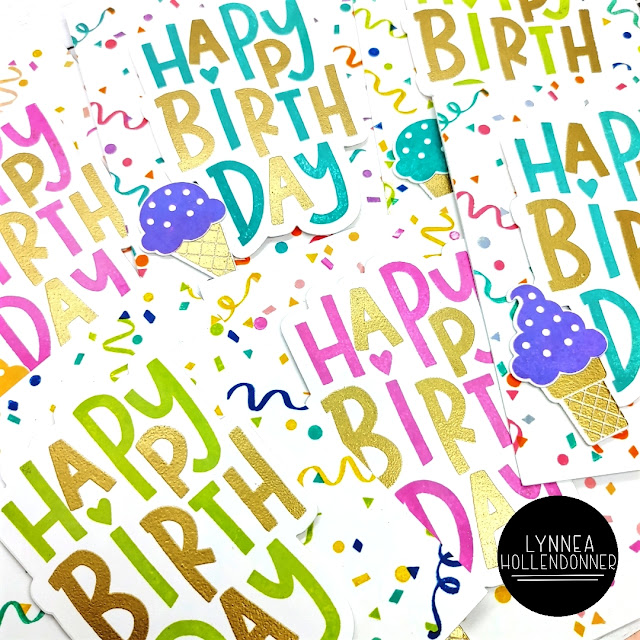
One of Annalisa's favorite techniques is heat embossing, so you'll see lots of heat embossing inspiration throughout the hop! I kept it simple with. some heat embossed sentiments and solid images for my set of cards.
I really need to work on bulking up my stash of birthday cards, so I grabbed some Concord & 9th birthday themed products that were still fresh and new in my craft room!
I stamped the ice cream and cupcake tops from the Birthday Scoops Stamp Set with colored inks and then heat embossed the cupcake wrappers and cones for another pop of shiny gold color.
I hope you enjoyed this set of cards! And a HUGE congratulations to Annalisa for hitting the 1K YouTube subscriber milestone!