Showing posts with label The Hedgehog Hollow. Show all posts

Tuesday, July 23, 2019

Seashell Wreath Card

Hey, there! I have a simple card to share using products from the June 2019 box from The Hedgehog Hollow. I used the Gina K Designs Wreath Builder Stencils to create a rainbow wreath of seashells! Watch my how to video for a full tutorial!


I started with a piece of 4" square cardstock and the Gina K Designs Wreath Builder Stencil. I positioned my seashell at the top of my card and stamped with black ink. I cut a mask from a full stick post it and masked off the shell, rotated my cardstock, and stamped again. I repeated the process until I had a full wreath of seashells and then colored them with alcohol markers.


I stamped and white heat embossed a sentiment onto black cardstock, added some gems, and matted my stamped piece and added it to a 4.25" square card base. Here's my video!


Thanks for watching!

Tuesday, July 16, 2019

Waves of Change

Hi, everyone! I love to use every little bit of my boxes from The Hedgehog Hollow! I mean every little piece! 


Do you recognize this little whale? He's not a stamp ... he's actually from the custom printed card welcoming you to the June 2019 box! I always find a way to use the custom prints. They're just too gorgeous to throw away!


I chose a piece of patterned paper from the box to be my background and trimmed it down to cover my card front. I trimmed out the whale with scissors, but I thought he was just a tad bit too big, so I adhered him hanging off the left side of the card and trimmed away the excess.


I stamped a sentiment onto a strip of white cardstock and tucked it behind the whale. I added some gems to finish off the card! I hope this inspires you to use everything you get in your boxes! See you soon!

Tuesday, July 9, 2019

Real and Faux Watercolor with The Hedgehog Hollow June 2019 Box

Hey there! Today I'm creating two cards using the June 2019 box from The Hedgehog Hollow! I created simple watercolor backgrounds and added "faux watercolor" patterned paper on top! And I took quite a journey to come up with these two cards ... check out my video to travel along with me! Haha! I'll just leave the shortened and final version here!


At first I was drawn to the large zentangle fish image and stamped and heat embossed him with gold fine detail powder. I trimmed out the image with my scissors. As I flipped through the papers included in the box I fell in love with the watercolor wave paper! I trimmed around the wave images so that they would fit with my card design.


The watercolor wave images weren't standing out against my white card bases - so I decided to add a bit of color with my Altenew Watercolors. I wanted to keep the background loose and flowey so I used plenty of water and dropped in color randomly.


I had stamped a second zentangle fish in black and it was too intense for this card design, so I used the Seahorses stamp set to stamp out a layered seahorse. SO SO SO cute! I added all my pieces together and added a stamped sentiment strip on top!


Thanks for watching!


Tuesday, July 2, 2019

Liquid Watercolor Flowers

Hey, everyone! One of my favorite things to do when I'm making cards is to go back and use older products that I haven't used in a while. Sometimes I get so wrapped up in what's new and forget my older favorites. Today I'm going back to the September 2018 box from The Hedgehog Hollow and using one of my favorite stamps!


The Bountiful Blooms stamps from the September 2018 box are so gorgeous! There's such a wide array of florals and leafy stems! I stamped a bunch of them over my card base using a light gray ink. I wanted to fill in some of the empty white spaces, so I used my stylus and added some dots of gray ink in between the flowers and stems. I stamped out the large floral cluster onto watercolor cardstock and colored it with my liquid watercolors. I love liquid watercolors because they're so pigmented and vibrant!


I cut out the floral cluster and added it to the front of my stamped card. I added a stamped and heat embossed sentiment and backed it with gold glitter cardstock for some extra bling! And that's all! Thanks for stopping by!


Tuesday, June 25, 2019

Soft Messy Watercolor

Hi, everyone! I've been obsessed with my Arteza Brush Pens ever since I got them! I used them along with the Sophia Frames stamp set from the May 2019 box from The Hedgehog Hollow.


I stamped my FAVORITE frame image from the Sophia Frames stamp set with Nuvo Black Hybrid ink. I love this ink because it is waterproof and detailed! I added some green to the center of the leaves and some purple to the center of the flowers with my Arteza Brush Pens. I grabbed some clean water and a small waterbrush and pulled the colors to the edge of my stamped image. But I didn't stop there! I wanted a messy watercolor look, so I pulled the color out beyond the stamp lines - keeping it soft and light.


I added some light purple to the center of the circle and stamped the sentiment in the middle. I added some gems around my floral cluster and that finishes my card!


I hope you love this simple card! I'm so obsessed with this floral frame! See you soon!


Tuesday, June 18, 2019

Arteza Watercolored Flowers

Hi, everybody! I'm still loving the May 2019 card kit from The Hedgehog Hollow! I have some simple watercolored inspiration for you today!


This little teapot image is one of my favorites from the Sophia Bouquets stamp set. I stamped it with waterproof black ink onto Bristol Smooth cardstock so that I could do some watercoloring with my Arteza Brush Pens.


I used simple 2 color blending and coloring for each area of my image. I added color and spread it around with clean water and then came in with a darker color marker and added shadows and depth. I thought there needed to be a shadow, so I used a blue/gray color so that my teapot wasn't floating in the air. I stamped a sentiment and added some black pearl embellishments!


This card was very quick to pull together! You could definitely make a whole bunch and give them as a gift set! Thanks for joining me today!


Tuesday, June 11, 2019

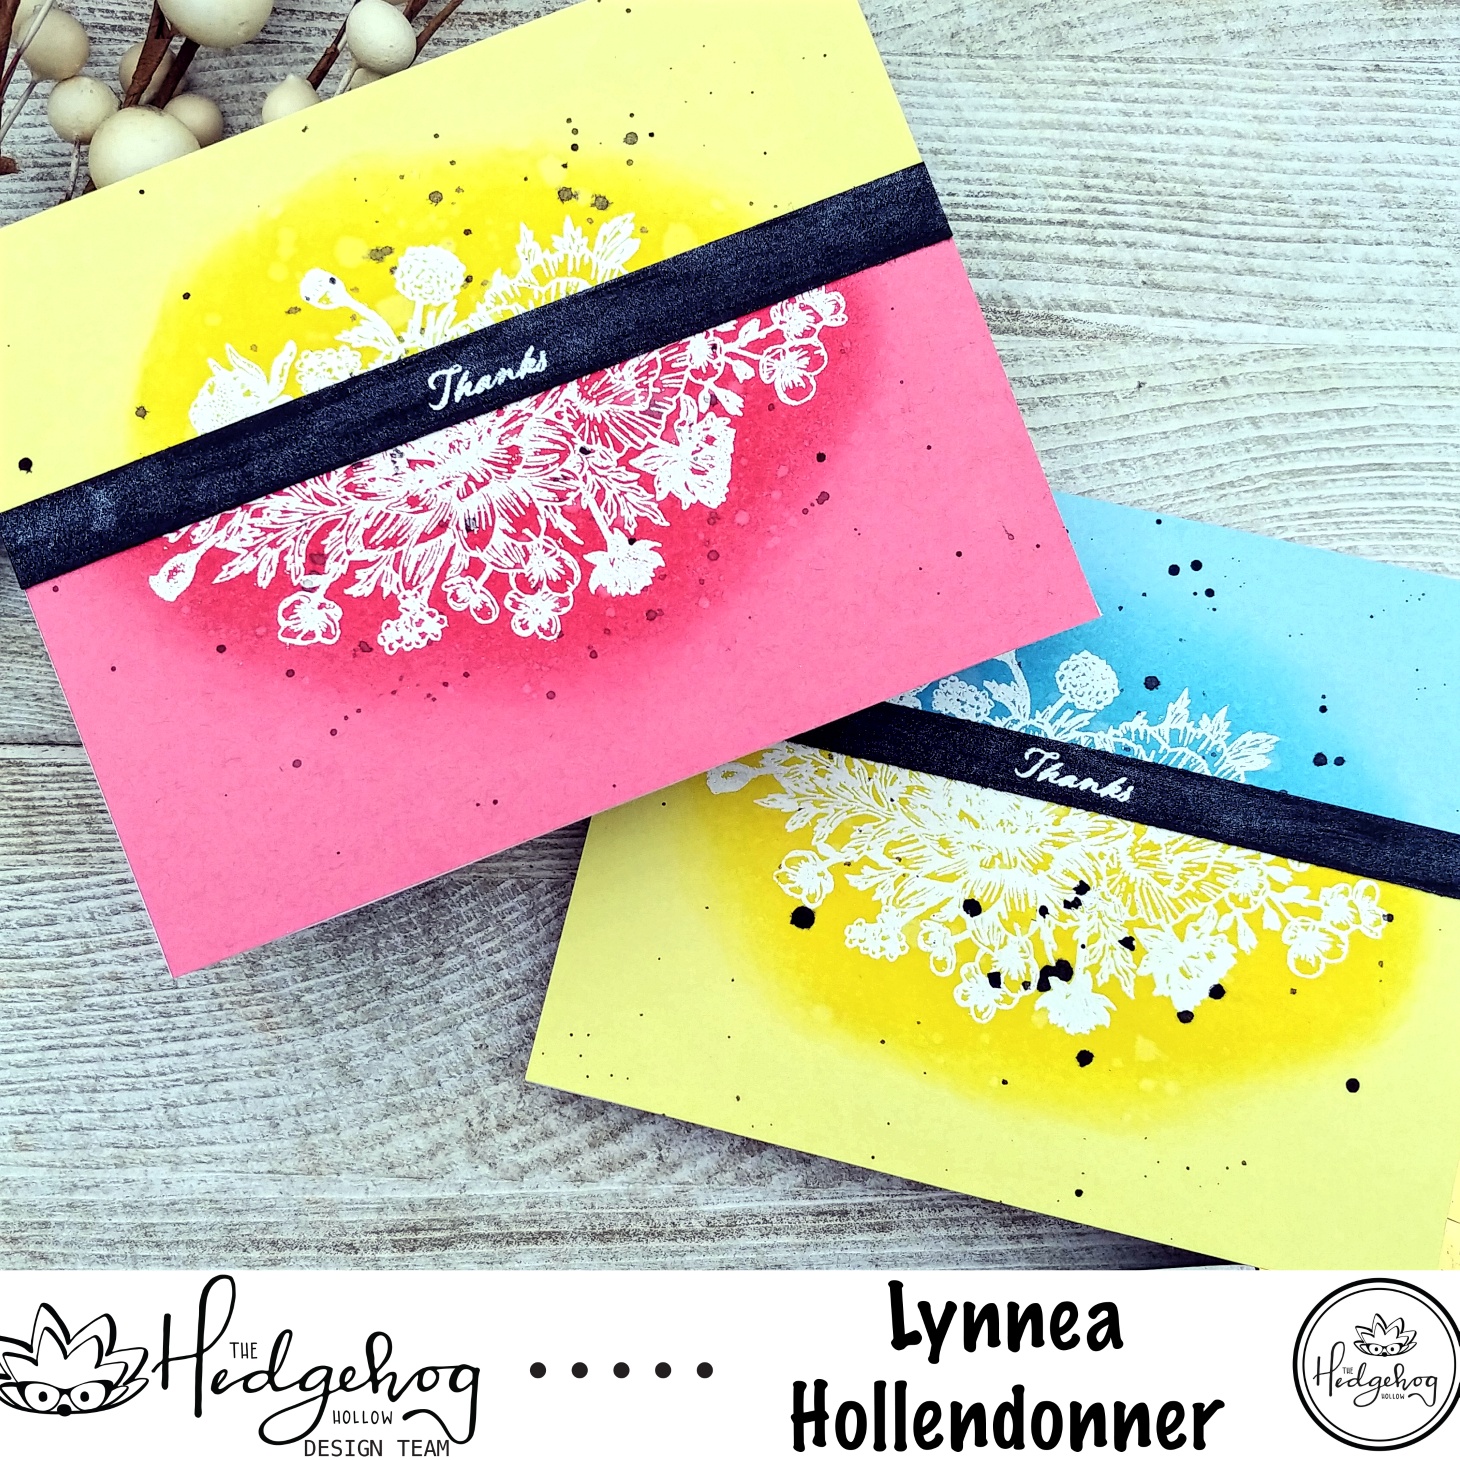
Split Card Design

Hi, everyone! I have another video to share with you using the May card kit from The Hedgehog Hollow! This box is amazing and it sold out super quickly, so make sure you head over to the online store and sign up for a subscription so you won't miss out on the next one!


I'm going to JunkieFest at the end of the month (who's going with me!?) and I need to make a bunch of thank you cards. I want to make them clean and simple - but I want them each to be a little different. I decided to grab the Sophia Bouquets stamps and create some simple split designs.


The box came with 5 colors of cardstock - but I've already used the coral, so I used the remaining 4 colors for these cards. I used my MISTI and stamped the large bouquet with Versamark ink onto all 4 pieces of cardstock and heat embossed the images with white powder. Then I held my breath and closed my eyes and chopped all of them in half! ....ish.... haha! I cut about a third off the top - maybe about an inch and a half. The embossing wasn't standing out enough, so I used some matching colors of Distress Inks and blended on a bit of ink to each piece so that the embossing would stand out. I also added some black ink spatters.


I arranged each of the pieces of cardstock so that every card would be different and added a black strip of cardstock across the "cutting edge" where the two pieces meet. I added a white heat embossed sentiment and some clear glitter to the black cardstock. Here's my process video!


Thanks for stopping by! See you soon!


Tuesday, June 4, 2019

Emboss Resist Floral Borders

Hi! I'm just so in love with the Sophia Borders stamp set from the May 2019 box from The Hedgehog Hollow! These large border stamps are gorgeous! I've used them on previous projects, but this one might be my favorite! I used some simple masking and emboss resist and I love the results! Find the process video at the end of this post!


All of these cards are simple to make and they're one layer! That makes them super easy for mailing! I plan to make a whole set of these to package together and give as a gift!


I stamped the floral border from the Sophia Borders stamp set near the top of my card and heat embossed it with white powder. Then I used Purple Tape to mask off the bottom two thirds-ish of my card and blended on some inks. I love the way the white embossing powder pops out as I add color!


Originally I had planned for the embossing to come off of the bottom of this card, but I liked it better at the top, so I flipped it and added a simple stamped sentiment!


There are two long floral stamps in the stamp set - I used one each on both of the cards above and decided to use both of them for my last card. I kept a white center and stamped the sentiment in the middle! You can see my whole process in the video below!


Thanks so much for watching! See you next time!


Tuesday, May 28, 2019

Simple Watercoloring with Distress Inks

Hey, everyone! I have a super simple watercolored card to share with you using the Sophia Borders stamp set in the May 2019 box from The Hedgehog Hollow!


This card is truly simple and can be made in just a few minutes! A perfect design for when you need a card quick and now! I started by positioning both of the border stamps from the Sophia Borders stamp set onto a card base and stamped with the black Nuvo Hybrid ink from the April box.


I smooshed down some Hickory Smoke Distress Ink onto my work surface and mixed in a bit of water and colored over the images creating a small halo of color. I stamped and white heat embossed a sentiment onto a strip of the coral cardstock from the box and trimmed it down to about 1/2 an inch and foam mounted it onto the center of my card.


I love how simple this card is but the pop of coral really packs a punch! Thanks for joining me! See you soon!


Tuesday, May 21, 2019

Rainbow Background with the May 2019 Box from The Hedgehog Hollow

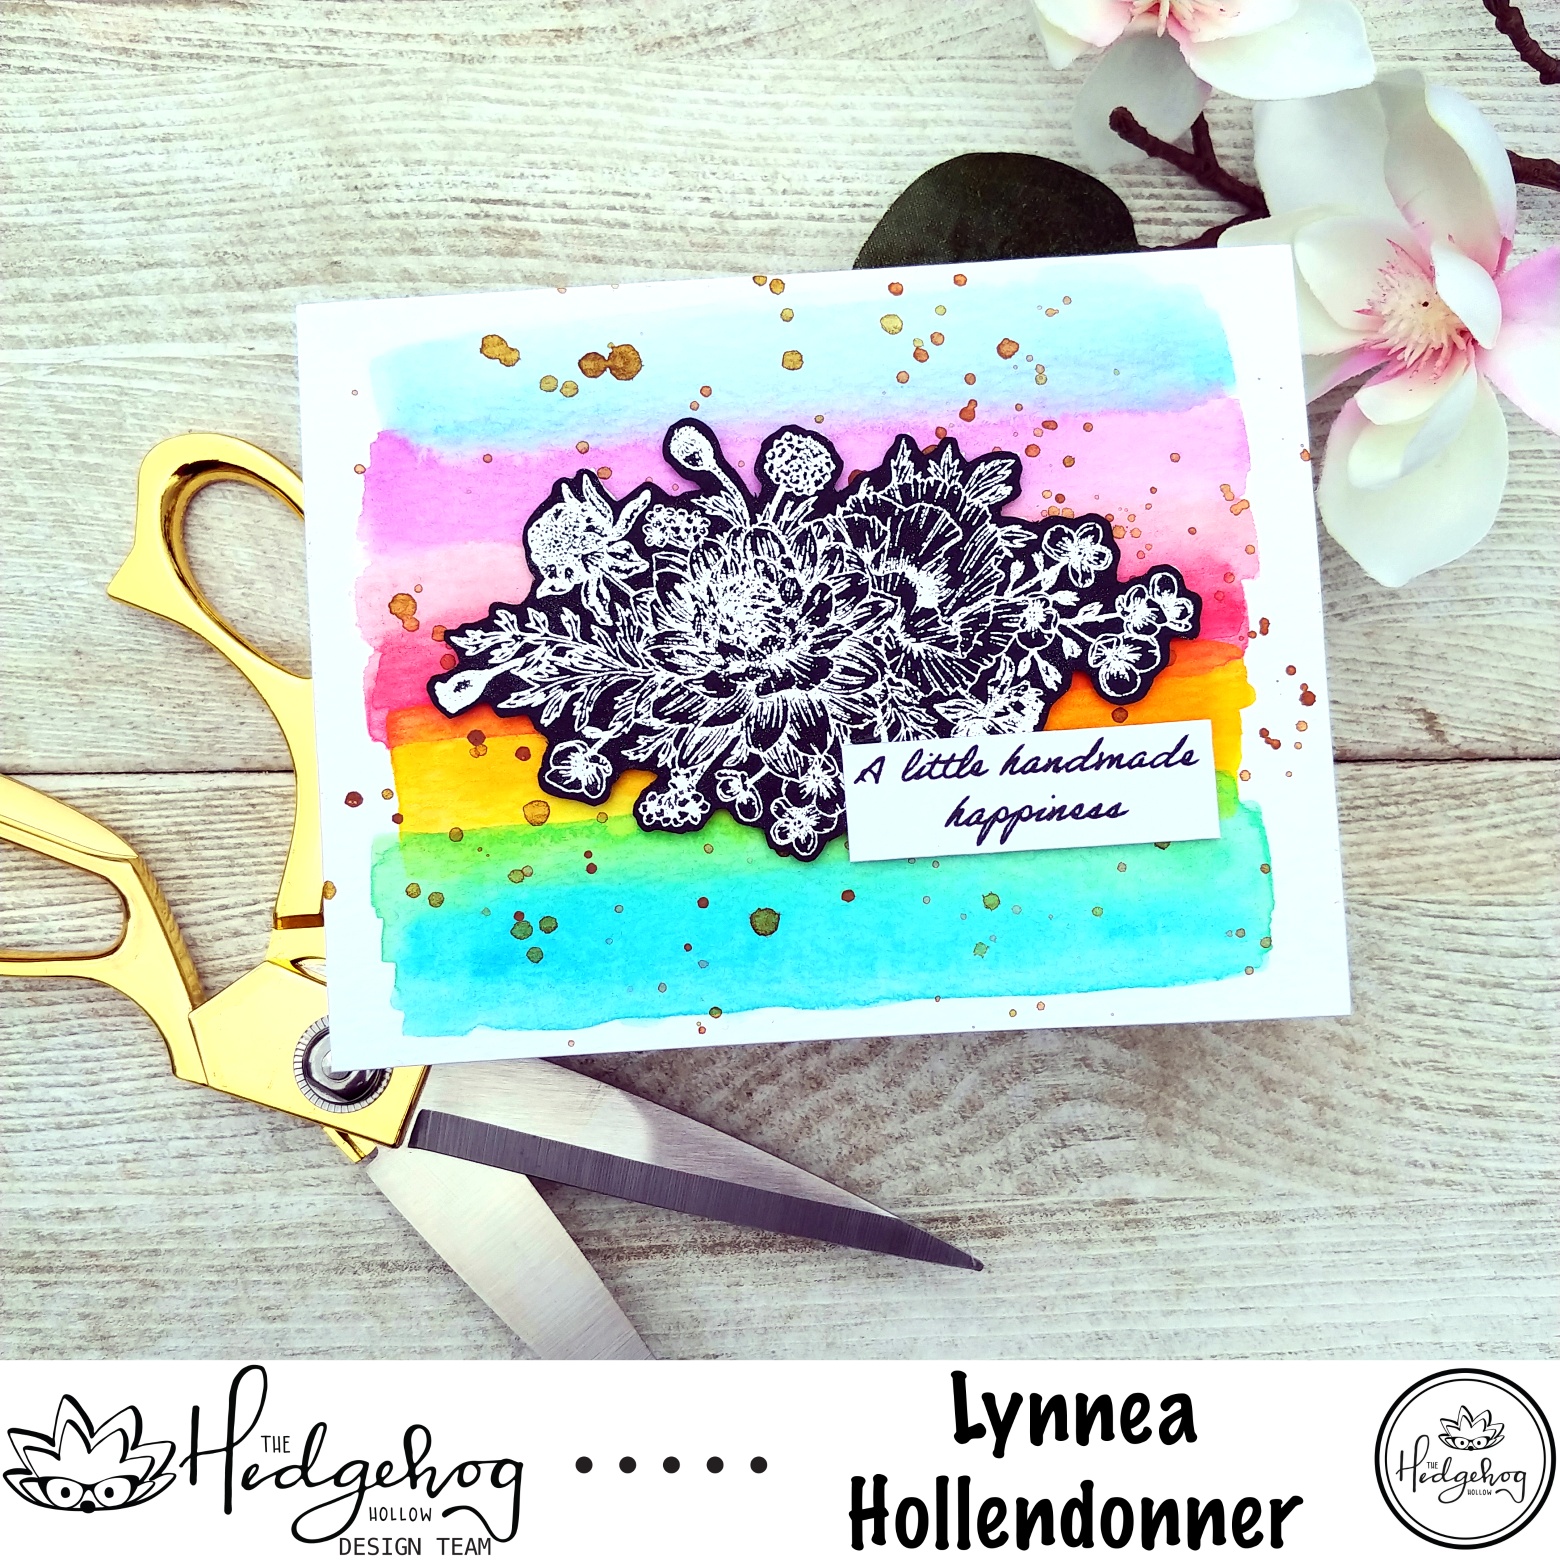
Hey, everyone! I am absolutely in LOVE with the three stamp sets in the May 2019 box from The Hedgehog Hollow! The detailed floral images are gorgeous! I hope you enjoy this watercolored background and heat embossed bouquet card!


I watercolored a striped background with the Prima Watercolor Confections Pastel Dreams set. I planned to just have a few stripes across the middle, but I ended up painting the whole rainbow and I love how it turned out!


I originally stamped and white heat embossed the image from the Sophia Bouquets stamp set directly onto my watercolored background. I tried to double stamp the image and I moved my paper and messed up my image. No problem! I stamped and white heat embossed the bouquet onto a piece of black cardstock and fussy cut around the outline. I mounted it with foam tape and placed it right over my botched embossed image. I stamped my favorite sentiment from the Sophia Frames stamp set to finish off the card.


I totally LOVE how the black with white embossing looks on top of the rainbow watercoloring! Check out my video below!


Thanks for watching!


Tuesday, May 14, 2019

Clean and Simple Sophia Frames

So it's no secret that The Hedgehog Hollow has AMAZING monthly kits, but this one is my FAVORITE so far! And it must be yours too because it's already sold out! How crazy is that! Make sure you head over to The Hedgehog Hollow shop and sign up for a subscription because next month is even better and I bet it will sell out just as quickly!


This month's box is packed FULL with 3 stamp sets, chipboard words, cardstock, envelopes, and if you're a regular subscriber there's an awesome stencil, too! I am in LOVE with the Sophia Frames stamp set and this floral frame in particular! It has a 'happy birthday' sentiment in the middle, but I used some scissors and easily cut out the center of the frame so that I could stamp just the flowers using some Fossilized Amber Distress Oxide ink.


I used the 'hugs' chipboard piece and used Versamark ink and three layers of WOW black embossing powder to give it some raised shine. I stamped a coordinating sentiment with Versafine Onyx Black ink in the bottom right corner of my floral frame to balance the image and called it a day! I LOVE the elegant simplicity of the frame! Thanks for stopping by!


Tuesday, May 7, 2019

A Little Birdie Frame

Hey, there! I'm still loving the products in the April 2019 box from The Hedgehog Hollow! The little Art Impressions birdies are adorable! I used them and some twig cut outs to create a simple framed card.


If you're like me then you have baskets of half finished projects sitting around. I rarely practice a piece before filming a video, but a few months ago I was working with new liquid watercolors and practiced before turning on my camera. As I was cleaning up I saw this background panel and I decided to use it! I stamped and cut four birds from the Birdhouse Cubbies stamp set from Art Impressions and colored them in with my Spectrum Noir markers. I wanted to use the little branch to frame up my heat embossed sentiment, so I used my markers again to give some color to the branches and leaves.


You could definitely make a set of these super quickly! I just love that little twig frame! Check out my video next!


Thanks for joining me!


Tuesday, April 23, 2019

Birdhouse Cubby Peek Through Cards

Hey, all! I´m playing with the Birdhouse Cubby stamp set from Art Impressions included in the April box from The Hedgehog Hollow! I try my best to show a variety of ways you can use a stamp set other than the obvious ... so today I have a set of birthday cards that only took me about 15 minutes to make!


These cards are super cute and have a peek through element that takes very little time, but adds a little bit of excitement! I started with 4 card bases and arranged the two birds that look like they´re flying and the sentiment in my MISTI and stamped all 4 cards at once with the Nuvo Black Shadow ink included in the box.


I cut out the birds by opening up the card and running it through my die cut machine. Make sure you open your card or you will cut through the back of the card as well!


I had left the bird stamps in my MISTI so that after my birds were cut out I could close my card again and place it back into my MISTI and stamp them again. Since I left the stamps in my MISTI I could stamp right through the shape that I had cut out and stamp onto the inside of my card.


I used my Spectrum Noir Triblend markers to color the birds four different colors. If you wanted to save even more time you could color them all the same way. To finish off the front of the card I added some gold spatters. I opened my card and used the Nuvo Aqua Shimmer pen included in the box and tapped on some gold paint onto the front of the cards.


I always find myself needing a birthday card or two and I was able to create these 4 cards very quickly and they´re great for guys or girls depending on how you color the birds! And that peek through element is so fun!