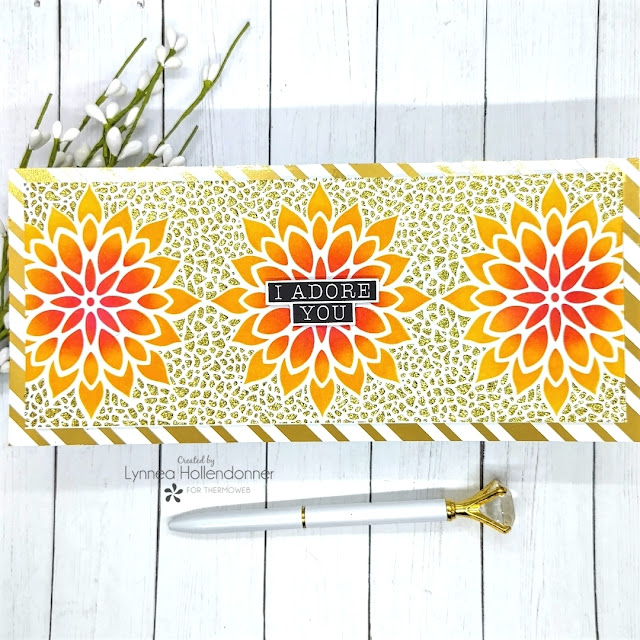
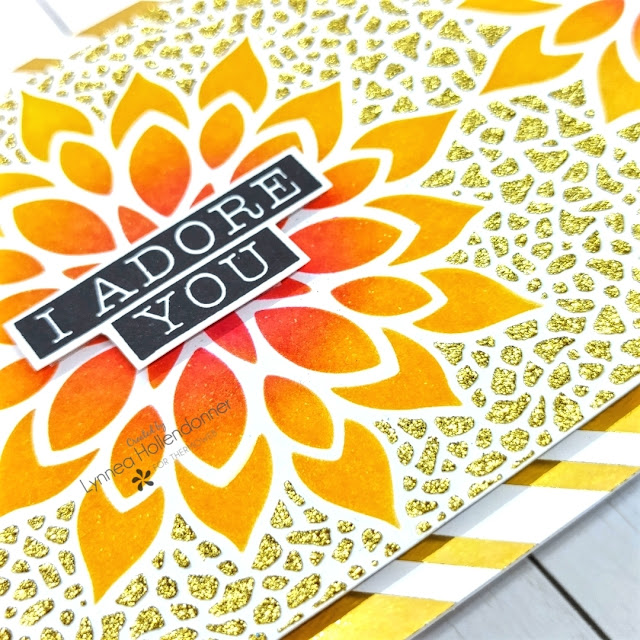
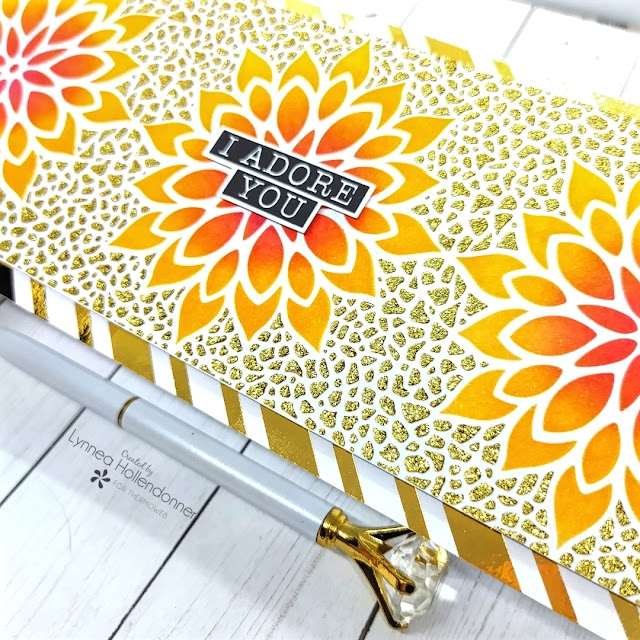
Let's start with the pretty background! I used two colors of foil and two patterns from the Creative Backgrounds I 6x6 Toner Paper Pack. I am completely OBSESSED with the granite-styled pattern and I knew that I wanted to use it on my card. I trimmed it down to the size of an A2 card, placed a piece of rainbow colored foil pretty side up onto the toner design, and ran it through my laminator. Pure perfection! I decided to trim a bit off the bottom and bring in a second foiled design. I repeated my process with a striped pattern and a silver star foil. I love the mix of colors and pattern!
I stamped the tulip and a couple of butterflies from the Tulip Stamp Set onto a separate piece of cardstock with Raven Hybrid Ink and colored them with alcohol markers. I used the Tulip Coordinating Dies to perfectly cut out my images.
I stamped my sentiment from the Tulip Stamp Set directly onto my background, but it just didn't stand out against the foil, so I went on to my backup plan! I stamped the sentiments onto white cardstock with Raven Hybrid Ink and cut them out with my scissors and popped them up onto my card with foam for a bit of dimension. And that's it! See you soon!
This card is perfect to send to a friend to remind them how amazing they are! I used a handful of LDRS Creative products to make this happy little card.
Let's start with that amazingly shiny background! I foiled a paper from the Floral Toner Toppers 6x6 Paper Pack with a gold glitter foil and my laminator and set that piece to the side to use for another card. You could definitely use it for this card, but I wanted a bolder background. When you foil the Toner Toppers you're left with a gorgeous negative piece of foil that you simply can't throw away! I trimmed down a piece of paper from the Toner Sheets 6x6 Paper Pack and added the negative piece of foil on top and ran it through my laminator. Now I have a second, bolder background and none of my pretty foil is wasted!
It's quite simple to finish off the card from here! I popped up a couple of floral images from the Lovely Watercolor Ephemera Pieces and added them to the corners of my card. I stamped a sentiment from the Everyday Sayings Stamp Set with Raven Hybrid Ink and used the Everyday Sayings Coordinating Dies to cut out the sentiment. I love this die set because not only can you cut out the sentiments, but you can cut a shadow piece, too! I added my sentiment with foam tape between the flower pieces and finished the card with Lovely Watercolor Enamel Dots. Thanks for joining me!
It's time for an Instagram hop to celebrate the ThermOWeb and Simon Hurley create. collaboration week! After you watch my video be sure to check out Instagram for a hop full of inspiration and giveaways!
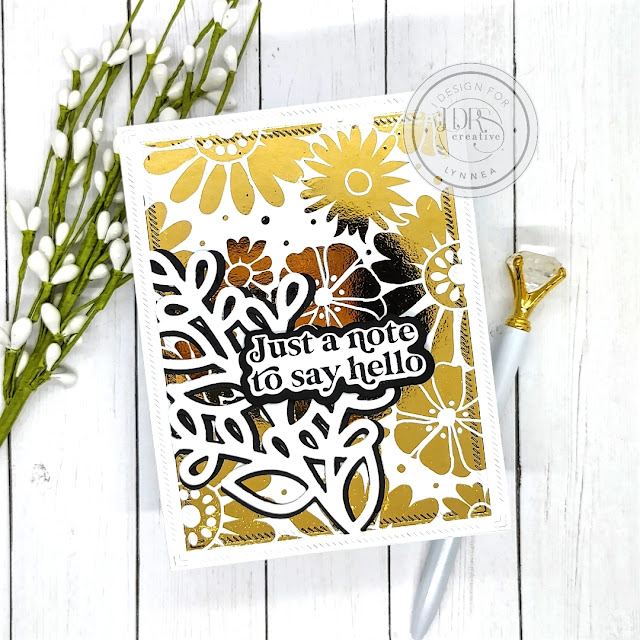
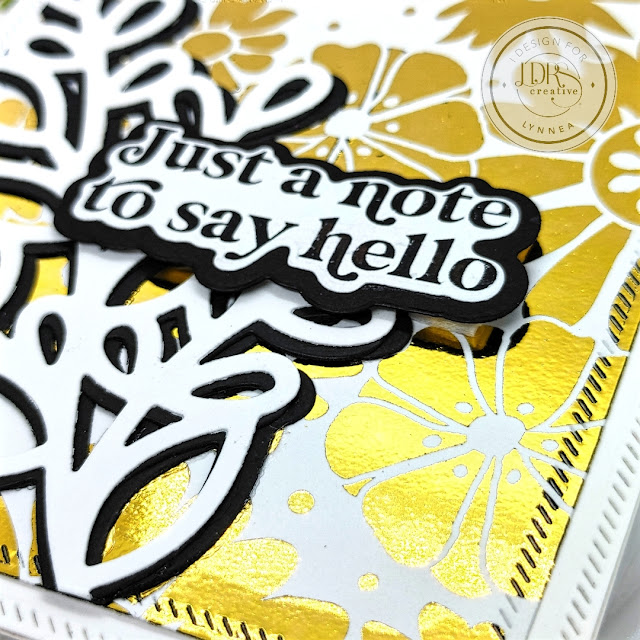
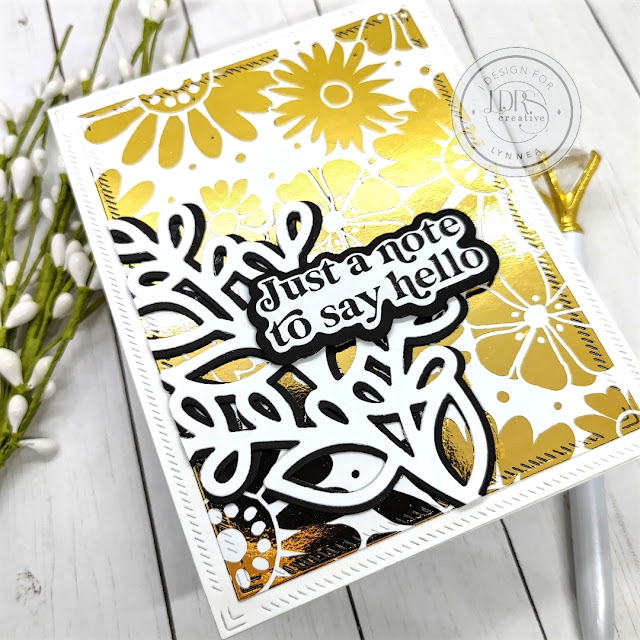
Nothing beats the magic of foiling! I used a bold pattern from the new LDRS Creative Floral Toner Toppers Paper Pack and created a clean and simple card with a pop of foiled flair!
If you've never tried foiling now's your chance! There are new Toner Toppers Paper Packs from LDRS Creative in both 6x6 and 4x9 size with gorgeous, easy to foil patterns! I am head over heels for the Floral Toner Toppers - especially this bold pattern! All you need to add foiled goodness to the Toner Toppers is a toner reactive foil. You can find a whole RAINBOW of colors, but I decided to go with gold and keep to a more neutral color palette. I cut my paper from the Floral Toner Toppers 6x6 Paper Pack with the second die in the A2 Diagonal Stitched Layered Card Toppers Die Set and then used my scissors to trim a piece of gold foil slightly larger than my background panel. I placed the foil pretty side up (silver side against the toner printed design) over the background and ran it through my laminator with a parchment paper carrier sheet.
I wanted to keep the elements on the front of my card simple since I had such a gorgeous, bold background. The Lovely Wildflower Cluster Die Set was just the thing I needed! I mentioned before that I wanted to keep to a neutral color palette, so I thought I would add a pop of black, but the die just wasn't standing out. I tried white and that was worse than just the black, so I decided to go back to an old trick and create a faux background for my die-cut. I cut the vine piece from the Lovely Wildflower Cluster Die Set once from white and twice from black and adhered the black pieces behind the white pieces and slightly offset them - one slightly left and one slightly right. This gives me a shadowed look without any fussy cutting! I adhered it to my background panel hanging off the right side and trimmed off the excess with my scissors.
I stamped a sentiment from the new Everyday Sayings Stamp Set with Raven Hybrid Ink and used the Everyday Sayings Coordinating Die Set to cut out the sentiment. The die set has two dies for each sentiment so that you can cut close to the sentiment and cut a shadow as well - LOVE THAT! I cut a shadow from black cardstock and added the sentiment with foam tape. I cut a panel of white cardstock with the largest die from the A2 Diagonal Stitched Layered Card Toppers Die Set and adhered all of the pieces to a card base. And that's it! Be sure to watch my video above for lots of foiling tips and tricks. I'll see you soon!
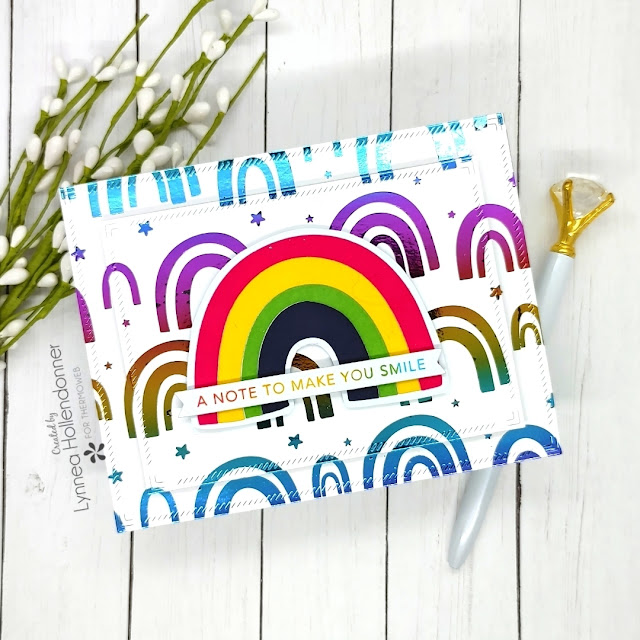
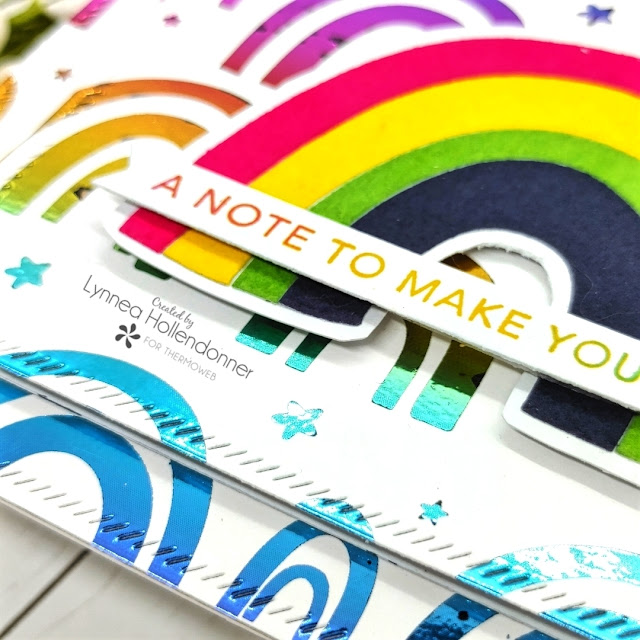
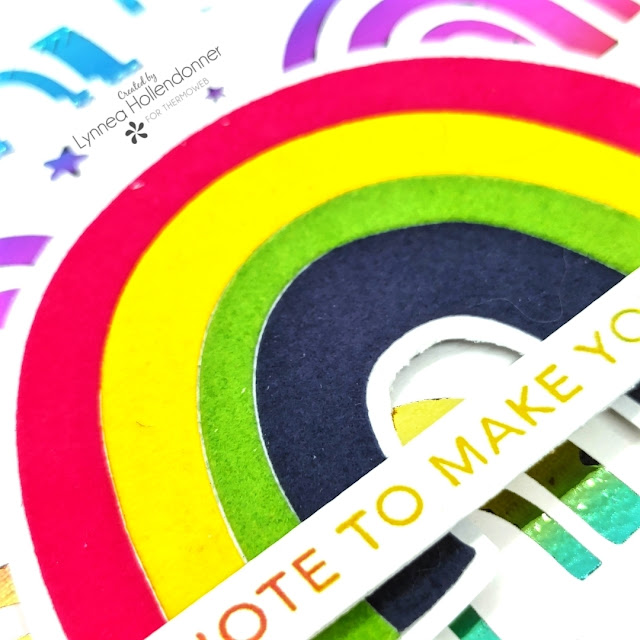
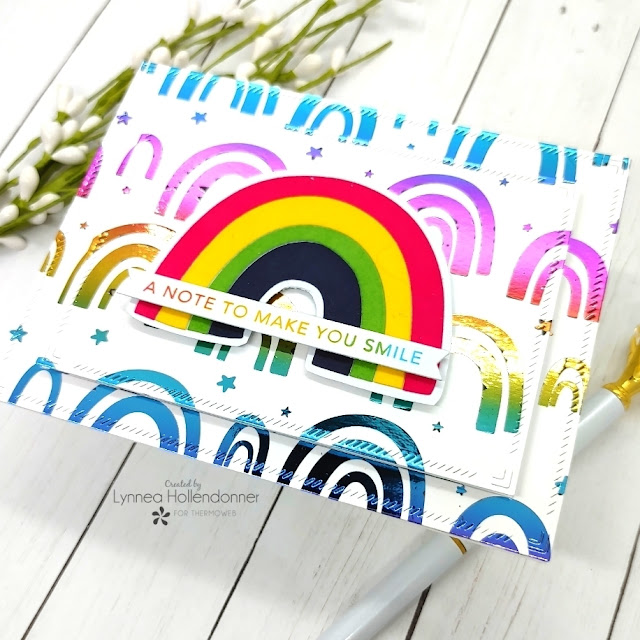
There are so many ways to add interest to foiled backgrounds, but I decided to go simple and create a popped up die cut effect with iCraft 3D Jumbo Foam Tape.
I die cut a few colors of Deco Foil Flock Transfer Sheets - including the new Midnight Blue Color! - and added the rainbow to my card. A quick sentiment finishes off the card!
I hope you're jumping over the rainbow for these new products! Join me LIVE TODAY at 11am CT / 12pm ET on the ThermOWeb YouTube Channel for the full tutorial!
I always get asked how I use left over Deco Foil and I'm going live on the ThermOWeb YouTube Channel on Wednesday the 26th at 11am CT/ 12pm ET to show you how to easily get two cards with one piece of foil and a Toner Card Front!
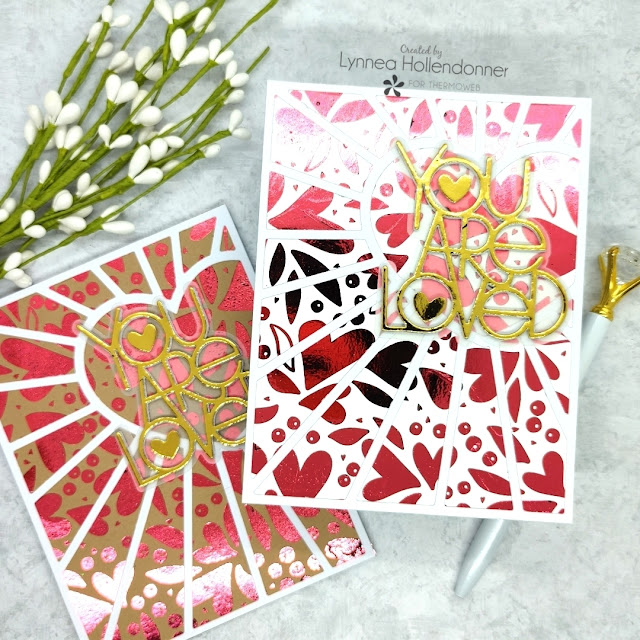
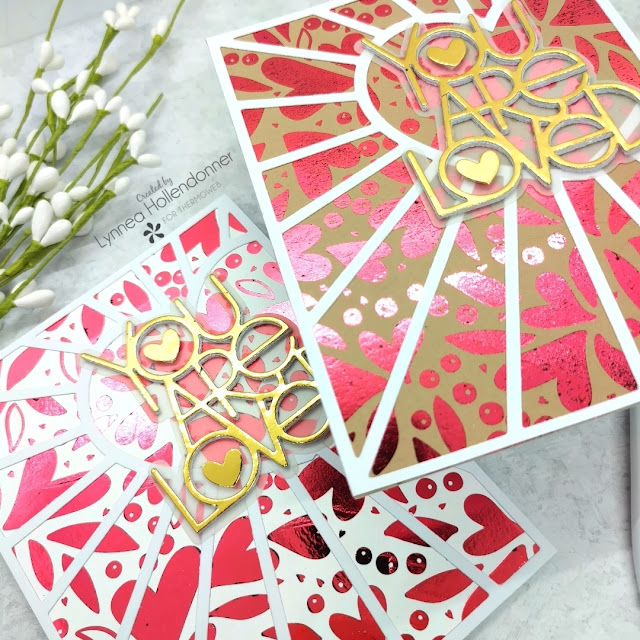
Deco Foil Toner Card Fronts are the easiest way that I know of to make two for one backgrounds! I was able to make two cards with one Toner Card Front and one piece of Deco Foil - and they look completely different!
I never like to waste pretty things and the Gold Glitter Foil is my favorite! I grabbed a solid Deco Foil Toner Sheet and foiled the left over pattern from my Toner Card Front and now I have the reverse pattern with some black peeking through! You could foil the panel again with another color, but I really loved the black and gold.
I finished off the cards with a simple die cut sentiment. I hope you'll join me LIVE on the ThermOWeb YouTube Channel for the full step by step tutorial!
Clean and simple with a pop of flair is my go-to card making style and ThermOWeb Toner Sheets are the easiest way to add a pop of something special!
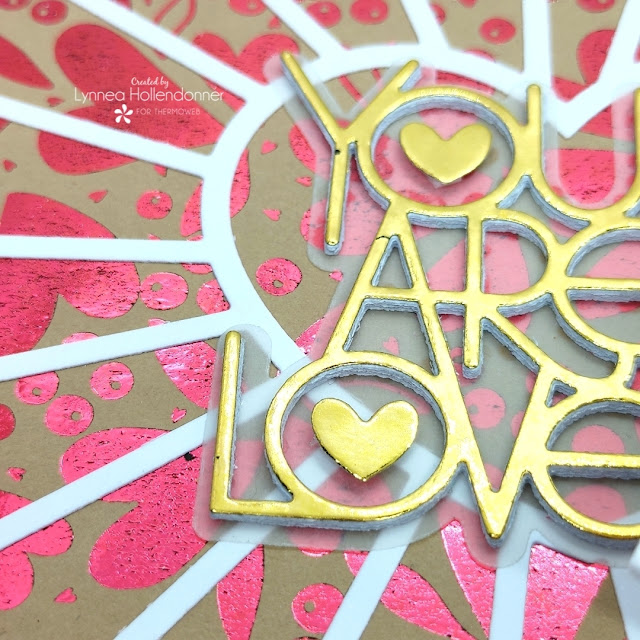
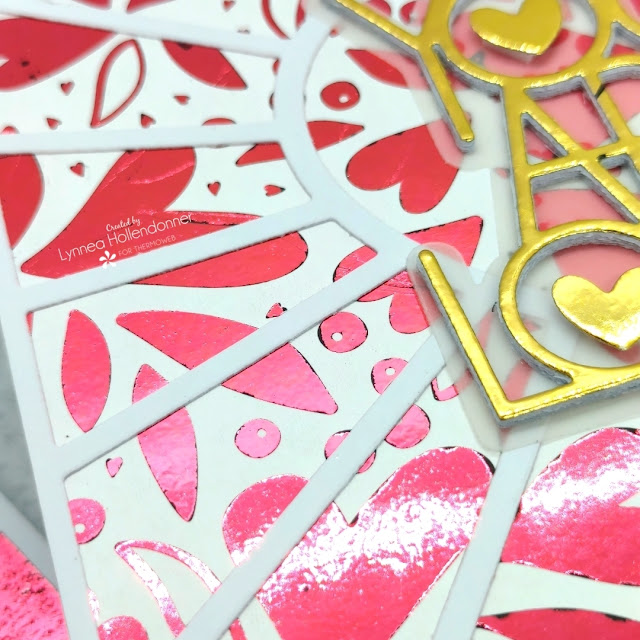
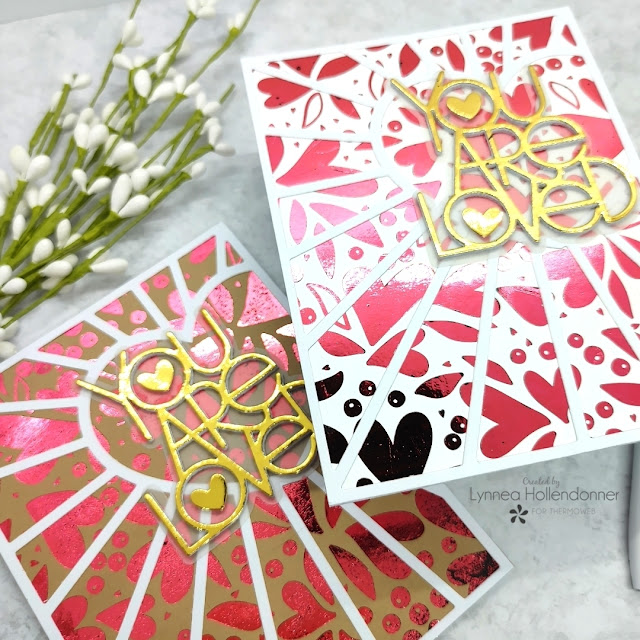
The Love Blooms Toner Sheets are one of my favorite patterns. The hearts are so bold and wonky and just my style. I couldn't decide if I wanted to foil the white or the kraft ... so I decided to do both! This card design is simple and easy and took me no time at all to make two cards full of Deco Foil goodness!
I added all of my pieces together using my iCraft Ultra Bond Liquid Adhesive Pen and that's it! Two foiled cards that pack a punch! Thanks for joining me and I'll see you soon!
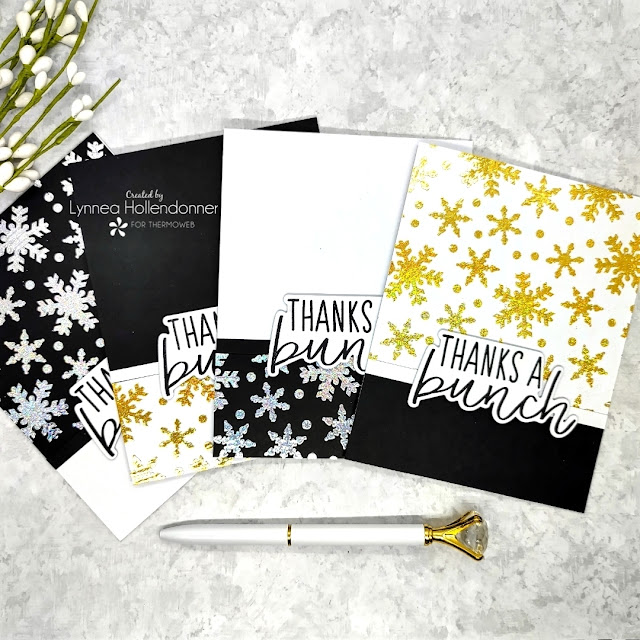
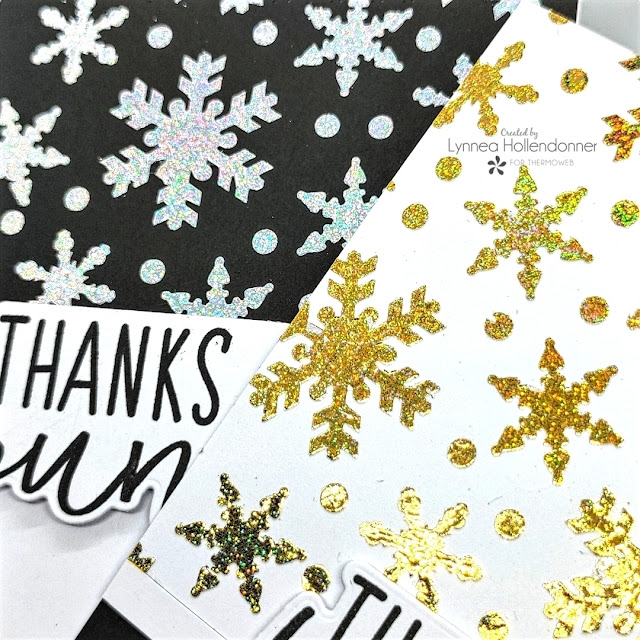
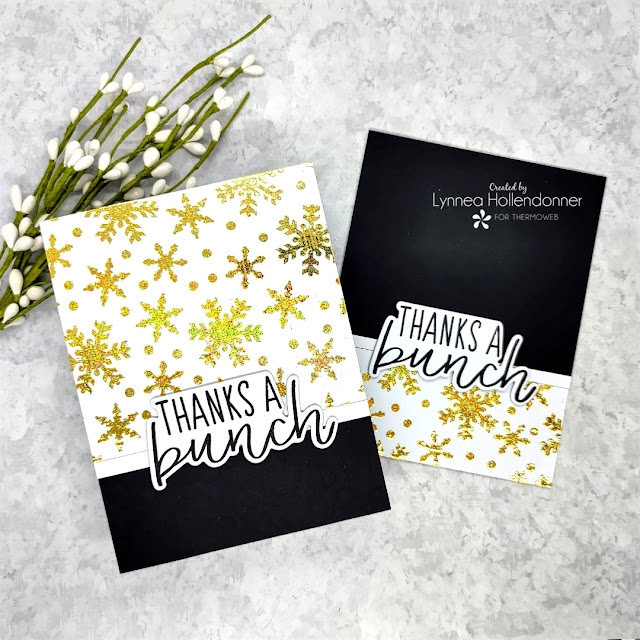
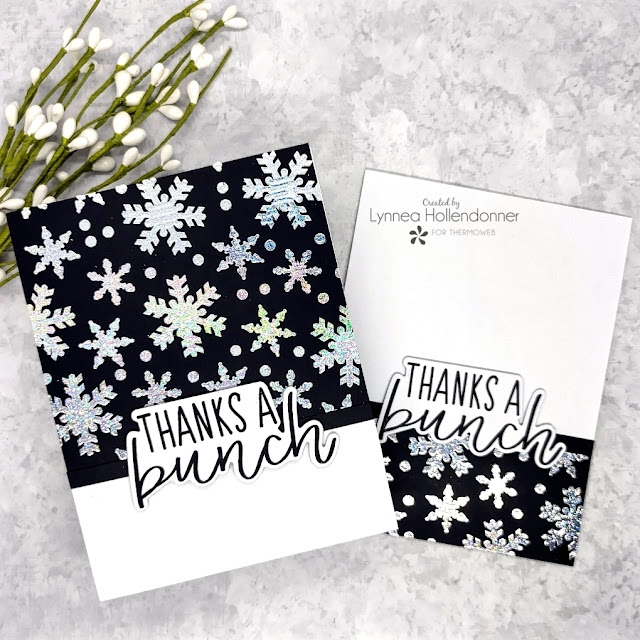
Tis the season for sending thank you cards! I have an easy way to make four foiled snowflake thank you cards! I'll share my step by step process LIVE on the ThermOWeb YouTube Channel on Wednesday the 5th at 11am CT/12pm ET!
I like to make clean and simple cards with a punch of something special and the Unity Transfer Foils are certainly something special! I LOVE that they glitter!!
The weeks after Christmas I am busy making and sending thank you cards, so any time I can make a two for one design I will! Cutting a panel in pieces is one of the quickest and easiest ways to make two cards from one panel. Plus it's one of my favorite designs!
I used a snowflake stencil along with some Deco Foil Transfer Gel Blanco and created both a white and black background. I thought the Deco Foil Unity Silver Glitter Foil would really POP on black and the Gold Glitter Foil would look best on white. I didn't even have to clean my stencil in between applications - I'll show you a little trick for that in the live tutorial!
I'll see you LIVE on the ThermOWeb YouTube Channel on Wednesday at 11am CT/12pm ET for all the glittery, foiled, snowflake, mass producing goodness!
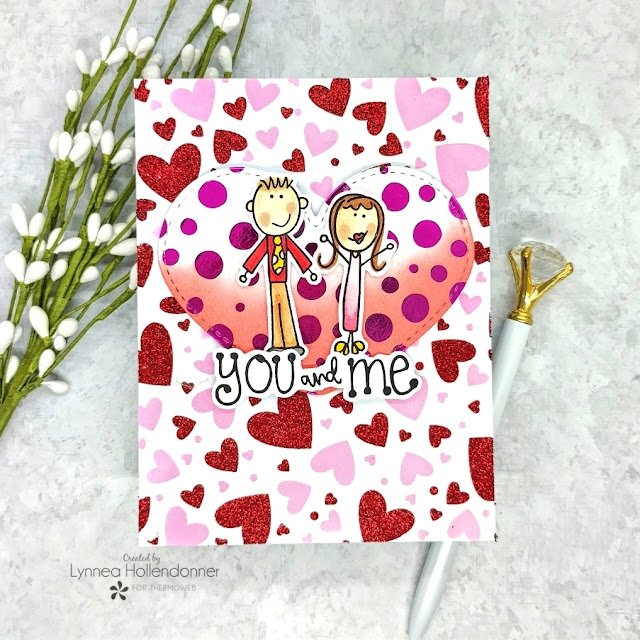
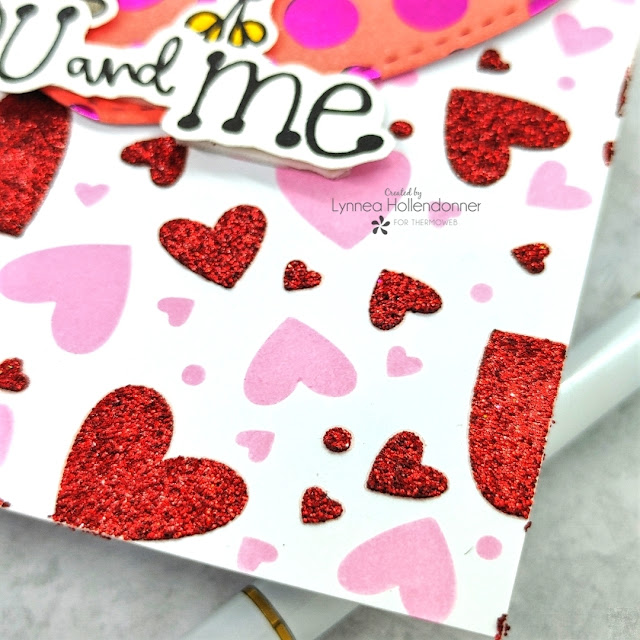
I have used the Laura Kelly Me & My Peeps Stamp Set for customized birthday cards, new home cards, Christmas cards...and now a Valentine's Day card! I love that the people can be colored however you like to represent whomever you want! I created a background using layering stencils with ink and Red Velvet Glitz Glitter Gel to be the backdrop for my cute little people.
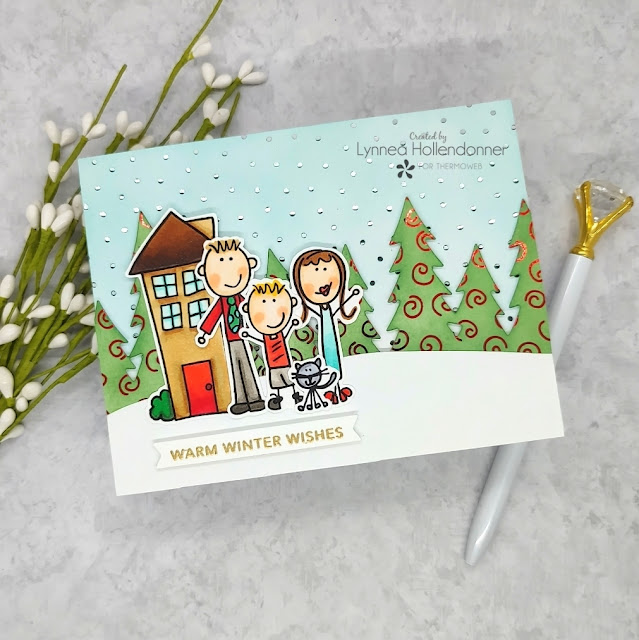
Ready for the cutest representation of our family?! ThermOWeb and Laura Kelly goodies make this wintery card too cute for words!
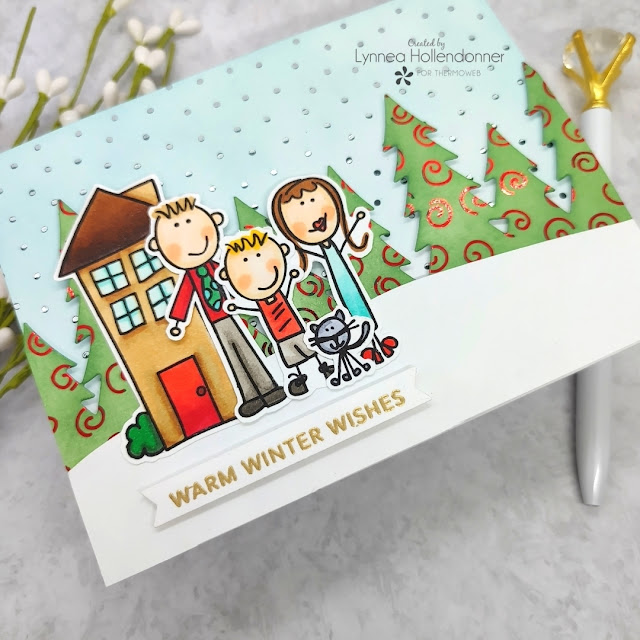
I love the whimsiness of the Laura Kelly line! I mixed some Transfer Foils, Toner Sheets, and the Me & My Peeps Stamp Set and created our little family on a Holiday card! I transferred Magic Wand Silver Foil onto a Baby Swiss Toner Sheet and Wagon Red Foil onto a Sweet Swirls Toner Sheet. Toner sheets are so versatile because you can do almost anything with them! I trimmed down the Baby Swiss background to the size of an A2 card front and blended on blue ink to create a snowy sky. I used a die from Trinity Stamps to die cut the Sweet Swirls background and create a line of trees. I blended green ink over the die-cut and magically created a row of trees with swirly foiled baubles!
I stamped out the characters that would make up our family from the Me & My Peeps Stamp Set and colored them with Copic Markers. I love this stamp set! It can be used to create just about any family for just about any occasion! Our family is just me, my husband, our son, and our (FIVE!) kitties!
I cut a white snow bank and adhered it to the line of trees and popped them up with iCraft 1/16" 3D Foam Tape onto the snowy background. I adhered our little family to the left side of the card with an iCraft Ultra Bond Liquid Adhesive Pen and added a heat embossed sentiment strip from my stash beneath the colored images. And that's it! This card was quick and easy to create and I hope it inspires you to put your family on a card this Holiday season!
I love finding ways to add a bit of glam to ThermOWeb Toner Sheets, so I decided to add some Glitz Glitter Gel to create a plaid pattern! Find out all the details live on the ThermOWeb YouTube channel Wednesday, December 1st at 11am CT/ 12pm ET!
Want to learn all the tips, tricks, in and outs of this card? Join me live on the ThermOWeb YouTube channel Wednesday the 1st at 11am CT/ 12pm ET! I'll see you there!
There are so many ways to add Deco Foil to your cards. I'm sharing three card backgrounds featuring easy foiling techniques as part of the ThermOWeb and Ink Blot Shop collab!
The backgrounds of these three cards really shine! Literally! I used three different ways of adding Deco Foil to backgrounds. They're all easy!
Ready for the last foil technique? This one lets you create a full foiled background! I trimmed a piece of a Deco Foil Toner Sheet to the size of an A2 card and transferred Magenta Deco Foil to it using my laminator. I LOVE that I can customize foiled backgrounds to any color! I stepped up the background by heat embossing the Ink Blot Shop Starry Sprinkle Background Stamp onto the foiled background, Be sure to watch my video for tips!
I'm so happy with how this card turned out! Be sure to join me LIVE on the ThermOWeb YouTube Channel Wednesday the 27th at 12pm CT/ 1pm ET for the full tutorial! See you there!
Did you know the little gnomes from the ThermOWeb Festive Fall Add-On can hold any little item you want?! I have my gnomies bringing pies to Thanksgiving dinner!
I chose one of my favorite Toner Card Fronts from the Brutus Monroe Really Radiant Toner Card Front Mixables and did a bit of ink blending to color my background. I thought the pattern could look a bit like sunflowers in the background, so I used brown towards the center of each of the "flowers" and then yellow over the whole panel. Be sure to use a clean, dry cloth to buff off any extra ink before foiling so you get great results! I cut a piece of Gold Shattered Glass Deco Foil slightly larger than my Toner Card Front and placed it pretty side up on top of the panel and ran it through my laminator using Deco Foil Parchment Paper.
The positive foiled background was gorgeous, but the negative piece was just as gorgeous and I couldn't let it go to waste! I added a piece of iCraft Easy Cut Adhesive to a piece of white cardstock and placed the negative piece of Gold Shattered Glass Foil on top. It makes a beautiful second background!
I build my gnomes by die cutting pieces using the original Gnome for the Holidays Craft Kit and the Gnome for the Holidays: Festive Fall Add-On Die Sets. The beards, bodies, noses, and feet come from the original set and the hats and cute little hands from the add-on. I used a combination of cardstock, patterned paper, and even Tuscan Gold Deco Foil Flock to cut all the pieces for my gnomes. I knew I wanted them to be holding something, so I took a peek through my stash and came across the Lawn Fawn Cutie Pie Stamp Set and thought how CUTE those pies would be in my scene! I used my iCraft Ultra Bond Liquid Adhesive Pen to adhere all of the pieces of my gnomes together and moved on to putting my scene together.