Showing posts with label Square Card. Show all posts

Monday, May 27, 2024

SNEAK PEEK!! | LDRS Creative Wildflower Wreath Impress-ion Press + Foil Plates

Hi! It's Lynnea! The LDRS Creative Summer Collection release is right around the corner! Get a sneak peek of a couple of the new products and set your alarms for Thursday, May 30th for the full release!

Layering stencils are a fabulous way to add easy ink blended color to letterpress images. Watch me make a quick and easy square notecard featuring summery orange flowers using the Wildflower Wreath Impress-ion Press + Foil Plates.

*Links to products included in the Summer Collection will be live on Thursday, May 30th at 12:01am ET*


I started by pressing the wreath image and sentiment from the Wildflower Wreath Impress-ion Press + Foil Plates into an A2 Cotton Watercolor Panel with Raven Hybrid Ink. I used two shades of orange, a light green, and a brown ink to add color to the image using the Wildflower Wreath Layering Stencils.


I trimmed the panel down to 4" square and added black watercolor ink spatters to the panel. I used foam tape and mounted the letterpress panel onto a 4.25" square black card base. That's it! Come back tomorrow for more inspiration using new products from the Summer Collection!

Monday, August 29, 2022

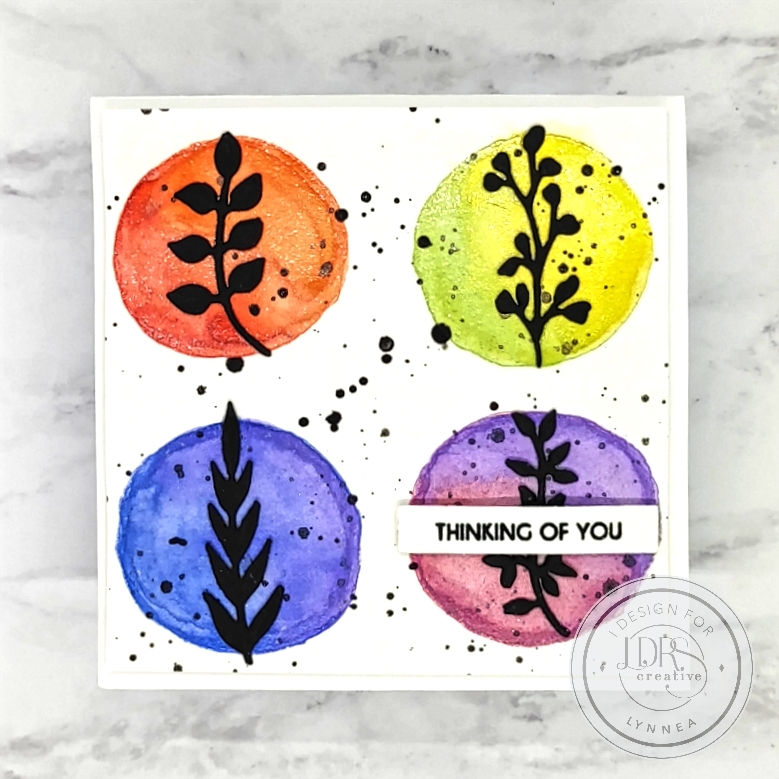
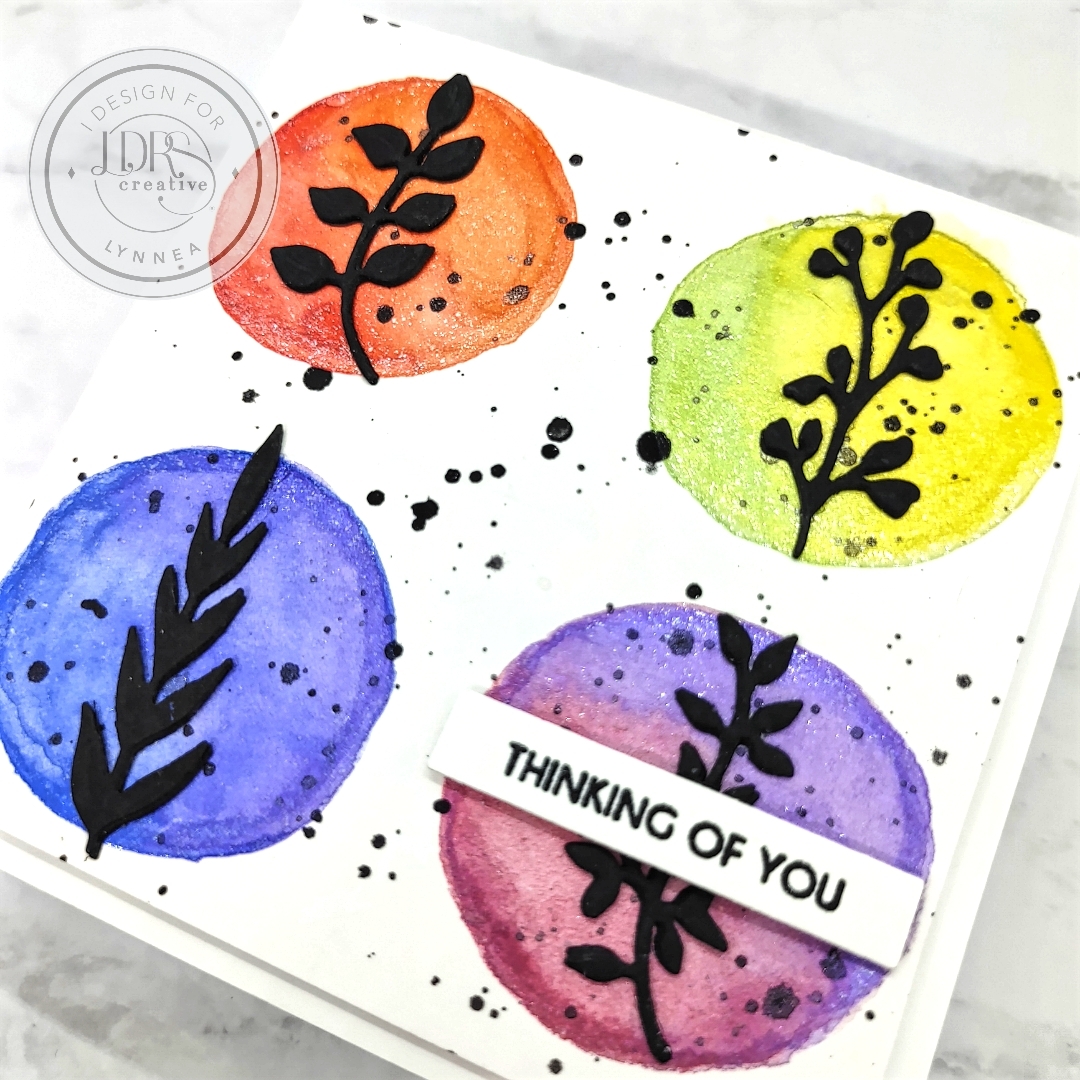
LDRS Creative | Easy Square Notecard with the Mini Foliage Dies

Ready for a card that can be color customized for any season and is easy to mass produce? I used a handful of new products on this watercolored card. Head over to the LDRS Creative Inspiration Blog for more the details!


I love the Mini Foliage Dies! You can use them to build a wreath, create a faux coverplate background, ... the list goes on! I like to use them as little silhouetted springs! I started by cutting a piece of watercolor cardstock to 4" square and used a rainbow of shimmer watercolors to create four watercolored circles. I let two colors blend together on each circle, heat set them, and added some black spatters. 


I used the Mini Foliage Dies and die cut four different sprigs from black cardstock. I cut them each multiple times and stacked three or four of them together for dimension and adhered them to the center of each circle. 


I wanted a simple sentiment that wouldn't take away from the background, so I stamped the Amazing You Sentiment Stack and cut it out with the Sentiment Stack Die II and added a single strip to the bottom right of my card. I used foam tape to add the panel onto a 4" square card. And that's it! 

Tuesday, October 12, 2021

LDRS Creative | Cut Up Pirouette Background

Sometimes you can bring new life to a background just by cutting it apart! That's what I did with my LDRS Creative Trick or Treat Pirouette Card


I love creating Pirouette backgrounds, but I'm always looking for ways to turn the products I have in my stash into something new. I have to confess - I'm not a super creative stamper, but I had an idea and I couldn't let it go! I wanted to create a "reverse" pirouette. I wanted the pattern to come in from the outside instead of starting at the center and branching out. After a while of sitting at my desk trying to think of a creative way to accomplish my idea I got frustrated and walked away. Then it hit me! I would create a traditional pirouette and then cut it up and piece together my background! 


 I started my card just like I would to create a traditional circular pirouette. I cut a piece of cardstock to 4.25" square and placed it onto my Pirouette Pattern Template and stamped multiple images from the Trick or Treat Pirouette Stamp Set using RavenPlum CrazyTropical SeaIn Your Face OrangeDan-D-Lion, and Alloy Hybrid Inks. The process of stamping and turning and stamping and turning is quite easy and builds beautiful backgrounds! You can watch the process in my video above. Once my background pattern was complete I cut my paper in half at 2 1/8" and then in half again so that I had four 2 1/8" squares. I placed them on my desk the way they were originally meant to line up and turned each of them twice so that the inside portion was now facing towards the corners. VOILA! It's perfect! 


I stamped a spider web, some ghosts, and a sentiment from the Trick or Treat Pirouette Stamp Set and added them to my background with foam tape. I cut a piece of patterned paper from the Haunted Halloween 6x6 Paper Pack to 4 3/4" square and mounted all of my pieces onto a 5" square card. That's it! It's so easy and I LOVE the way it turned out! 

Friday, September 24, 2021

LDRS Creative September Features Day 2 | Trick or Treat Circular Pirouette Card

This background reminds me of those zentangle toys I used to play with as a kid! I made it using the AMAZING Pirouette Templates from LDRS Creative!


I used a stamp that's intended to be cut out and used as a focal point piece for my background. And I varied the colors of Hybrid Inks that I used to make it even more interesting! I filled in the card with jack-o-lanterns, ghosts, and spiders from the Trick or Treat Pirouette Stamp Set


I stamped and die cut a spider web and sentiment to sit in the center of my card and popped them up with foam tape. 


Thanks so much for stopping by!

Tuesday, September 7, 2021

LDRS Creative | Hocus Pocus Pirouette Card

Get ready to get spooky! I used the LDRS Creative Pirouette Pattern Templates to make this cute and spooky Halloween card!


I have been loving the Pirouette Pattern Templates! So much fun to be had! Backgrounds have always been my favorite part of the card - that's why I start with the background and work around that. Very rarely do I have a complete picture of the card in my head when I sit down to create. I work on the background and let the background carry the card and I think that's why I love the Pirouette Pattern Templates so much. I am able to stamp and customize my backgrounds with the images and colors I want. 


I used the Trick or Treat Pirouette Stamp Set and a variety of Hybrid Inks - Mrs. Periwinkle, In Your Face Orange, Dan-D-Lion, Lipstick Jungle, and Raven - to create my circular pattern on a 4.25" square piece of cardstock. I wanted to build up my focal point so I stamped the star wreath in Key Lim Pie, the spider web in Raven, the ghosts in Mrs. Periwinkle, and the sentiment with Lipstick Jungle. I added a bit of shading and some rosy cheeks to the ghosts with alcohol markers and die cut all of my images with the Trick or Treat Pirouette Die Set


I cut a piece of spider web patterned paper from the Trick or Treat 6x6 Paper Pack to 4.75" square and then matted everything onto a 5x5" square card. Thanks for joining me for this spooky card!