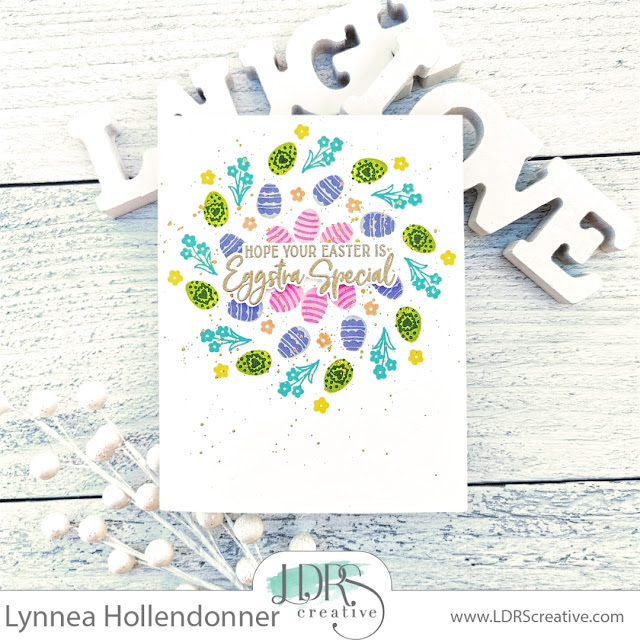
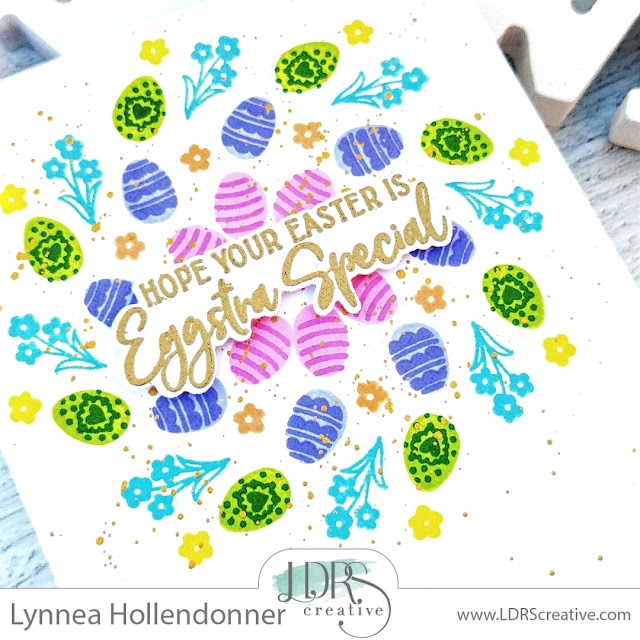
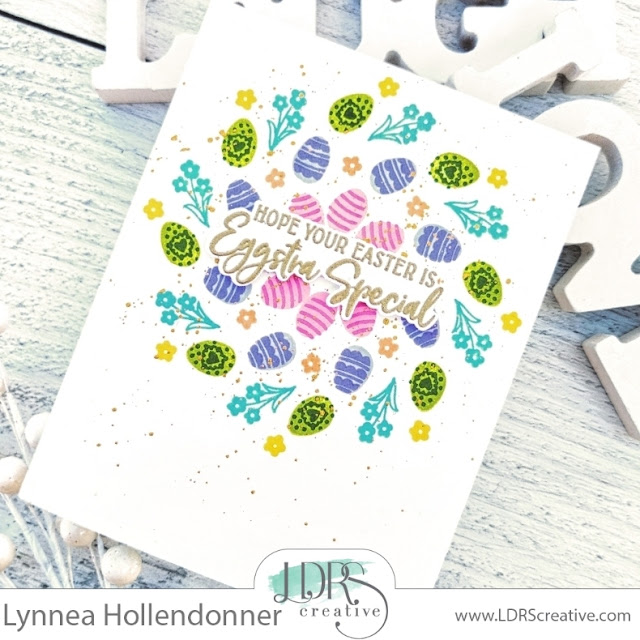
It's sneak peek time for the LDRS Creative Spring 2024 Collection! Check out these adorable collage stamps and Easter egg dies! They're too adorable for words!
I started my design with the Ledger 3x4 Stamp and then used the NEW (and coming soon!!) Hops & Waddles Collage 4x6 Stamps to fill in the rest of the background with sentiments and icons in traditional Spring colors.
Collage projects don't have to be strictly stamping! I grabbed the Easter's On Its Way Dies (coming SOON!) and cut three eggs to pop up near the top of my design. I finished the card with some colored cardstock layers and that's it! You could easily mass produce this design to send some Easter happiness. I'll see you soon for more sneak peeks!
I'm sending you Easter smiles with this quick card using LDRS Creative patterned papers, stamps and dies!
I love the line of Gift Tag Stack stamps. You can quickly stamp 6 tags and cut them out at once with the Gift Tag Stack Die. The Spring Gift Tag Stack Stamp Set is great for a bunch of occasions - birthdays, Mother's Day, thank you, etc. I decided to use them on a light an airy Easter card. I stamped the Spring Gift Tag Stack with Raven Hybrid Ink and colored the flowers with alcohol markers. I cut out all six tags with the Gift Tag Stack Die and chose two of my favorites for my card. I stored the extra tags with my stamp set, but you could easily create a trio of cards if you want!
I needed a simple background to keep the focus on the pretty tags, so I chose two patterned papers from the Lovely Watercolor 6x6 Paper Pack. I cut the busier floral pattern with the largest die in the A2 Stitched Layered Card Toppers Die Set and the watercolor spattered background with the middle die in the set.
I didn't want to take away from the papers and tags with a large sentiment, so I opted for a sentiment strip from the Easter Sentiment Stack. I stamped them with my Raven Hybrid Ink and cut out the strips with the Sentiment Stack II Die. I added the tags and sentiment to my card with foam tape, added some twine, and finished the card with some Lovely Watercolor Enamel Dots. Thanks for joining me! I'll see you soon!
It's been a while since I used the Pirouette Pattern Templates to make a spiral pattern, so I decided to use the three small Easter eggs in the Easter Pirouette Stamp Set and make a bright and happy Easter card! I made a video showing my process, so be sure to watch that for step by step instructions. I cut a piece of 4 1/4" x 5 1/2" piece of cardstock and I started with the base template from the Pirouette Pattern Templates. I adhered the piece of cardstock to the template lining up the top two corners with the markers on the template and lined up the spiral template on top. I added an egg from the Easter Pirouette Stamp Set near the center of the spiral and stamped it in a circle by turning the template with Pink Tutu Hybrid Ink. I added the layer with Fandango Hybrid Ink.
This card is full of Easter goodness! I started by choosing a bunch of papers from the Pastel Dreams 6x6 Paper Pack and cutting them with the inner die from the Diagonal Cover Die Set. I used a scrap piece of paper and pieced them together mixing and matching the patterns together. I used the outer die and cut a green striped patterned paper and popped up the diagonal strips in the center of the scalloped frame.
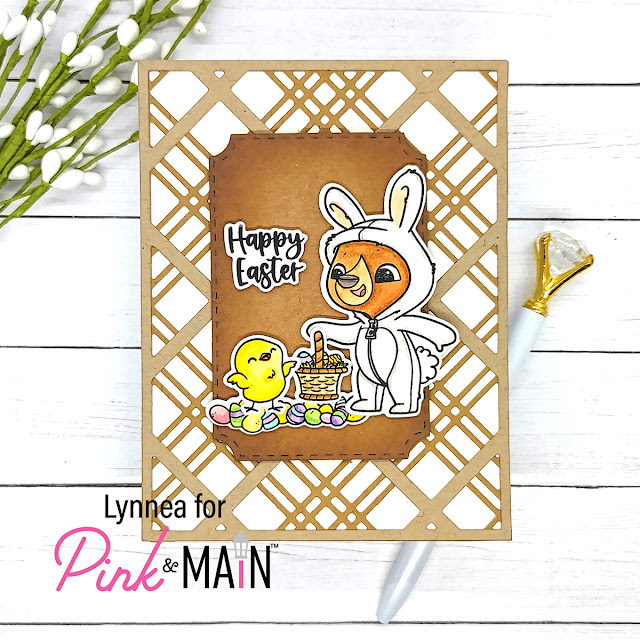
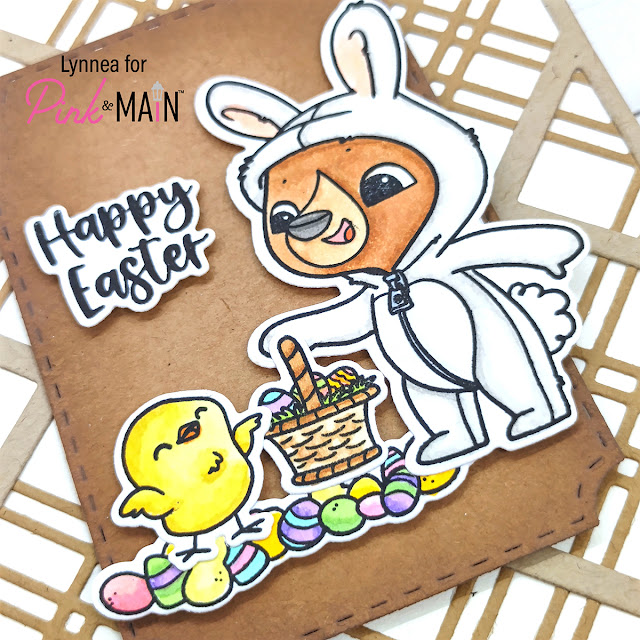
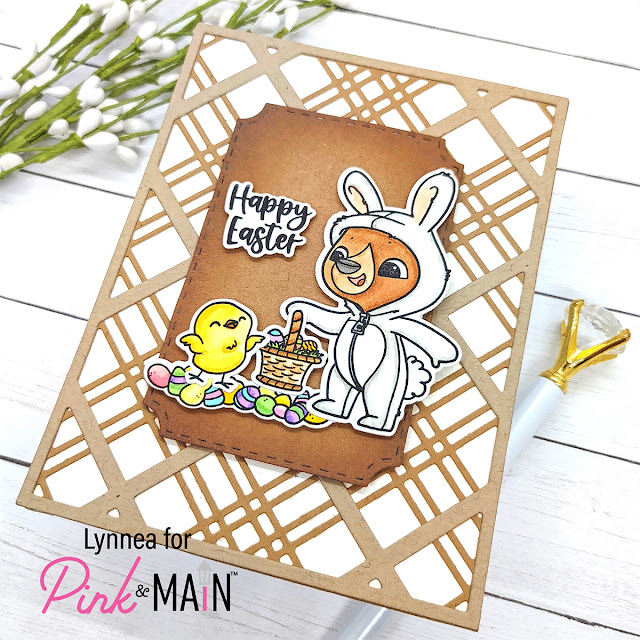
I couldn't resist this adorable Pink & Main bear playing dress up as the Easter Bunny! I made the background of my card look like an Easter basket to tie it all together!
Let's start with the background! I die cut the Plaid Cover A and B Dies from two different shades of kraft cardstock and layered them onto a cream colored background. Doesn't it look just like a woven Easter basket?!
I stamped the bear chick, basket, and eggs from the Easter Greetings Stamp Set and colored them with Copic Markers and cut them out with the Easter Greetings Die Set. I wanted something to help them stand out from the background, so I cut a panel from the Notched Corners Die Set and inked the edges with some brown ink.
I added the Notched Corners panel to the card with foam tape and popped up the adorable images on top with more foam. And that's it!
I just love the Basket of Fun Toner Card Fronts! They are so cute for Easter! There are many ways to use them, but today I thought I would focus on ink blending and die cutting. I used the Basket of Fun Slim Line Toner Card Fronts because that's what fit with my die set, but you could use any size. Imagine how cute these would be in clear!
Once the Toner Card Front was foiled I cut out the necessary pieces to build my Easter Treat Lantern. Now let's add some more color! There are a number of ways to color the Deco Foil Toner Card Fronts - markers, watercolor, pencils - but I'm going to do some ink blending. I used some yellow and orange inks and blended it over the Basket of Fun Toner Card Front die-cut pieces. I just LOVE the pop of Purple Sketch Foil against the ink blending!
This little treat box is perfect for small candies, lip balm, or even a pack of sequins for a crafty friend! I hope this project inspires you to turn your Deco Foil Toner Card Fronts into something new! See you soon!
I have an easy Easter Card that would be great for simple mass producing using Simon Hurley create. goodies today!
This card has so much gorgeousness, but it really is simple to create! I used three different Simon Hurley create. Dye Inks over the Stained Glass Stencil to create the background. Boom! That took literally about 2 minutes!
The cross is so simple, too! The He is Risen! Stamp Set has the outline as well as the layering image for the cross. I stamped the outline in black, quickly colored the flowers, and then used Grr! Ink to stamp and fill in the cross. I LOVE that there is a woodgrain pattern for texture and interest!
I stamped a sentiment from the He is Risen! Stamp Set, bubble cut around it, and foam mounted it onto my cross. That's it! Happy Easter, everyone! See you soon!
You guys .... I seriously can't tell you how much I LOVE this card! I took each of the individual eggs off of the Egg Hunt Peel-Apart Background Stamp so that I could create my own custom background. I inked up each egg with two colors of Simon Hurley create. Dye Inks and blended the colors together in the middle with a blending brush and stamped all over my background. I made sure to keep both the colors and the patterns varied as I stamped.
I stamped and colored the bunny and basket from the Hoppy Easter Stamp Set and added them to the front of the card with foam tape as well as a coordinating sentiment.
I hope you'll try this fun and colorful background technique! See you soon!
Spring is almost here and these little critters in the Pink & Main Love Ewe Stamp Set are here to wish you a Happy Easter!
I mixed together a new Pink & Main stamp set with some previously released dies for this cute slimline card. I LOVE showing how the whole line of Pink & Main products work well with each other! I grabbed the adorable Love Ewe Stamp Set and stamped out all three critters. I knew from the minute I saw this stamp set that I wanted to somehow put these three friends together! I colored them up with Copic markers, added white gel pen dots to each critter, and die cut them with the coordinating Love Ewe Dies.
I wanted a soft, springy background and I couldn't decide between the Plaid Slim Line Die and the Blessings Slim Line Die with the fun reversed scalloped design - so I thought I would use BOTH! I die cut the Plaid Slim Line Die from a light pink cardstock and the Blessings Slim Line Die from white cardstock. I adhered the plaid straight to my card and used Darice Foam Strips to pop up the reversed scallop frame. The frame is slightly smaller than the plaid so I get a fun pink border with NO effort at all!
I stamped a sentiment from the Love Ewe Stamp Set and die cut it with a die from the Large Sentiment Strip Die Set and tucked all of my critters behind the white frame with foam tape. That finishes this cute card!
We are just two days away from the new Pink & Main release! I have a card packed with new goodies to show you today, so let's jump right in!
Let's start with the pretty background! I used patterned papers from the new Happy 6x6 Paper Pack. I picked out two of the gorgeous patterns and cut them down to 3.25" wide. I used the full 6" in length for the striped piece and the remaining 2.25" from the blue patterned piece. I cut a strip of white cardstock to be 1/2" wide to cover the seam where the patterns meet. I decided to frame up my background with the pretty reverse scalloped shape in the Blessings Slimline Die Set ( previously released ).
Don't you just love this adorable bunny?! He's from the new Love Ewe Stamp Set - and he's got some friends, too! I stamped the image with black ink and heat embossed it with clear powder. This is a trick I like to do when I color with watercolors - it helps to hold in the color. I colored the image with just two colors of Karin Markers and cut it with the coordinating Love Ewe Dies.
The Love Ewe Stamp Set has some adorable sentiments, but I decided to use another new stamp set on my card. I stamped the "hey" from the Big Vertical Greetings Stamp Set and cut it out with the Large Sentiment Strip Dies. I love how it fits right along the legs of the bunny! I finished off the card with a few glittered enamel dots from the new Happy Mail Enamel Dots Set. Be sure to visit the shop on February 20th to see shop the whole release! See you then!
If you know me then you know how I love a great clean and simple card with a pop of flair! The Deco Foil Toner Sheets and any of the Therm O Web Foils are currently my BEST FRIENDS! This card came together easily and I can even make a bunch to give to my friends and family to welcome Spring! I like the look of portrait style cards, so I pieced together two of the bunny backgrounds from the Basket of Fun Toner Sheets, but you could absolutely make this card a landscape card and just use one. I heated up my laminator until it was good and hot, then I cut a piece of Teal Deco Foil Transfer Sheet to be slightly larger than my background. When you're foiling you want to be sure that the back of the foil touches your "medium". In this case I made sure the teal color was face up and the back of the foil ( the silver side ) made contact with the toner on the sheet.
I trimmed down my pretty Teal Foiled backgrounds and adhered them to an A2 card base with ThermOWeb Memory Tape Runner XL. I needed something to cover the "seam" where I pieced the two Toner Card Fronts together, so I cut some pink cardstock that paired nicely with the Teal Deco Foiled background. Now it's time for something cute to go on top of the card! I stamped and colored the adorable bunny from the LDRS Creative 24 Carrot Stamp Set and popped it up with iCraft 3D Foam Squares.
I hope you've enjoyed this very "hoppy" card! Thanks so much for joining me!
Hello, everyone! I have a fun card that I made using the Easter Treat Lantern Add-On Die Set from i-crafter! I made a video showing the intended way to use this die set for the i-crafter YouTube channel and you can watch that here, but today I wanted to do something fun and make a peek through card!
I used the bunny drop in piece from the Easter Treat Lantern Add-On Die Set and die cut it three times from a piece of white cardstock. Remember to use your i-mend Self Healing Cutting Deck for gorgeous and precise cuts! The Easter Treat Lantern Add-On Die has little pieces to add details to the bunnies, but I totally cheated and used Copic Markers instead! I quickly brought them them to life by adding a mouth, eyes, and rosy cheeks and ears.
The white background was just too harsh looking, so I used an i-Brush Blending Brush and blended on some yellow ink keeping the color more saturated towards the edge of the card and blending out to white on the inside. I die cut the "Happy Spring" sentiment from the Easter Treat Lantern Die Set and tucked it in between the bunnies.
I added foam tape all over the back of my die cut panel and popped it up onto a piece of floral patterned paper. I love the way the flowers peek through from behind the bunnies!
Hello and Happy Easter! Haha! It's never to early to get started on Spring cards ... especially when it's so cold outside that your little tosies are cold! I altered the Sunflower Stencil from LDRS Creative and made it into a bright and happy Easter background!
The great thing about floral stencils is that you can change up the colors to suit the season. The Sunflower Stencil is perfect for making gorgeous fall sunflowers, or bright red summer flowers, or even pink Easter flowers! You could mask off the stencil for perfect flowers, but I didn't take the time because .... I'm a lazy crafter! I used fingertip blending brushes so that I could do my best to keep the ink where it was supposed to be, but I still had some overlap and that's okay! I used Pistachios-A-Plenty Hybrid Ink for the leaves, Soft Kisses Hybrid Ink for the flower petals, and Dan-D-Lion Hybrid Ink for the flower centers.
I didn't want to cover up too much of the background, so I chose to use the sentiments in the Hydrangeas Stamp Set. The large "happy" is bold enough to be seen, but doesn't take over the card. I stamped "happy" with Mrs. Periwinkle Hybrid Ink and bubble cut around the sentiment. I stamped "Happy Easter" with La La Lavender Hybrid Ink and trimmed it into a sentiment strip and added both sentiments to the card with foam tape.
I finished the card by embellishing with some pearly gems. I hope you're staying warm and thinking spring! See you soon!
I only intended to make one card using strips of paper, but I had so much left over that I made three cards! And I still have a bunch of scraps left over! What's even better is that I made all three cards from the individual backgrounds that I made. I love finding ways to use backgrounds creatively.
I have found that when I'm using "wet mediums" it's best to apply more of the product over the stencil than you think you'll need and use the Stencil Pal to spread an even layer and add the excess back into the jar. This helps in getting even coverage. I do want to mention that I absolutely do not waste the extra product. I had a viewer mention that they feel it's a waste to spread extra product over a stencil, so I added a few little tips to my video showing how I conserve my precious Glitz Glitter Gels and Deco Foil Transfer Gels!
While my four backgrounds were drying I stamped my cute peeps using Rina K Designs Neon Electro-Pop Inks. I used the My Kind of Peep stamp set from Simon Says Stamp. I realized after I completed my cards that this stamp set is retired, but there are plenty of Easter Peep stamp sets on the market. Use what you have! I wanted to have ombre style peeps, so I used the whole rainbow of Rina K Designs Neon Electro-Pop Inks! I stamped the Peeps with the lightest ink color once, then re-inked with the next color of the rainbow - but only part of the Peep and stamped again. And then I inked just the bottom portion of the Peep with the darkest color of Neon Electro-Pop Ink and stamped a third time. This stamp set comes with an outline for each Peep, so I stamped that with a crisp black ink. And boom! Rainbow, ombre, NEON PEEPS!
I took all four backgrounds and trimmed them down into 1/2" strips. And yes .... I held my breath the whole time! Haha! I love to do this "paper weaving" technique and I thought it would be especially fun to do it on an Easter card since it makes the background look like a basket! And it's a great way to incorporate a BUNCH of color into a background. I placed 6 strips of the stenciled backgrounds vertically onto my table. I didn't follow rainbow color order. Instead I alternated the types of background strips between Neon Glitz and Neon Enamel. Then I used another background strip and placed it horizontally on top of the vertical strips. I moved the horizontal strip so that it was "weaving" going over one vertical strip and under the next - and over and under and over and under. It's much easier to see in the video! I repeated this process with 5 additional strips of the background pieces until I had a whole background piece. I found it was easiest to use little bits of iCraft Ultra Bond Liquid Adhesive along the way to keep my strips in place.
I had so many strips left over that I decided to show you some simpler backgrounds. I placed a few strips horizontally on a piece of cardstock and used Gina K Designs White Foam Squares to pop them up onto my card. I also created a third background with vertical strips which I glued down with iCraft Ultra Bond Liquid Adhesive.
I added little families of the Neon Electro-Pop Peeps and sentiment strips with Gina K Designs White Foam Squares. That finishes all three cards! I hope they give you some bright, neon, Easter inspiration! See you soon!
Hey hey! Easter is in just a few weeks and I'm loving all of the Easter products that Pink & Main is coming out with! Last month they released the Easter Eggs Stencil and this coming release will have the Seasonal Truck Stamp Set!
Let's start with this fabulously glittery background! I used the Easter Eggs stencil and sprayed the back with Pixie Spray so that it would stay in place. I used the Ergonomic Blender Brush to add some ombre ink over the stencil starting with a pretty aqua color and blending down into blue, purple, and pink. One of my favorite things to do at Easter is to glitter eggs, so I thought this Easter Eggs Stenciled background would really pop with a bit of glitter! I used a Stencil Pal to apply some Iridescent Glitz Glitter Gel over the ink blended background and i LOVE how it turned out!
The Seasonal Truck stamp set is new and even though this release is delayed because of everything happening in the world right now, it's worth the wait! This stamp set has a bunch of different themes that you can add to the back of the truck for all different seasons and holidays! I thought the cute chicks and eggs would pair fabulously with a pink truck! I stamped out my images from the Seasonal Truck stamp set and colored them with alcohol markers.
I started to add the images to my card an realized that they were getting a bit lost. Even though the background is simple, there's a lot going on and the pink truck was blending in to the background. Whenever this happens to me I pull out a bit of vellum! I die cut a white frame using one of the Reverse Scallop Rectangle Dies and backed it with vellum. I added the Seasonal Truck images on top with foam tape and also stamped and trimmed some sentiments into strips and added them to my card.
I added the whole Reverse Scallop Rectangle frame piece to my card with foam tape and that finishes my glittery Easter card! See you soon!