There's something about blue and yellow flowers that just feels like summer to me! They're bright, cheerful, and always make me smile, so I couldn't resist using that color combination for today's clean and simple card.
I started by stamping one of the gorgeous images from the Floral Sketch 5x7 Stamps onto the right side of a white cardstock panel. Using the coordinating Layering Stencils, I ink blended the flower with soft blue petals and a sunny yellow center. The layered stenciling makes it so easy to add beautiful shading and dimension!
To add a little extra interest, I used the Stepped Edge Die just to the right of the flower, letting it slightly cut into the stamped image for a fun, modern detail. Of course, I couldn't resist finishing everything off with a few black ink splatters - one of my favorite ways to add texture and a little personality to a card!
After trimming the panel down, I layered it onto a piece of yellow cardstock before adhering everything to a white card base. It's a design that's easy to recreate with your favorite color combinations, but I have to admit...blue and yellow will always have my heart! Thanks for joining me! I'll see you soon!
Craving something quick and sweet? This card hits the spot! I combined the LDRS Creative French Patisserie Bundle with the Braided Edge Die for a beautifully delicious design. A dash of stamping, a sprinkle of die cutting, and a swirl of ink blending - voilà! A card that’s as fun to make as it is pretty to look at.
I stamped my image and used LDRS Creative Hybrid Ink Pads along with the French Patisserie Layering Stencils to give it some quick and easy color. I LOVE when there are layering stencils to color an image. It really saves some time! I wanted a soft and pretty card base that would make my image shine, so I used the Braided Edge Die along the edge of a white card base and added some soft ink blending over the decorative edge.
I brought in some gold watercolor ink spatter for shine and texture, and added my image and sentiment towards the bottom of the card. That's it! Thanks so much for stopping by. I'll see you soon!
Who says eucalyptus has to be green? Today, I'm sharing a vibrant and unexpected take on the beautiful Eucalyptus 4x6 Stamps. I stepped outside the traditional palette and gave each stem a burst of rainbow color - and I love how cheerful and fresh it turned out! Crisp white layers provide the perfect backdrop, letting those bold hues shine. I hope this project inspires you to look at your stamps in a whole new light!
This card is really quite easy to make, and I love how it packs a punch with simple colors! I stamped each of the stems from the Eucalyptus 4x6 Stamps twice with black ink and used the Eucalyptus Layering Stencils to quickly color them. Each stem has two layers to color, but I kept it simple and only used one ink pad for each stem. I went blended heavy color over the first layer and then didn't re-ink my brush and used the leftover ink with a lighter hand for the second layer. This gives me easy two-toned ink blended color.
I wanted to have some stems shadowed in the background, so I stamped a bunch on a piece of white cardstock with a gray ink and then added a sentiment in black so that it would stand out. I added the rainbow of stems to the bottom and popped each of them up with foam tape. I cut some layers of white cardstock using the Mixed Postage Rectangle Dies and added everything onto a gray card base. That's it!
Today, I'm stepping outside of my layered and dimensional comfort zone and created a one layer card! I used the Grand Bouquet 5x7 Stamps along with masking techniques, a background stencil, and color layering stencils for depth and one-layer dimension.
I started with an A2 panel of white cardstock and used strips of masking paper to mask off 1/4" on each side of the panel. Having a defined edge is one of the tricks I like to use when creating a one layer card. It creates instant dimension when the panel is completely flat. I stamped the image from the Grand Bouquet 5x7 Stamps so that it hangs off the bottom left side of the panel using Raven Hybrid Ink and heat set the image with clear embossing powder. The embossing powder will trap the black ink so that I can add color over the top and it also adds some shine. I used the Grand Bouquet Layering Stencils along with Bali Blue, La La Lavender, Mrs. Periwinkle, Dark Wash Jeans, and Tropical Sea Hybrid Ink Pads to add color to the image.
I wanted to add something to the background so that it wasn't so plain. I stamped the image onto a piece of masking paper and used my scissors to fussy cut the image and placed it onto my stamped and ink blended panel. I chose my favorite of the Pattern Background Stencils and blended Bali Blue Hybrid Ink through the stencil. I finished the card by stamping a sentiment in the top right corner and that's it!
The stunning Grand Bouquet florals from LDRS Creative are perfect for big projects, but I highlighted just a portion of the flowers. With quick stamping, ink blending, and fussy cutting, this card came together effortlessly!
I decided to trim around the right edge of the flowers with my scissors. It's easy to fussy cut since the lines are simple and the design is large. I stamped a sentiment onto a rectangle cut with the Pinpoint Rectangles Dies and tucked them behind the flowers. I added everything to a mustard yellow card and this project is finished!
Want to learn an easy gatefold card technique? I used the Delicate Stems 6x6 Stamps along with the coordinating layering stencils to create a stunning floral focal point that opens in the center for a simple yet elegant fun fold design!
I started by stamping the flower from the Delicate Stems 6x6 Stamps onto a white panel and coloring it using the Delicate Stems Layering Stencils. I trimmed the panel down to 4" x 5 1/4", making sure to keep the image in the center of the panel. Once my panel was cut to size, I cut the panel in half at 2" so that I had to strips of stamped cardstock.
Now it's time to create the gatefold card base. Cut a piece of 8 1/2" x 11" black cardstock in half so that you have a base that measure 5 1/2" x 11. Score 1 1/8" from each end and fold the two flaps in towards the center. Easy peasy, right?! Now it's time to add those panels to each of the flaps. I added a white panel stamped with the same floral image to the inside of the card, but you could skip that step if you wanted.
All that's left is to add a sentiment! I pressed the Thank You Impress-ion Press + Foil Plate into an A2 Cotton Watercolor Panel and used my scissors to fussy cut the sentiment. Be careful when adhering the sentiment to the card. You want to be sure to only add adhesive to one side so that you don't glue the card closed. It doesn't matter which side you choose (I chose the left), but just be sure to only add adhesive to half of the sentiment. That's it! I hope you're inspired by this easy tutorial!
Now for the fun part! I cut out various parts of the ink blended panel with the two smallest dies from the Hand Torn Squares Dies. Alone, they don't look like much - but when you puzzle them over the black and white panel and line up the lines ... you get magic! I love how the color pops off the page! I used foam tape to add all of the squares to the black and white image and then spattered the panel with black paint. I cut a black layer and added both panels to an A2 card.
I cut the word "thanks" using the Simply Word Dies three times from white cardstock and twice from black cardstock. I layered them together to create a chipboard-type die cut and offset the white on top of the black to create a shadow. That's it! This technique can be applied to any large image and I hope you try it out!
Check out this sweet arch-shaped card featuring the Heart Balloon Bouquet Impress-ion Press + Foil Plates. A touch of ink blending, die cutting, and patterned paper were all it took to create this versatile all-occasions card!
I created a shaped card using the largest die from the Hand Torn Arches Dies and cut a piece of paper from the Favorite Things 6x6 Paper Pack using the Arches Dies to use as my background. I added the heart balloons right in the center of my card and offset the sentiment to help balance the design. That's it!
I love the product suites from LDRS! You can mix together 2, 3, or all 4 of the products included in the suite. I decided to keep it simple for today's card. I needed to send a handful of cards overseas. When I'm sending cards long distance, I like to keep them flat so they arrive safely. I die cut a white panel with the A2 Diagonal Stitched Layered Card Toppers and positioned one of the flowers from the Tufted Petals 6x8 Stamps so that it would stamp off the right and bottom sides. Here's a tip! If you plan to add color with stencils, trap your stamping with a bit of clear embossing powder to eliminate smudging.
I added easy color with the Tufted Petals Layering Stencils and added a few more panels to create some depth to my card. That's it! You could mass produce this design to send to lots of friends, or create a whole rainbow of flowers and package them as a gift! Thanks for joining me, I'll see you soon!
Ready for an easy way to make your projects SHINE with an easy faux stained glass window effect? I mixed the Puzzle Frames and Sweet Magnolias Stamps with ink blending and heat embossing to create a vibrant card!
This technique is SO easy and you most likely already have these products in your stash! I started with by stamping the large grid from the Puzzle Frames 6x8 Stamps with Raven Hybrid Ink onto a piece of white cardstock. Next, I grabbed the Sweet Magnolias 6x8 Stamps and stamped both of the floral images over the puzzle. You can use whatever medium you like to color the flowers, but I like quick and easy coloring. I grabbed the Sweet Magnolias Layering Stencils, some blending brushes, and my inks and blended color over the flowers.
Now comes the fun part! Grab your clear embossing ink and press, press, press the pad all over your panel. I recommend that you don't twist your ink pad since you may smear your colored images. Just press straight down and lift straight up. Repeat until the whole panel has a good, thick layer of embossing ink. Add clear embossing powder, heat set, and admire the shine! You can repeat the process with a second layer of powder if you want, but I left the powder a bit spotty in areas. I think it lends itself to the stained glass look.
I cut down my stained glass piece and added it to a white card base, stamped and die cut a sentiment, and that's it! I didn't add much because I wanted the stained glass technique to be the star. Thanks so much for joining me!
I started the card by using Raven Hybrid Ink to press the sentiment and image from the Delicate Stems Impress-ion Press + Foil Plates into a Cotton Watercolor Panel. I used the Delicate Stems Layering Stencils to add color to the flowers. Rather than adding a single color, I decided to create a rainbow of color! I started with the first stencil using yellow ink in the center and then added pink to the left and blue to the right. I added a bit more pink on the right so that I could create a shade of purple. I repeated the process with a heavier hand on the second layering stencil. Once my coloring was complete, I added gold shimmer watercolor spatters and cut the panel with the Arches Dies.
I trimmed the panel down using the largest die from the Double Stitched Scalloped Square Dies and layered it onto a 4.25" square card along with some layers of black and white cardstock. I added some black watercolor spatters to the white layer for a bit of texture and that's it!
Notecards are the perfect way to send a happy hello! I used some LDRS Creative Impress-ion Letterpress Press Plates along with some layered stenciled images to create this cute little card!
I cut a piece of black and white cardstock to create mats for my notecard and adhered the pieces together. That's it! You could easily mass produce this design to create a set of beautiful notecards to give as a gift. Happy crafting!
I love monochromatic backgrounds with a pop of color! I kept the background of my collage card in shades of black and grey and used bright, happy colors on the flower and hummingbird. See the full tutorial on the LDRS Creative YouTube Channel!
I added a sentiment from the My Wish for You 4x6 Stamps as well as my colored images to the panel and layered a piece of black cardstock onto an A2 card. That's it!
To say that I am OBSESSED with the Sweetheart Floral Impress-ion Letterpress Dies from LDRS Creative is an understatement! This gorgeous floral arrangement is big enough to fill the background of my card and the layering stencils to easily add color are a lovely bonus! Watch my full tutorial on the LDRS Creative YouTube Channel.
I'm loving the nostalgic feel of this card! Hanging the stockings has been a fun Holiday tradition since I was a child. See how this card came together with just a bit of stamping and ink blending!
I don't know about you, but I send a LOT of cards for the Holidays, and this would be a perfect design for mass producing! And you can completely customize your color scheme to fit the colors of stockings in your home. I stamped the image from The Stockings Were Hung 4x6 Stamps with Raven Hybrid Ink in the center of a white panel and added some sentiments to the top and bottom to fill out my design. Then I started adding color with The Stockings Were Hung 6x6 Layering Stencil. I used a combination of Iced Tea, Lipstick Jungle, and Pistachios-a-Plenty Hybrid Inks to create a traditional color scheme.
I used the A2 Diagonal Stitched Layered Card Toppers to cut my white panel as well as a gold card topper to give a finishing touch to the card and added gold watercolor spatters across my panel ... and that's it!
Have you heard the news?! There's a HUGE BLACK FRIDAY BLOWOUT SALE happening NOW at the LDRS Creative online store! I thought I'd give you some inspiration using three of my favorite LDRS Creative slimline floral stamps and layering stencils to create subtle backgrounds with little pops of color. Check out the LDRS Creative YouTube Channel for the full video tutorial! **This sale is for a limited time only and expires Sunday, November 12th at 11:59pm ET!**
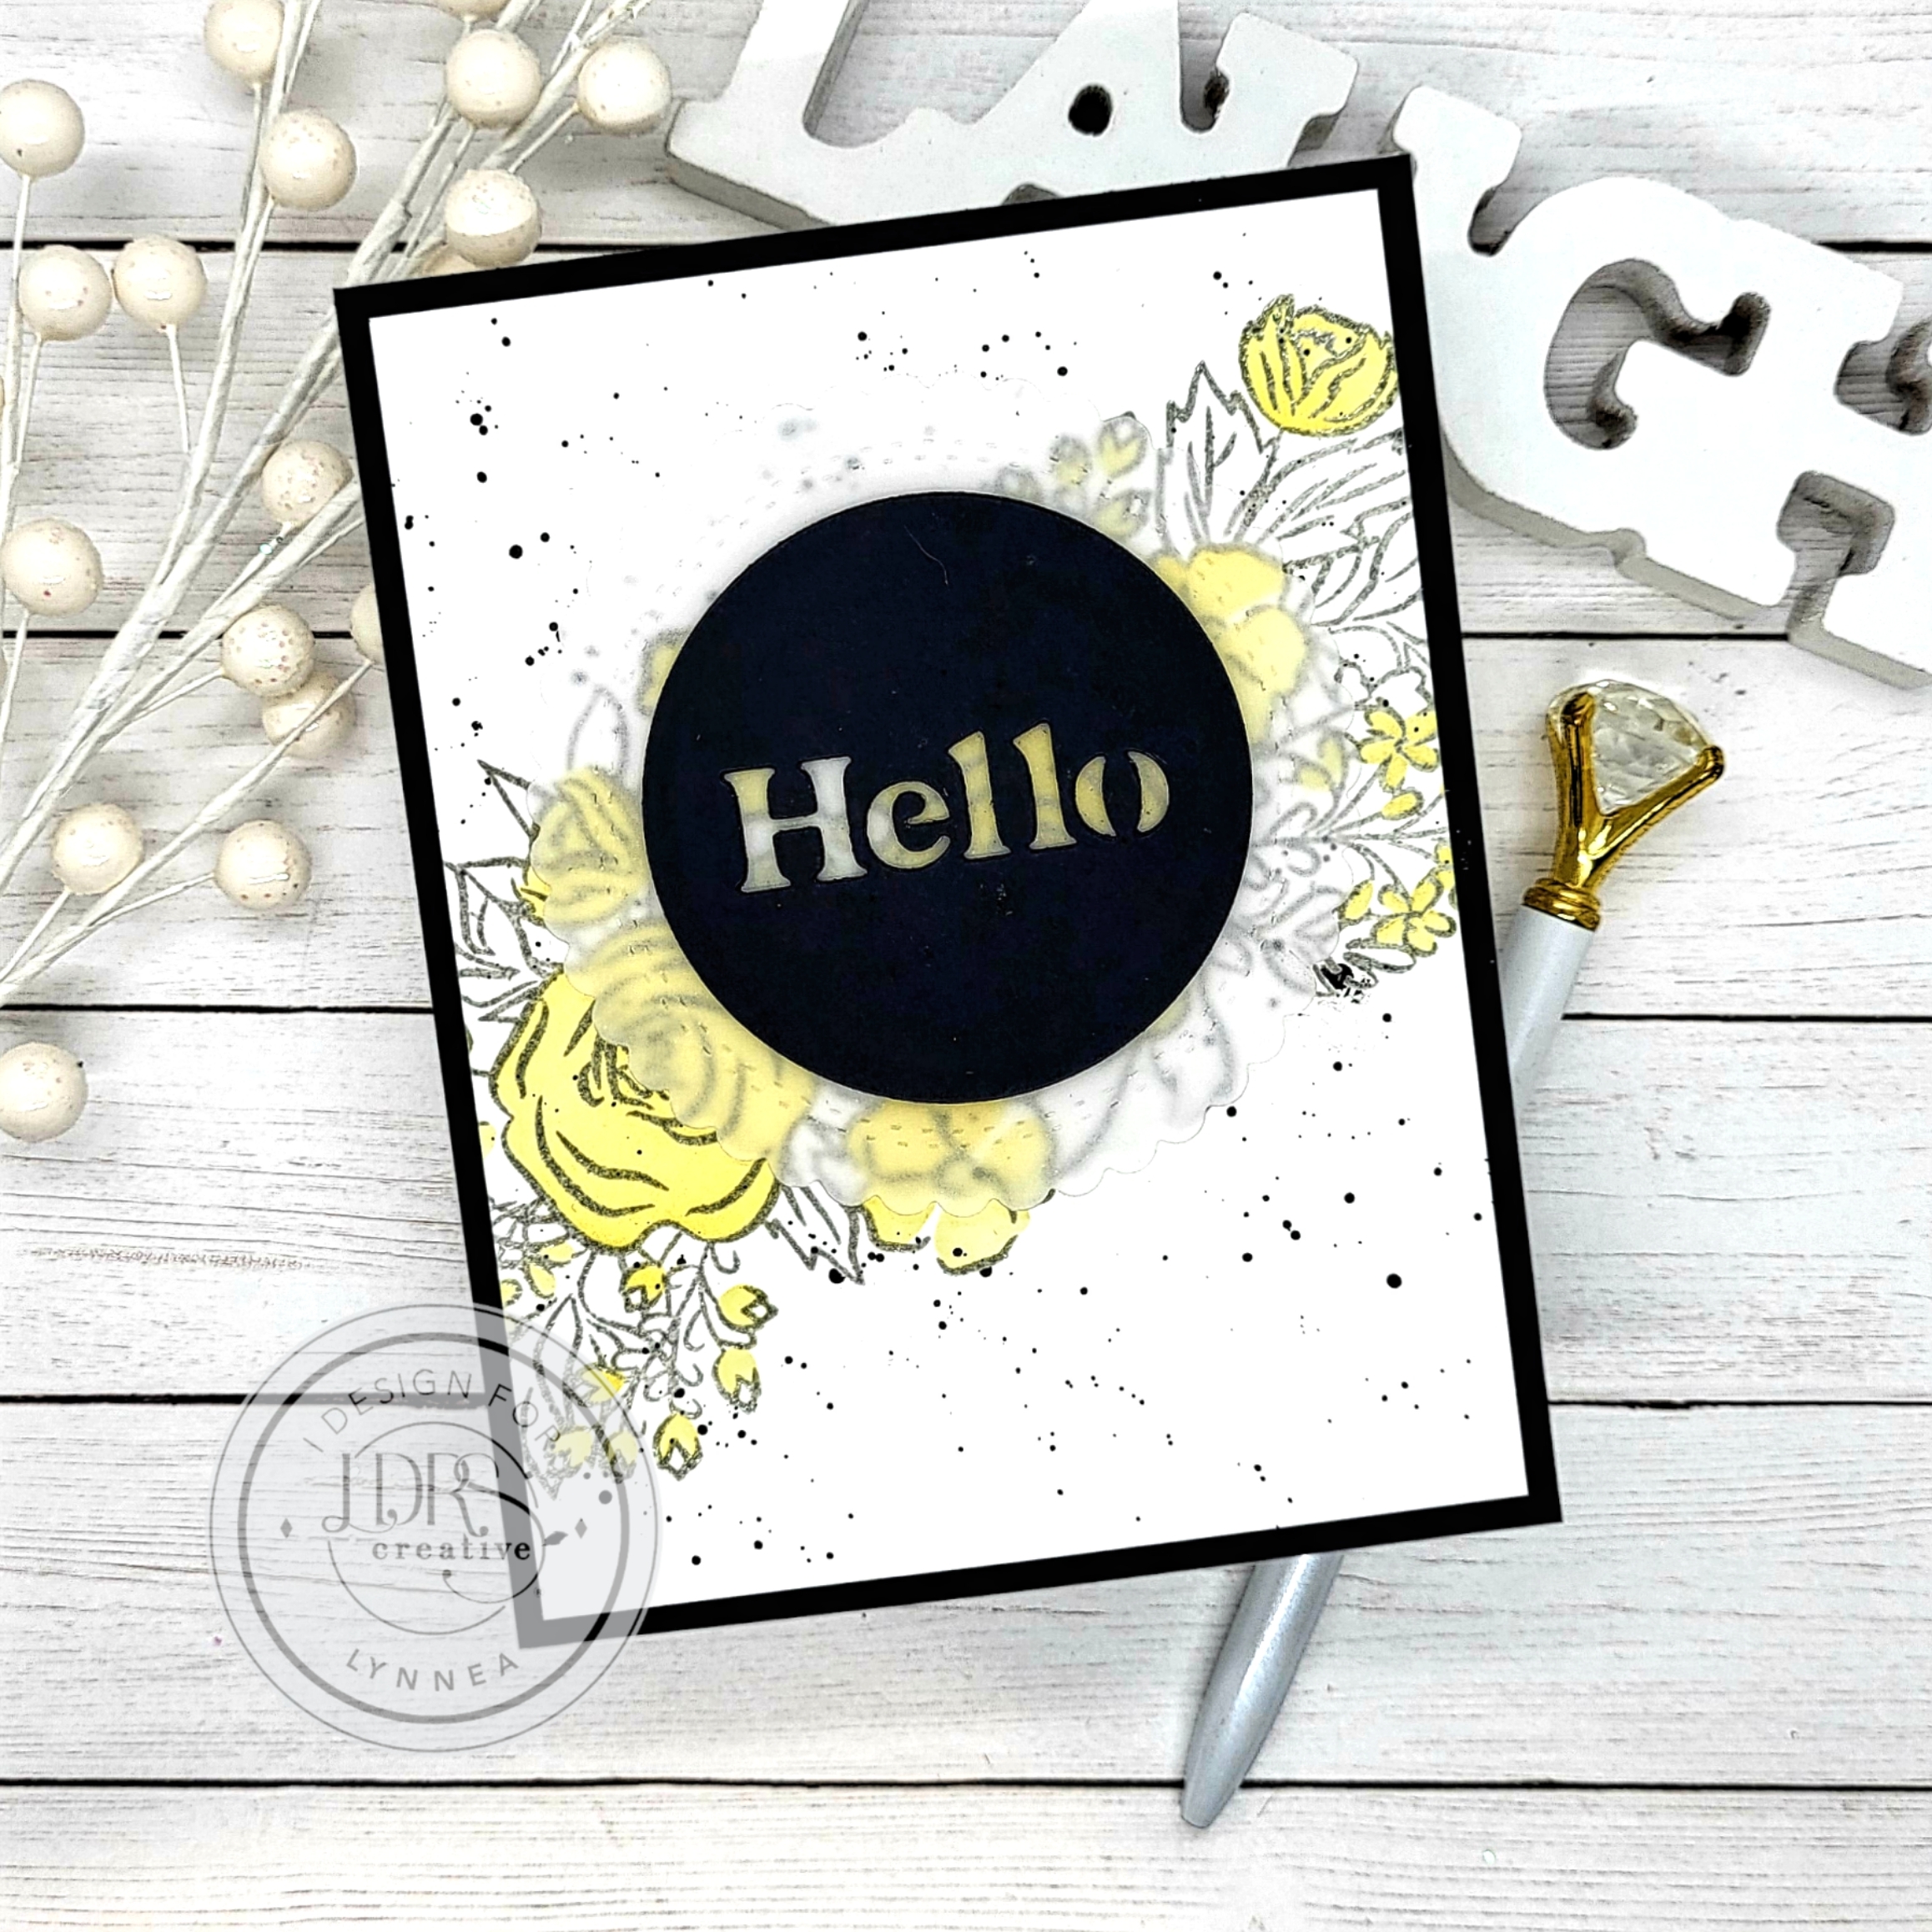
Let's stretch our stash and use slimline stamps in a new way! I made three quick and easy cards using the same technique for each card. It's a great way to create a set of cards that have the same aesthetic, but are slightly different - great for gift giving!
I grabbed the Garden Grandeur, Tropical Floral, and Thankful Flowers Slimline Stamps and stamped each image diagonally across a piece of white cardstock. I knew I wanted to ink blend, so I needed to seal in the ink so that it didn't smear when I blended over the top. I used a simple inking technique so that I could add clear embossing powder. I used a stamping platform and first inked with Watermark Emboss Ink and then inked right over that with Alloy Hybrid Ink. This doesn't damage the pads in any way, but it gives me a bit more working time to add the embossing powder and heat set the image.
I used a selection of stencils from the Garden Grandeur, Tropical Floral, and Thankful Flowers Slimline Layering Stencils to add color the base of the flowers of each image. I didn't add any dimension or any color the greenery - I just wanted a little pop of color in the background of each card. I used Soft Kisses, Marina Madness, Lantern Yellow, and Dan-D-Lion Hybrid Inks to create monochromatic backgrounds. Once my stenciling was completed I added black watercolor spatters and trimmed each panel to 4" x 5.25" and added them to black card bases.
I wanted a bold sentiment, so I die cut the Circle Phrase Insert Dies from black cardstock three times each and used liquid adhesive to stack them together to create a more dimensional element. I cut the largest die from the Double Stitched Scalloped Circle Dies to cut vellum and adhered the black sentiments onto them. I added them to the center of each card with foam tape.
That's it! I love looking at my supplies and using them in different ways. It makes me feel so accomplished! Don't forget!! All three of these slimline stamps and layering stencils are on a SUPER SALE, but only for a limited time! Shop the Black Friday Blowout Sale NOW through Sunday, November 12th at 11:59pm ET!
Do you mass produce Christmas cards for the Holidays? I have a design using LDRS Creative products from HSN that would be easy peasy to recreate time and time again!
I love to combine and mix and match products, so I grabbed the Yuletide Paper Collection and the Christmas Floral Stamp, Die and Stencil Set and started working. I knew that I wanted to use the pattern with the large poinsettias, so I trimmed it down so that it would layer on a black A2 card front with a small border. Next, I stamped the image from the Christmas Floral Stamps twice and heat embossed the images with clear powder. I used my inks, blending brushes, and the layering stencils to add traditional green and red colors and used the coordinating die to cut out the images. I wanted to create a frame using two of the same sprigs, but you could mix and match if you wanted. This stamp set gives you 5 sprigs, so if you stamp and stencil two sets like I did, you'll have enough images for 5 cards.
I kept the focal point of the card bright and clean with a white panel layered on a black cardstock panel. I stamped a sentiment from the Christmas Floral Stamps in the center and placed the sprigs above and below the sentiment with a bit of foam tape. That's it! You'll be able to make a bunch of cards in no time at all!
Share a bit of "fa la la" with this Christmas card combining the timeless charm of vintage-themed patterned papers and delicate winter greenery stamps and layering stencils. Embrace the coming season with this quick and easy tutorial on the LDRS Creative YouTube Channel!
I cut papers from the Yuletide Paper Pack to layer on my card. I also cut the focal point sentiment piece from one of the "cut apart" pieces and added that to the center of my card. I arranged my stenciled florals and greenery pieces around the sentiment and finished the card with some white paint spatters. That's it! Thanks for joining me!


.jpg)


.jpg)