It's Lynnea! Creating a fall-themed shaker card with stamp layering and die-cutting has never been easier - or cuter! Join me as I take you through my process for creating this easy shaker card!
Let's start with an A2 piece of kraft cardstock. I grabbed the Grateful for You 4x6 Stamps and used various shades of yellow, orange, red, and green LDRS Creative Hybrid Inks to stamp the solid maple and oak leaves all over the panel. I added the acorns with two shades of brown LDRS Creative Hybrid Inks wherever there was empty space in my background. You could leave the background as is, but I decided to add the detail layer for the leaves and acorns. I used Raven Hybrid Ink for the outlines. I wasn't careful about lining the outline up perfectly. Instead, I decided to offset it just a bit. Some gold watercolor spatters finish the background.
I die cut white cardstock using the largest oval from the Delicate Stitches Delicate Oval Dies to use as my shaker frame. I added a piece of acetate to the back and then added double thick foam tape around the back of the frame. I filled it up with a gold, white, and brown shaker mix and added it to the front of my stamped panel. I die cut a sentiment from the All Occasions Sentiment Dies and thought that would finish off my card ... but it was missing something.
In the end - I decided my card needed a little dose of something cute! I used LDRS Creative Hybrid Inks to stamp the squirrel from the Grateful for You 4x6 Stamps, trimmed it out with scissors, and added the image to the front of my card. That's it! Easy peasy and super cute!
Hello! I'm sharing a super colorful shaker card with you today using LDRS Creative dies! This card was so easy to make and completely color customizable!
I grabbed a whole rainbow of bright papers from my stash and cut many strips using the 1/2" Zig Zag Slimline Background Strips Die. I covered a piece of thing white cardstock with double sided adhesive and started covering the entire background with my die-cut strips of cardstock.
Once my background was completed, I used the Big Word Dies - Beautiful to cut both the sentiment and shadow from the panel. I adhered the "beautiful" word to my card base and started building my shaker well with my die-cut panel. I added acetate to cover the window and used foam tape to block off the outer edges of my card.
I added lots of iridescent confetti pieces to the shaker card and gave it a good shake. That's it! Thanks for joining me!
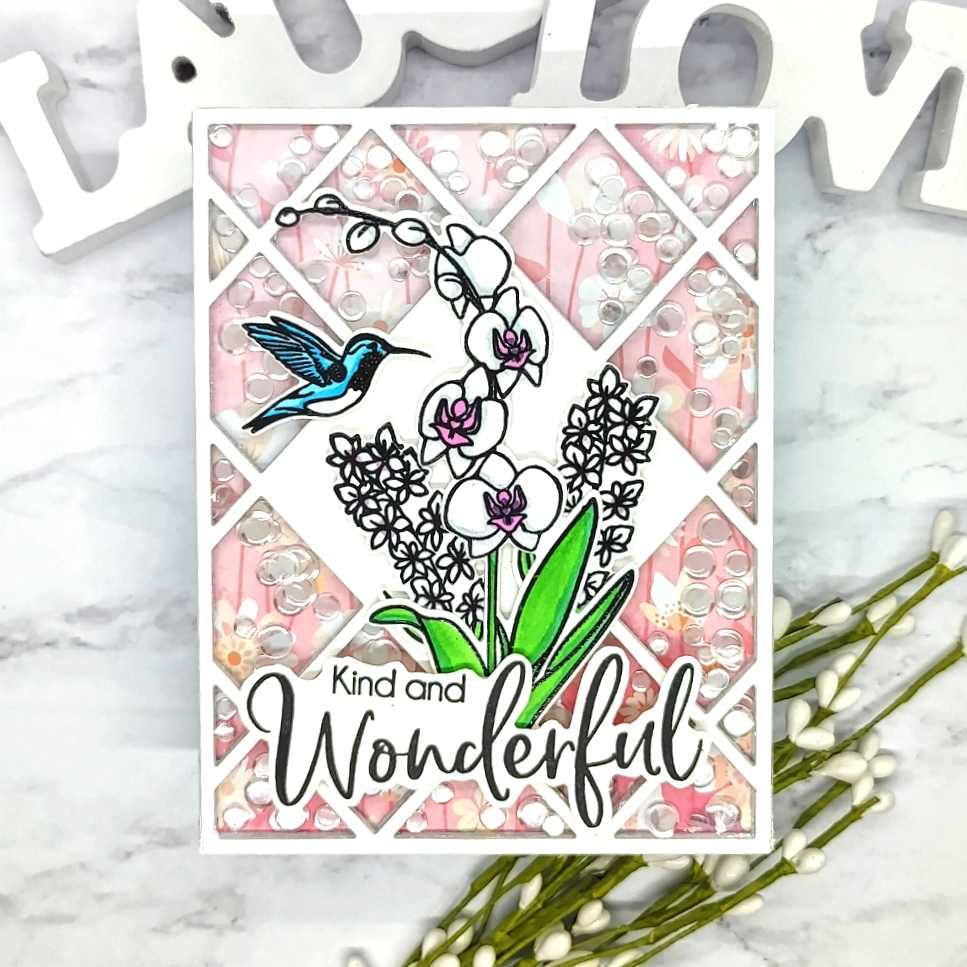
Let's start with the shaker! Each of those diamond "wells" hold sequins to make sure that sequins can be seen all over the card. Trust me - it's easier to do than it sounds! I have a handy trick! I started by using the Diamonds A2 Coverplate to cut 6 pieces of heavy weight white cardstock. I used liquid adhesive and glued all but one of the die-cut panels together to create one thick piece similar to a chipboard background. I added a piece of acetate on top of the panels and glued my remaining diamonds die-cut piece on top. I flipped the piece over and added confetti sequins to each of the "wells". Now I need something to seal up my shaker. You could use anything - colored cardstock, your card base, or patterned paper. I chose one of the patterns from the One Fine Day 6x6 Paper Pack, cut it to size, and adhered it to the back of my shaker panel. Now I have confetti floating around each of those diamond shapes instead of falling all the way to the bottom!
I used Raven Hybrid Ink to stamp the hummingbird, large orchid, smaller flowers, as well as a sentiment from the Orchid Stamp Set. I colored the images with alcohol markers and cut them out with the Orchid Coordinating Dies and added everything to the front of my shaker. That's it! So fun and so easy!
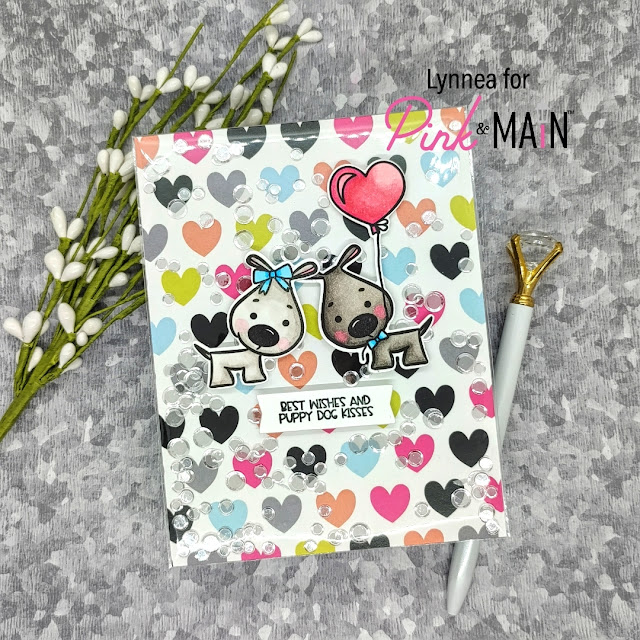
An easy way to step up a simple card is to create a full panel shaker! I used a bright patterned paper, cute Pink & Main images, and some sequins to make this flat shaker!
It's so easy to create a full panel shaker card! I used a stamp storage pocket, but you could use cellophane or thin plastic packaging. I trimmed a piece of patterned paper from the Best Friends 6x6 Paper Pack to 4.25 x 5.5 inches and slid it into the stamp storage pocket. It fits perfectly when I put it in sideways. I trimmed off the excess plastic from the top - leaving about an inch at the top. I used some clear flat confetti pieces from my stash and added them into the pocket then folded over the extra inch of plastic and adhered it to the back of the patterned paper. I added the shaker pocket to the front of an A2 card and just like that I have a full panel shaker card!
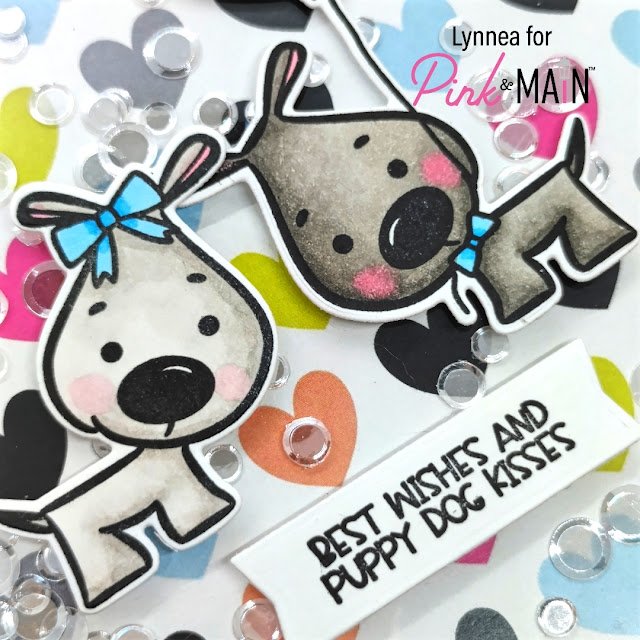
Once the shaker panel is done all you need to do is add an image or two on top to complete the card! I used the Puppy Love Stamp and Die of the Month for December and colored up two adorable puppies with Copic Markers and cut them out with the coordinating dies. I also stamped a sentiment and used a die from the Large Sentiment Strip Die Set to cut it out. I think this was my most used die set of the year!
The shaker panel is flat, so you could adhere the images onto the card with liquid adhesive and keep this card completely flat, but I've never had any problems with cards going through the mail with a bit of dimension, so I decided to pop them up on foam tape. Thanks so much for joining me!
I love how a cover die can be dressed up or dressed down depending on the cardstock! I gave this mini slimline a whole lot of disco ball glam with some holographic cardstock!
The September release from Pink & Main is here and it includes the FABULOUS Homespun Christmas Kit! I made a 5 cards 1 kit video to show off the amazingness of this kit!
I'm in love with the Homespun Christmas Kit! Perfect for both traditional and non traditional Holiday projects. This kit is not part of the regular Crafty Courtyard subscription and WILL need to be purchased separately. Grab it up quick! There are limited quantities and it's a fabulous kit! There is so much packed into this kit - a large 6x8 stamp set WITH coordinating dies, a full patterned paper pack as well as a pack of foiled cardstock, a stencil, and MORE!
I went classic and simple with my first card. I used the Pink & Main Stitched Rectangles 1 Die Set to cut out various patterned papers from the Homespun Christmas Kit and stacked them together. I added a bit of baker's twine from my stash for a small detailed accent and added the mason jar of poinsettias in the center of my card. This image is gorgeous! You can color the poinsettias traditionally as I have or color them with teals for a non traditional look.
I can't create with a card kit without creating a shaker card! I decided to mix traditional and non traditional colors on my card. I used the Reverse Scalloped Rectangle Dies to cut out a frame from a piece of patterned paper and used acetate and foam tape to create a shaker well. I filled it with sequins from the kit and backed it with a cream colored paper. I colored the bells and stamped a sentiment and added them to the center of the shaker.
My third project is a tag - I thought it would be cute to have something a bit different! I used the stencil included in the Homespun Christmas Kit and stenciled some light brown ink onto white cardstock and used the Fancy Tag Die Set to cut my tag shapes. I accented with some of the gold foil cardstock in the kit and added a sentiment strip and the candy cane image.
I liked the stencil so much that I decided to use it again and stretch it across a slimline card! I ink blended with a light blue ink and then shifted the stencil to the right and blended ink over the rest of the panel. I used the frame die from the Blessings Slimline Die Set to create a nice scalloped edge and added the lantern and a sentiment.
I went with non traditional colors for my last card - lime green and pink! And I colored the stocking with some aqua markers, too! I used the Concave Rectangles Die Set and hung the die-cut piece off the edge of the card for some interest. The patterned papers in the Homespun Christmas Kit are stunning!
I am over the moon in love with the Homespun Christmas Kit! Remember that it's a limited edition kit and not part of the regular Crafty Courtyard subscription, so hurry over to the Pink & Main Store and grab yours!
Here's an easy way to step up a shaker card! Using your coordinating dies to create a set back shaker is easy and fun and I have a tutorial on YouTube!
Blog Post - https://www.lynneahollendonner.com/2021/09/ldrs-creative-die-cut-set-back-shaker.html
Potted Poinsettia Stamp Set - https://shrsl.com/35n78
Potted Poinsettia Die Set - https://shrsl.com/35n79
Peace & Joy 6x6 Paper Pack - https://shrsl.com/35n7a
I stamped the cute little ghost from the All About the Boos Stamp Set and colored it with Copic Markers. I kept the colors to traditional Halloween colors, but you could mix it up and throw in some pink or aquas to be different!
I created a simple shaker frame and glammed it up a bit by adding some Green Sketch Brutus Monroe Foil. Watch my video above to see how easy it is to bring some extra glam!
Thanks so much for joining me on this spooky tutorial! See you again soon!
I love making shaker cards out of things that aren't created to be shakers! I used the solid mug from the LDRS Creative Cozy Cuppa Stamp Set and cut out the center to make an elegant winter shaker card!
You can make just about anything into a shaker! Don't limit yourself to just standard shape dies - though those are pretty, too! I colored the mug from the Cozy Cuppa Stamp Set and then cut out the center to create my shaker window. It was super easy! Check out the video above to see my process.
Here's a little bit of floral inspiration for you! I used the Miss Ink Stamps Blooming Brushes Stamp Set to make this flowery shaker card!
I loved the florals in the Blooming Brushes Stamp Set so I decided to make them the focal point! I colored them and cut them out and added them on top of a shaker window with Wildflowers Clay Pieces inside!
I have a super fun summertime shaker card to share with you! I used stamps, dies, papers, and a stencil from LDRS Creative - SO much fun packed into one card!
I finished off the card by adding my image and sentiment strips onto the front of the shaker window with foam tape. I hope this card makes you smile! See you again soon!
I love allllll the shiny things! I mixed a Glitz Glitter Gel stenciled backgrounds with a shaker card using Sassy & Crafty goodies!
I adhered the Awesome Stars Stencil onto my card with a bit of Pixie Spray and used a Stencil Pal to spread Black Glitz Glitter Gel over the stencil and set the panel aside to dry for about 30 minutes while I worked on the rest of the card.
I stamped the adorable image from the My Kind of Crazy Stamp Set and colored it with Copic Markers then used scissors to trim around the image. I also stamped a sentiment onto a strip from the My Kind of Crazy Stamp Set. I just love the cute and funny sentiments in this set!
I cut a frame from the LDRS Creative Scalloped Circle Frames Die Set and created a shaker well by adding acetate and foam tape. I find it easiest to add the shaker bits onto the card and then add the frame on top. Be sure to press well so none of the bits fall out!
I hope you love all the shimmer and shine on this card as much as I do!
The possibilities with the Sweet Birthday Wishes Craft Kit are truly endless! I put my personal style into each of these 5 cards, but I love that the products are created in such a way that you can do whatever you like with them! How fun would it be to create a scrapbook page or mini album to celebrate someone's birthday!? Remember! The Sweet Birthday Wishes Craft Kit is limited edition and once it's gone it won't be restocked, so be sure to grab yours from the LDRS Creative store! You get two stamp sets, a die set, papers, and more!
I was drawn to the falling confetti patterned paper and the "happy" bubble balloons (as I call them!) for my first card. I LOVE that there is a coordinating die set for this stamp set to easily cut out the balloons and the strings! I cut the patterned paper with the outer die from the Slim Line Basket Weave Pocket Die Set and added my elements with foam tape for a super fun pocket sized card!
A new item in the Sweet Birthday Wishes Craft Kit are foilable acetate sheets! You definitely don't have to foil them (example of that to follow!), but I just HAD to! I heated up my laminator, placed a piece of gold foil (pretty side up!) onto the acetate sheet, and ran it through with a carrier sheet. Just look at that pretty shine! Of course I needed MORE sparkle, so I used a piece of the gorgeous blue glitter cardstock from the kit for my background. I created a frame by stacking together the two largest dies in the A2 Stitched Layered Card Toppers Die Set and added that around the outside.
Let's use two more of the acetate sheets on this card! They are sized perfectly to layer onto an A2 panel, so I trimmed down the yellow cardstock from the kit and added an acetate sheet on top. This one is not foiled and you can see how special it is straight from the package! These acetate sheets would also be GREAT as fronts for shaker cards! There is an acetate sheet that has birthday messages, so I cut it up and used it for my sentiment! I foiled the "happy birthday" and "let's eat cake" with gold foil and adhered it onto the hot pink cardstock from the kit and added the strips with foam to my card. A few enamel dots from my stash finishes off my third card!
My fourth card took a few twists and turns, but it's ended up being my favorite of the bunch! You can check out my video for all the changes I made! I used Alloy Hybrid Ink to stamp a sentiment repeatedly across a white background. The effect is so light and soft! I stamped the three balloons and used some creative masking to fill the balloons with flower clusters using Dan-D-Lion, Fandango, and Key Lime Pie Hybrid Inks. I stamped the same sentiment I used for my background with Raven Hybrid Ink and trimmed it into a strip. I just love that this card can be used as a birthday card, graduation card, anniversary, etc! Just goes to show that you don't have to stick strictly to birthday cards with this kit!
I couldn't leave this kit without using my FAVORITE patterned paper! I'm a sucker for geometric patterns and these colors are to die for! I created a shaker frame by nesting together two dies from the Scalloped Circle Frames Die Set, created a simple shaker with stars and confetti pieces, and added the adorable three layer cake stamped image on top!