Showing posts with label Embossing Folder. Show all posts

Wednesday, October 2, 2024

LDRS Creative | 3D Embossed Backgrounds Two Ways

Embossing is a fabulous way to create a bunch of cards in minutes. I made 4 cards in no time at all using a two different embossed backgrounds ... PLUS a 2 for 1 technique! Buckle up - It's time for some speedy cards! 


Products used - 


I started my projects by embossing 2 panels of 4" x 5.25" light blue cardstock with the Romantic Floral 3D Embossing Folder. Don't forget! This is a 3D folder and will be thicker than your standard embossing folder, so be sure to follow the 3D embossing directions for your machine. Another tip - I like to lightly spritz the back of my panel with water before I emboss. This helps get a deeper impression.


Now let's look at how I stepped up one of the backgrounds! I took a Snowy White Pigment Ink Pad and rubbed it over one of the backgrounds. You want to make sure the ink pad is completely flat and flush with the panel. Don't push, just run the ink over the most raised areas of the pattern. This really makes those flowers pop! You could switch out the white ink for any other color. 


I cut my panels down so that I could make two cards out of each background. I made my cut at 2", which leaves a 2" panel and a 3.25" panel. I put the smaller panels at the bottom of my card and the larger panels at the top. I added a thin black strip of cardstock as a finishing edge. 


I wanted to keep the sentiments simple so the focus stayed on those pretty embossed backgrounds. I added a simple stamped sentiment using the Sending My Love 4x6 Sentiment Stamps and a die-cut word with the Hugs Word Die. That's it! I love getting two cards from one background. It makes me feel so accomplished! 


Shop LDRS Creative - https://shrsl.com/1ladp

Tufted Petals Mini Collection - https://shrsl.com/4p14u

Romantic Floral 3D Embossing Folder - https://shrsl.com/4p14n

Hugs Word Die - https://shrsl.com/4p14o

Sending My Love 4x6 Sentiment Stamps - https://shrsl.com/4p14p

Snowy White Pigment Ink Pad - https://shrsl.com/453zn


Monday, April 18, 2022

Pink & Main | Unicorn Mother's Day Card

It will be Mother's Day before you know it and Pink & Main has the most adorable critters coming in their new release to help celebrate! 


I mixed and matched some previously released items with some new products that will be released soon! I wanted a textured background, so I started with a piece of white cardstock and embossed it using the new Ornate Tile Embossing Folder. A great way to step up your embossed backgrounds is to add just a bit of ink blending. I didn't add any ink to my brush, just lightly brushed leftover pink ink over the raised design to help it stand out. 


There are a few different critter pairings in the Love You More Stamp Set, but I chose the unicorns. Everyone loves unicorns, right?! I stamped and colored them and cut them out with the Love You More Coordinating Dies. The sentiments in this stamp set are great for Mother's Day, Father's Day, and more! I stamped one of them and cut it out with a die from the Large Sentiment Strip Dies


I added a bit of pizzaz by cutting a piece of pink glitter cardstock from the Summer Glitter Paper Pack with a Zig Zag Circle die and a slightly larger circle from vellum. I used layers of foam tape to pop up all of the pieces and add them to my card. That's it! I'll see you soon!

Monday, March 14, 2022

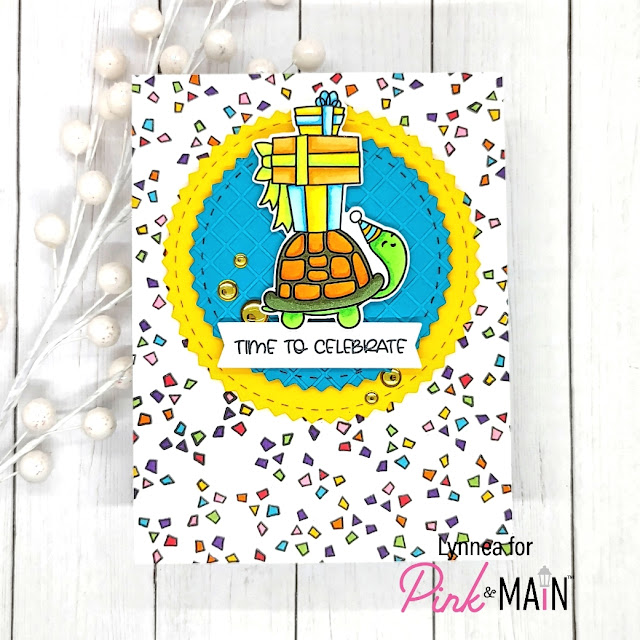
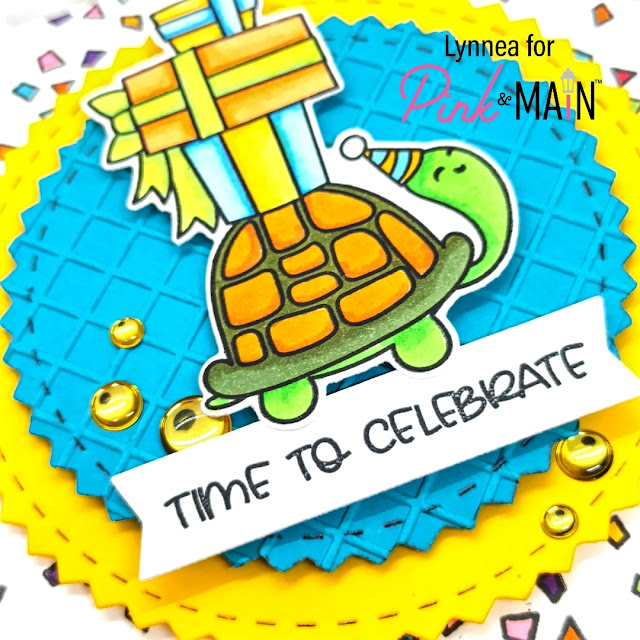
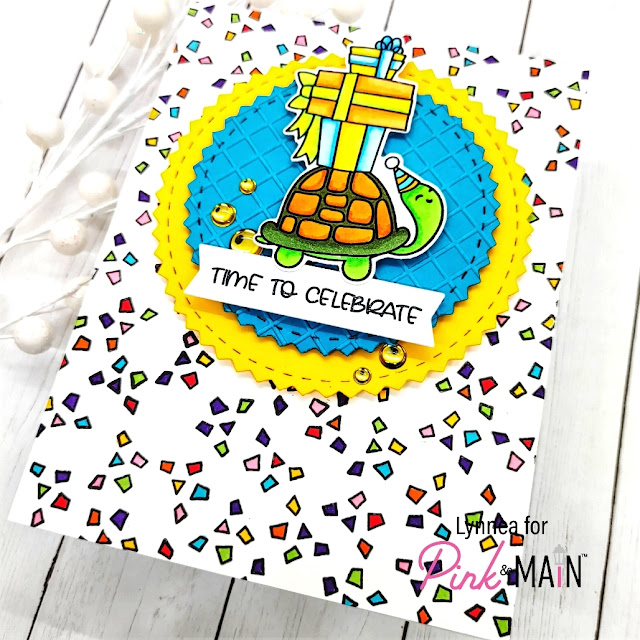
Pink & Main | Time to Celebrate!

It's sneak peek time for the Pink & Main March release! The Party Animals Stamp Set is perfect for all kinds of birthday celebrations! 


There's a lot to love about the Party Animals Stamp Set! I love the little confetti stamp, so I used it to cover my background and quickly colored in the confetti with a rainbow of Copic Markers. I didn't even do any shading, just straight coloring. I stamped and colored the turtle and die cut him with the Party Animals Die Set. I stamped a sentiment and cut with the Large Sentiment Strip Dies


I used the Zig Zag Circles Dies and cut a yellow and blue circle. I used the new Grid Embossing Folder and embossed the blue circle and adhered the pieces together and added them to the background with foam tape. 


I added my image and sentiment with foam tape and embellished with some new Gold Glossy Dots. That finishes the card! See you soon!

Wednesday, December 1, 2021

Miss Ink Stamps | Warm Winter Wishes Night Scene

I used the new Miss Ink Stamps Warm Winter Wishes Stamp Set to make this easy scene card! Watch my video on YouTube to see how this card came together! 


I stamped the snowmen from the Warm Winter Wishes Stamp Set and colored them with Copic Markers. I wanted to create a simple night scene so I die cut some pine trees and adhered them onto an embossed navy background. I cut a piece of white cardstock for a snowy ground and then popped up my image and sentiment on top. 


Thanks so much for stopping by! 

Friday, November 19, 2021

InkOn3 | New Release Instagram Hop

Today InkOn3 is celebrating THREE new stamp sets and THREE new mini ink cubes! I’m sharing inspiration using some of the newest items!


I used some of the new Atelier Ink Cubes to do some ink blending onto my background panel. I have a secret! I started with yellow cardstock instead of white! This made things easier and slightly altered the color of the inks giving the appearance that I put in more effort than I actually did! 


I used a 3D Embossing Folder to add texture to my background. I am not well practiced with embossing folders .... I embossed the wrong side of my cardstock, so the texture isn't as noticeable as I had hoped, but I like the effect! 


I finished the card with some images and a sentiment from the new Thankful For You Stamp Set. Thanks for joining me! 

Monday, November 15, 2021

Pink & Main | Peppermint Striped Mugs and Kisses Card

I'm keeping it warm and cozy today with a bunch of products from Pink & Main! I just can't get enough of the Mugs and Kisses Stamp Set!


There are a bunch of Pink & Main products packed into this cute little card! Let's start with the background. I used the Diagonal Cover Dies to cut from both red and white cardstock. I glued the puffy white outer frame onto a piece of red cardstock and added the red and white inner stripes with foam tape for dimension. 


The Mugs and Kisses Stamp Set is hands down my favorite stamp set of the year! I can't get enough of the adorable mugs! I stamped and colored the penguin mug, candy stick, and whipped cream with Copic Markers and then used the coordinating Mugs and Kisses Dies to cut them out. I wanted the penguin to sit on top of something to help him stand out, so I cut a red circle using a Stitched Circle Die and embossed it with the Let's Polka Embossing Folder. To keep with the red and white theme I cut a layering circle with a Layered Circle Die from white cardstock and layered them together. 


I stamped the sentiment from the Mugs and Kisses Stamp Set and die cut it using a Large Sentiment Strip Die and added it below my penguin mug to finish the card. Thanks for joining me! 

Monday, October 18, 2021

Pink & Main Sneak Peek | This Too Shall Pass

I am sneaking FIVE new products from Pink & Main on my card today! Can you spot all of them? 


I started by cutting a piece of patterned paper from the new Watercolor Rainbow 6x6 Paper Pack to 4x 5.25" so that I would have a slight white border on an A2 card. I cut a piece of white cardstock to layer onto the patterned paper and embossed it with the Rainbow Embossing Folder. It's hard to photograph, but in real life the detail of the embossing folder is wonderful! 


Pink & Main is going to be releasing a new product that I am SO excited about! Flocking powder! I covered a piece of white cardstock with a piece of a 6x6 adhesive sheet and removed the backer and sprinkled on Cottontail Flock with Glitter and pressed the powder into the adhesive. It's so soft and fuzzy! I used the Rainbow Friend Die Set and cut out the sentiment. In real life the "friend" sentiment is fuzzy and glittery! 


I had a small strip of patterned paper left over so I used the shadow die from the Rainbow Friend Die Set and layered the flocked sentiment on top of the patterned paper and popped it up onto my card with foam tape. I stamped a sentiment from the Sending Cheer Stamp Set and trimmed the edges to banners and added it below my die cut sentiment to finish the card. That's it! All of the new products I used on today's card will be available in the Pink & Main store on Wednesday the 20th! 

Monday, March 1, 2021

Pink & Main | Masking, Ink Blending, and Embossing, OH MY!

I have done it! I've made a card that I just LOVE! And I packed a LOT into this simple card! I combined a bunch of techniques and Pink & Main products into this card! 


I used the Mask It Rectangle Stencil and positioned it right in the center of my A2 card background and used an Ergonomic Blender Brush to blend a gradient of ink in the center of my card. This makes a fun center point on my card that you could leave as is, but I decided to step it up a notch! I placed my masked and ink blended card front into the Let's Polka Embossing Folder and ran it through my die cutting machine. Now I have subtle texture added to my background!


I stamped my ADORABLE image from the Gnome Matter What Stamp Set and colored it with Copic Markers. I added lots of white gel pen dots and highlights for texture to the image. This is something new that I'm trying with my coloring and I am loving it! I stamped a sentiment from the Gnome Matter What Stamp Set and die cut both the image and the sentiment with the coordinating Gnome Matter What Die Set


You can recreate this card and change up the ink blending or the embossing folder for a bunch of different looks! I'll see you again soon! 

Monday, February 22, 2021

Pink & Main | Berry Sweet Happy Mail

I have been sending a lot of "miss you" cards, but this one is by far the sweetest! I used new Pink & Main goodies to make this cute card! 


Recently I have rediscovered my love for embossing folders and Pink & Main has a bunch of new designs! I used a piece of heavy white cardstock and ran it through my die cutting machine with the Happy Mail Embossing Folder. I prefer to use heavy cardstock ( or even watercolor paper ) with embossing folders because it gives SO much dimension! I wanted my background to really pop, so I took a bright pink ink pad and lightly rubbed it across my raised design. Some of the ink got in between the envelopes, but that's okay! I love the look! 


I stamped my images from the Berry Sweet Stamp Set with a black pigment ink and heat set them with clear powder. I planned to color my images with Karin watercolor pens and the heat embossed images create raised edges so that it's easier for me to color. Once they were colored I cut them out with the coordinating Berry Sweet Dies


The sentiments in the Berry Sweet Stamp Set are perfectly spaced so you can create a berry punny sentiment. How fun, right! I stamped out "Miss you so .... much" with black ink and the "berry" with the same pink ink I used on the background. I used a die from the Large Sentiment Strip Die Set to cut out the longer sentiment and fussy cut the word "berry" so that I could pop it up on top of the sentiment strip. 


I added all of my images and sentiments onto my embossed background with foam tape and I'm ready to pop this card in the mail! Thanks for joining me! 

Monday, January 25, 2021

Pink & Main | Inked Embossing Folder Valentine

Rawr! I have an inked embossing folder technique using Pink & Main products to share with you today! This is an oldie, but a goodie technique that I love for quick backgrounds!


I like to start my cards by creating a fun background, so let's dive in! I grabbed the Wide Stripes Embossing Folder and opened it up. You'll see there are two sides - one has skinny raised stripes, one has large raised stripes. The raised portions of the embossing folder with press into the cardstock creating an impression and the depressed areas of the embossing folder will actually become the raised portions. I chose to work with the larger raised stripes. I used three colors of water reactive inks and smooshed my ink pads directly onto the raised portions of the embossing folder and spritzed it with water. I carefully placed a piece of thick watercolor cardstock into the embossing folder and ran it through my embossing machine following the instructions for embossing. 


This technique presses the ink into the cardstock and creates a fun colored and textured background! You could definitely switch this around and ink up the thinner stripes of the Wide Stripes Embossing Folder and you would have thin colored stripes pressed into the cardstock with thick white raised stripes. Either way gives you a cool background! I wanted to bring a little more fun to my background so I used black ink to stamp the hearts border from the Rawr Stamp Set into each of the inked depressed stripes. 


Now it's time for the cute images! I stamped a couple of dinos and the speech bubble from the Rawr Stamp Set and colored them with Copic Markers then cut them out with the coordinating Rawr Die Set. I LOVE that the Rawr Die Set also cuts out the tiny sentiment! 


I added the images and sentiment with foam tape and covered the balloons, speech bubble, and heart with glitter and Glossy Accents for shimmer and shine. I hope you'll try this fun technique!