I just can't wait for the first snow to fall! Where I live it's not uncommon to have a dusting or two before Halloween!
This card is the result of a happy accident - but I love the look! I sprayed the back of the Echo Park Magical Snowfall Stencil a little too heavily with Pixie Spray and I didn't wait long enough for the spray to dry before adding it to my cardstock. I pressed Versamark ink over the stencil and when I removed it and added my Lilac Pearl embossing powder the powder actually stuck to the background. I LOVE it! I think it looks like the soft flurries of snow that picks up and blows around in the wind!
The little snowman is from the Avery Elle Christmas Magic stamp set. I wanted him to match my heat embossed background, so I used some BV Copic Markers to color his hat and scarf. The sentiment is from the Sunny Studio Stamps Bundled Up stamp set. I thought it fit this card perfectly!
I added all of my die cut elements onto my card and finished it off with some string tied in a bow. Head over to the Scrapping for Less store to find these products and more for your Holiday cards!
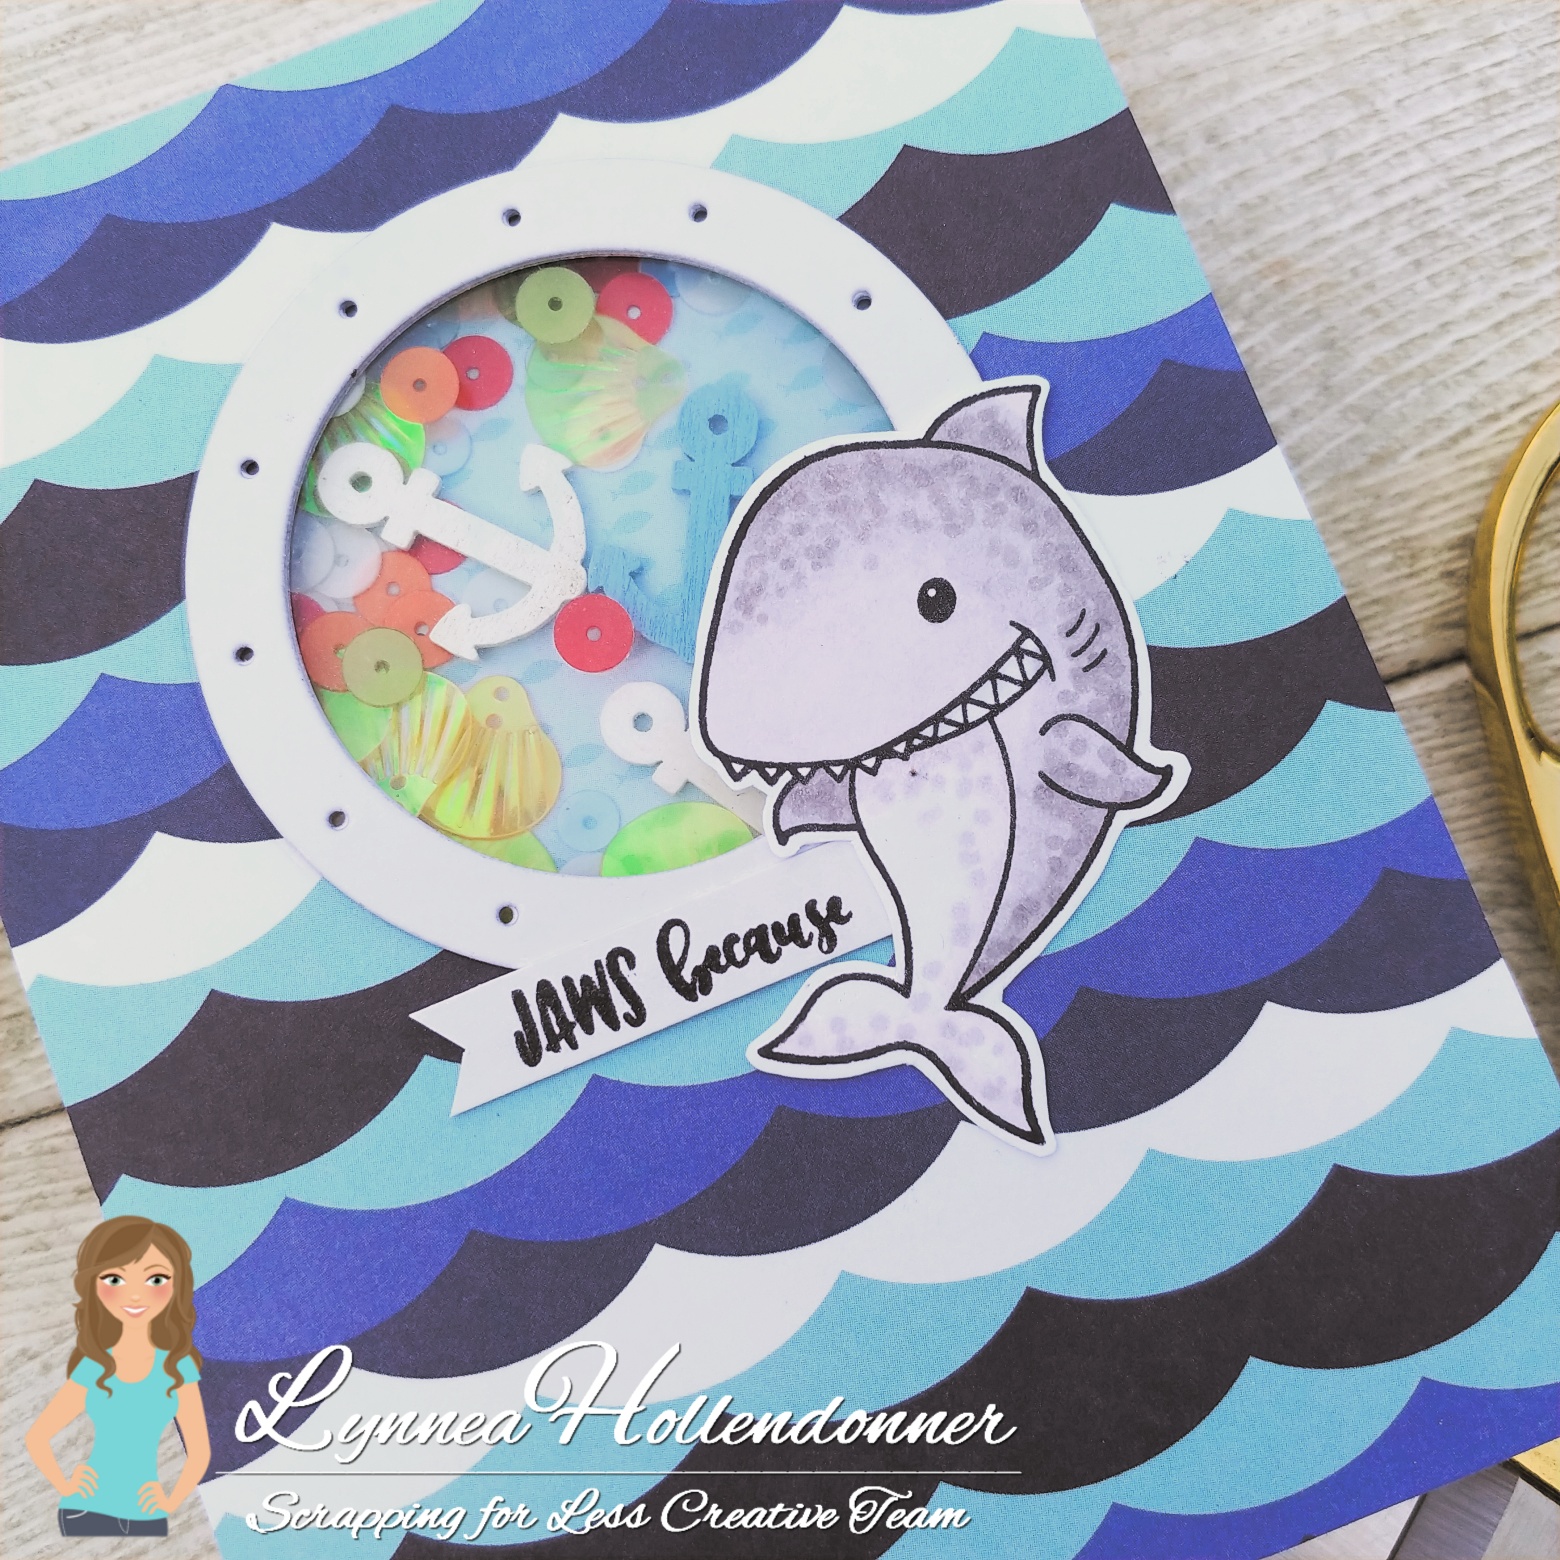
Hey, everyone! I have another under the sea themed card for you using fun products you can grab in the Scrapping for Less shop! This time I'm making a super fun shaker card! And there's a video!
I LOVE the My Favorite Things Ocean View Porthole die and as soon as I saw it I knew I wanted to make a shaker! My shaker is quite simple, but for a step by step tutorial make sure you watch my video below! I started by picking out some of my favorite papers from the Echo Park Vitamin Sea paper pack. I wanted to keep the patterns masculine. I always have a shortage of cards for guys in my stash and these papers and stamps are perfect for guys!
Once I picked out my papers I die cut the waves patterned paper with the Ocean View Porthole die - you could just use a circle die, but I wanted to make sure that my window was perfectly sized, so I just used the die. I adhered some acetate to the back of my waves paper and used foam tape to make a circular "well" at the back of my patterned paper and filled it up with sequins and little anchor pieces. I used another piece of patterned paper to seal up my shaker. I die cut the Ocean View Porthole die three times from heavy white cardstock and stacked them together for dimension and then glued them onto the front of my acetate.
To finish off my card I stamped the cute little shark and sentiment from the La-La Land Crafts Jaws Because stamp set. I colored him up with alcohol markers and used a dotting technique for texture. I trimmed him out and added him to the front of my shaker with the sentiment strip. That's it! Super simple and super cute!
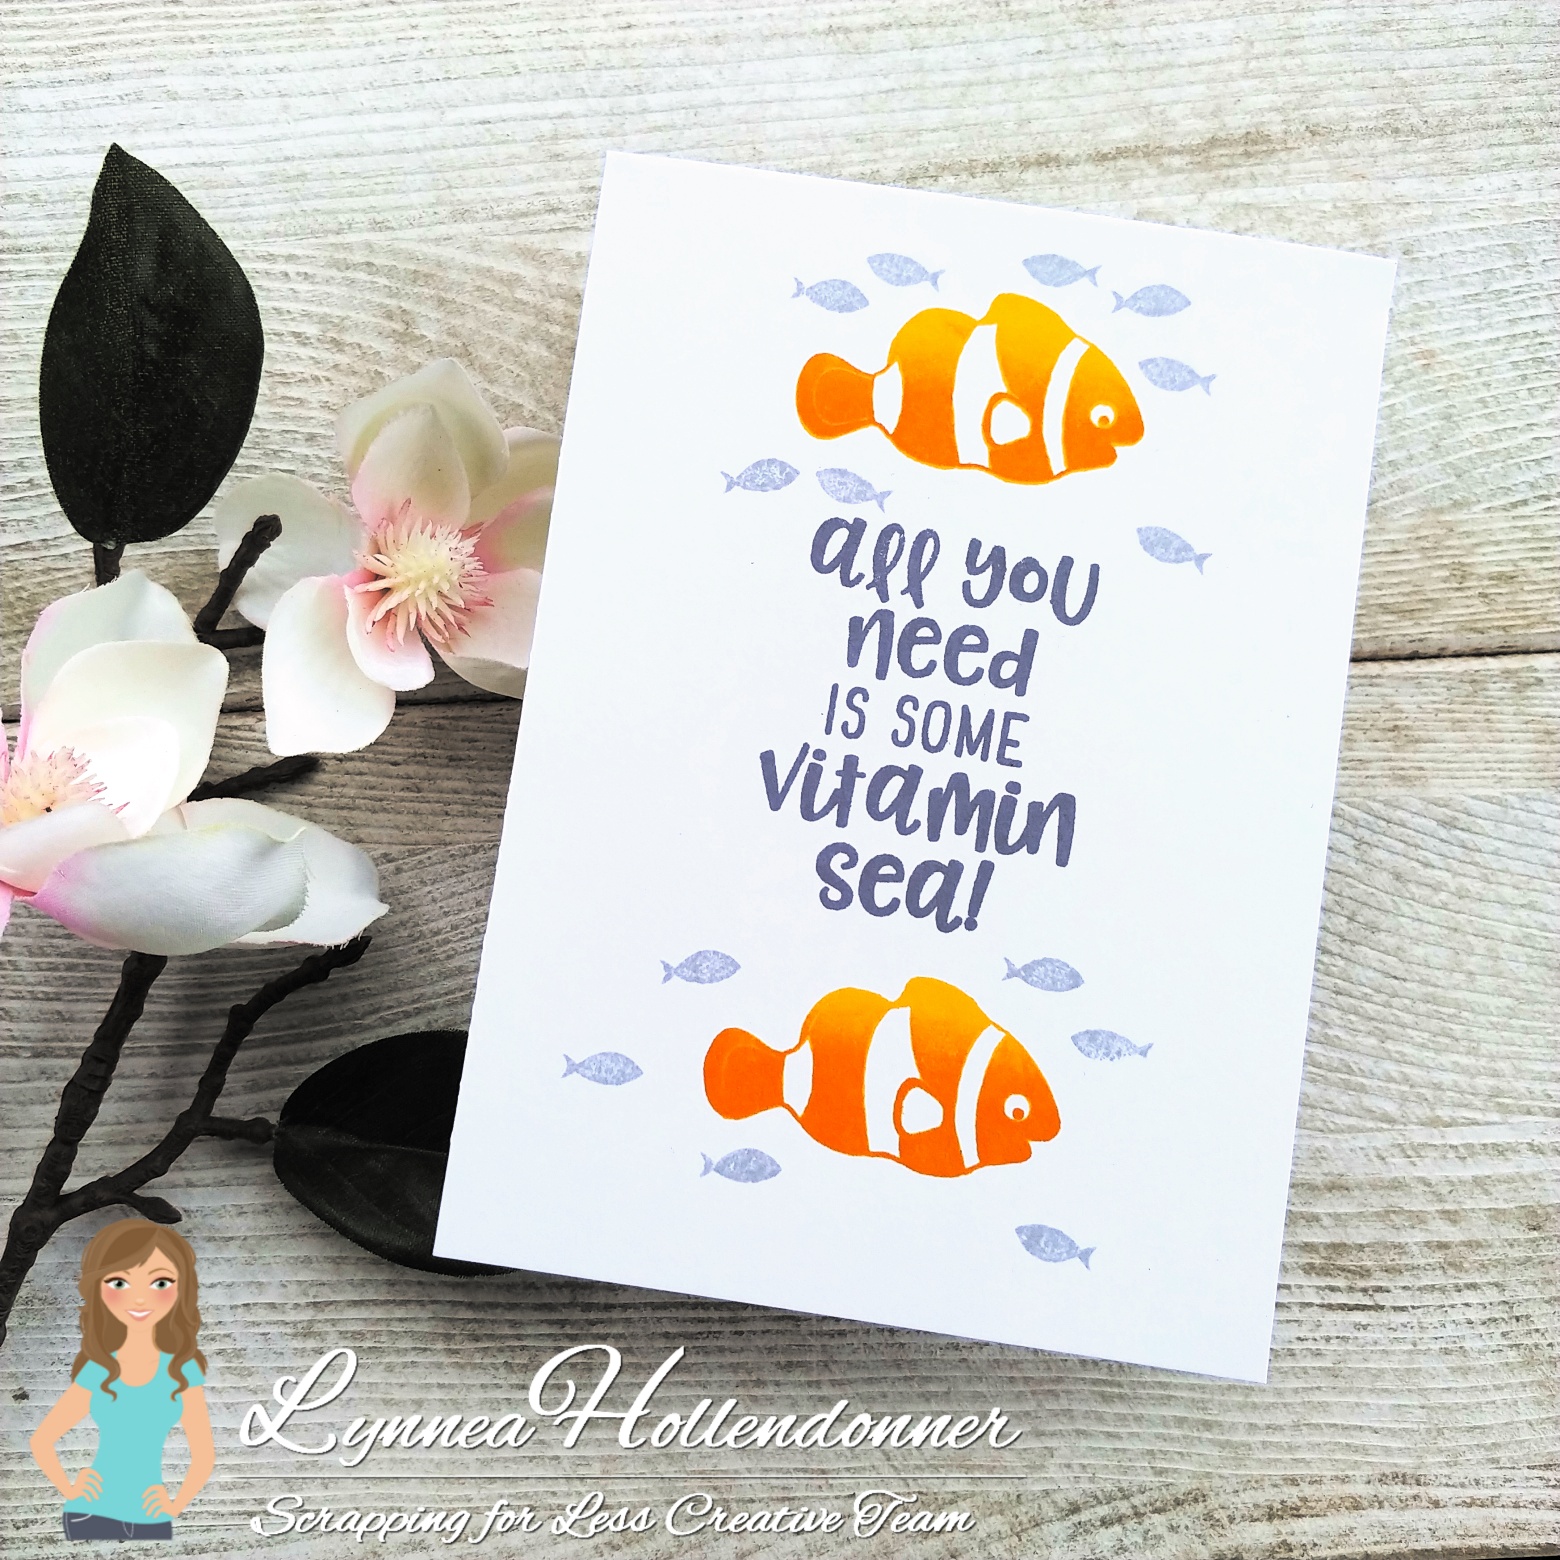
Hey, everyone! Are you ever just in the mood to stamp? No frills, no fuss - just stamping? I LOVE silhouette stamps for this reason! And today I have a trio of cards that took me no time at all to make, but I was able to spice them up a bit with some multi color inking! And I have a video at the end of this post to show you just what I mean!
I used the Vitamin Sea stamp set from Echo Park for each card in the set, but I changed up the images and colors to make them interesting!
You KNOW I just HAD to make a yellow submarine! Haha! I started each card with a gray sentiment. I think gray is an underrated color for sentiments. I frequently find myself reaching for black for sentiments, but the gray makes an impact in its own way, too! To add some dimension to my stamping I started by stamping the submarine with a yellow ink using my MISTI. Without moving the stamp I inked up the bottom portion of the submarine with a darker yellow ink and used a towel to dab away some of the ink so there wouldn't be a harsh line of ink. I did the same thing with the crab using two colors of red ink.
I repeated the same process for my second card. I stamped my sentiment first in the center of my card using gray ink. Welllll .... I tried to stamp it in the center. I was about a quarter of an inch to the right of center haha! I lined up the fish with the sentiment and stamped a light orange first and then a dark ink second using a towel to dab off some ink to create a more seamless "blend" of ink. Once all my stamping was done I chopped off a quarter of an inch from the left of my card so that the images would appear centered. That makes this card 4 inches wide by 5 1/2 inches tall. I kind of like it!
I decided to do three colors of ink for my last card. I used a light pink for the body of the jellyfish, blue for the middle, and ending with some lavender at the bottom of the tentacles. I made sure to use a towel and dab away ink before each stamping. Be sure to watch the video below to see my multi inking technique!