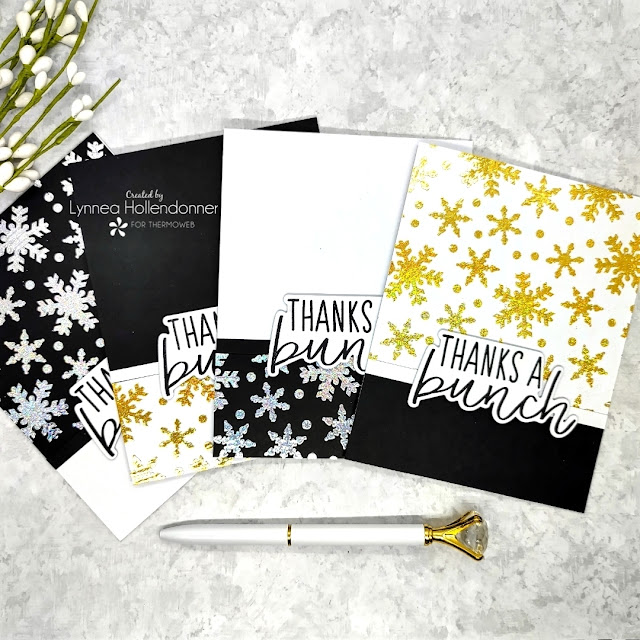
Tis the season for sending thank you cards! I have an easy way to make four foiled snowflake thank you cards! I'll share my step by step process LIVE on the ThermOWeb YouTube Channel on Wednesday the 5th at 11am CT/12pm ET!
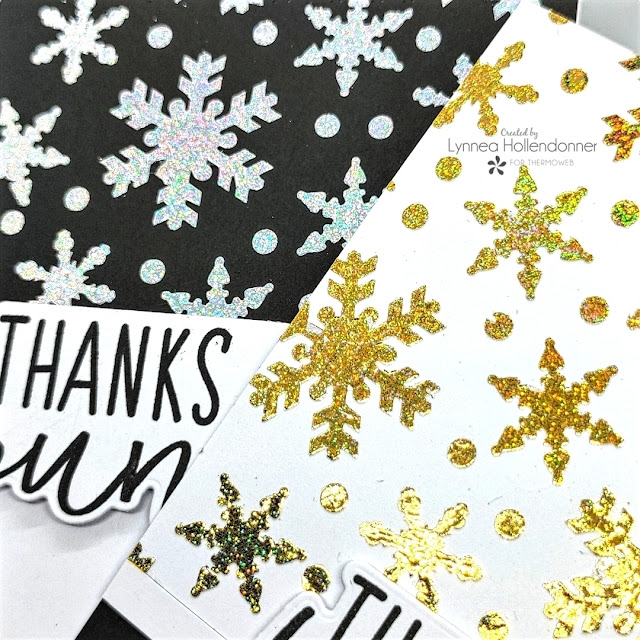
I like to make clean and simple cards with a punch of something special and the Unity Transfer Foils are certainly something special! I LOVE that they glitter!!
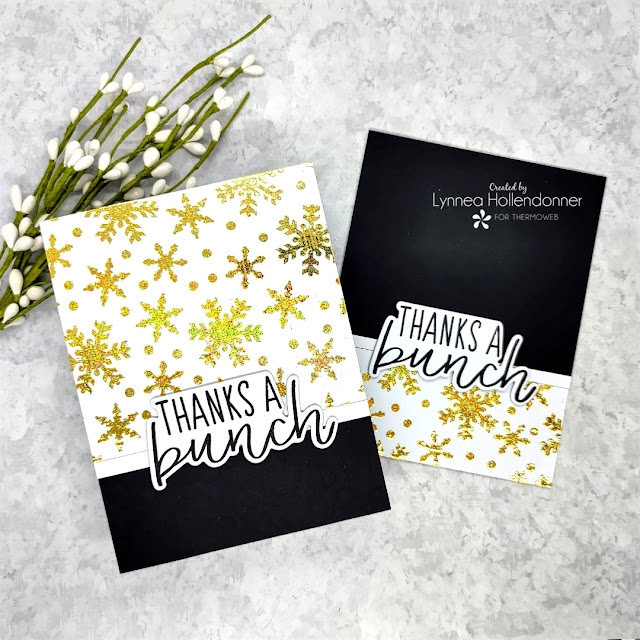
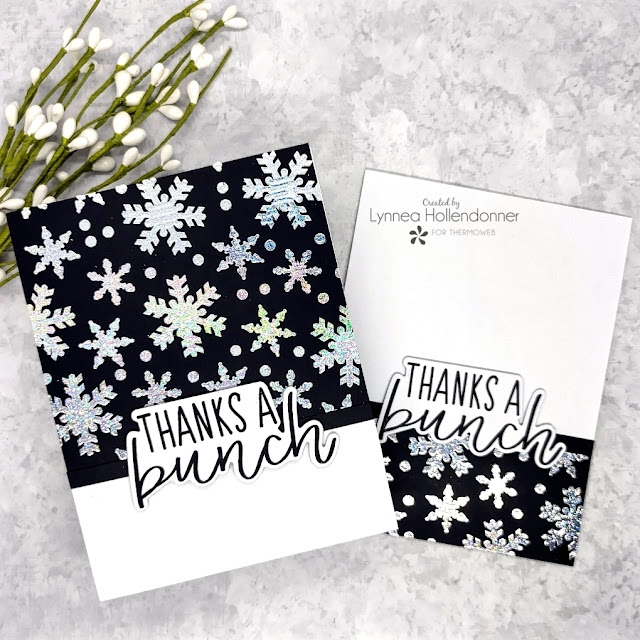
The weeks after Christmas I am busy making and sending thank you cards, so any time I can make a two for one design I will! Cutting a panel in pieces is one of the quickest and easiest ways to make two cards from one panel. Plus it's one of my favorite designs!
I used a snowflake stencil along with some Deco Foil Transfer Gel Blanco and created both a white and black background. I thought the Deco Foil Unity Silver Glitter Foil would really POP on black and the Gold Glitter Foil would look best on white. I didn't even have to clean my stencil in between applications - I'll show you a little trick for that in the live tutorial!
I'll see you LIVE on the ThermOWeb YouTube Channel on Wednesday at 11am CT/12pm ET for all the glittery, foiled, snowflake, mass producing goodness!
I love how easy it is to make holiday cards with the Ornamental Pines Bundle! This one incorporates a non traditional color scheme and shows off all the pieces of the bundle!
I used the Ornamental Pines Background Stamp both with and without the coordinating stencil in this project. The background of the card is stamped in a mint green ink and I used a tiny dots stencil from my stash with some White Glitz Glitter Gel for a snowy effect.
You'll have to join me live on the ThermOWeb YouTube Channel on Wednesday November 3rd at 11am CT / 12pm ET for the full tutorial complete with tips and tricks! I'll see you then!
The products in this bundle pair perfectly together! I love that you can use the A2 background stamp on its own or pair it with the coordinating layering stencil to step up your backgrounds!
I wanted to create a traditional colored Christmas card on kraft cardstock, so I used a cheat to make sure my inks would stand out against the darker background. I lined up my cardstock piece with the Ornamental Pines rubber stamp and stamped first with white pigment ink and then with a green ink. The white pigment ink helps the colored ink look more vibrant. I layered some brown ink at the bottom of each stamped tree for a bit of dimension as well.
I wanted to add something to my background to help fill in the space between the trees, so I spattered on some red shimmer watercolor all over my panel and heat set the watercolor along with the inks so that my panel was completely dry.
I die cut the word "merry" nine times from white cardstock using the Ornamental Pines Coordinating Dies and adhered three words together with an iCraft Ultra Bond Liquid Adhesive Pen so that the dainty sentiments would have dimension and adhered them in a column down the center of my card. That's it! I hope you love the Ornamental Pines Bundle as much as I do! It's gorgeous and a FABULOUS way to mass produce some incredible cards this Holiday season!
I'm so happy with how this card turned out! Be sure to join me LIVE on the ThermOWeb YouTube Channel Wednesday the 27th at 12pm CT/ 1pm ET for the full tutorial! See you there!
I like to use a variety of coloring mediums to add color to my Unity Toner Card Fronts and in today's YouTube Live I'll be showing how I use alcohol inks! I've never used them on the Unity Toner Card Fronts, but I decided to give it a go and it works!
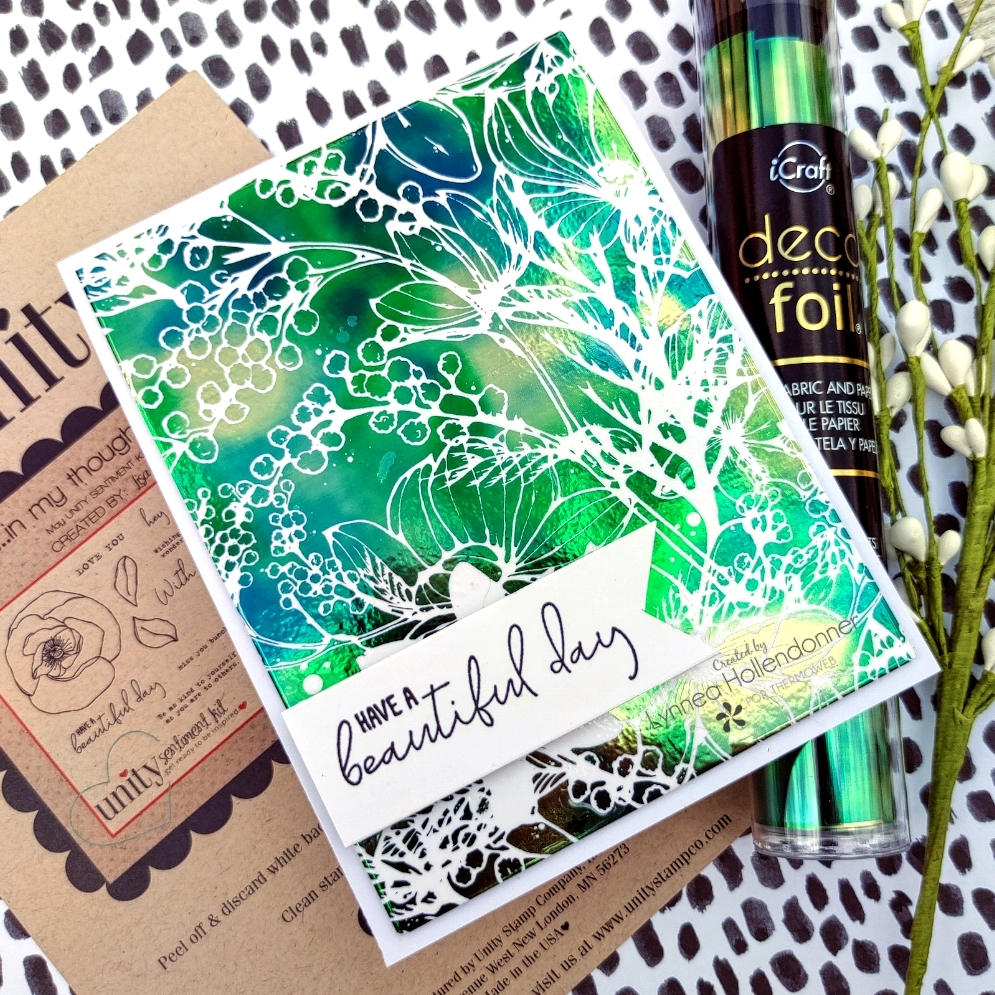
I cut a piece of the Emerald Watercolor Deco Foil that was slightly larger than my Wild Garden Toner Card Front and placed the foil pretty side up onto the toner card front. I placed the foil and the toner card front into a piece of Deco Foil Parchment Paper and ran the sandwich through my preheated laminator. I LOVE the look! There are portions of gold and emerald all mixed together and the shine is incredible!
There are many ways to add color to Toner Card Fronts, but one of my favorites is watercolor! And I thought loose watercolor would go well with the overall look and feel of the Wild Garden Toner Card Front. I used regular pan watercolors and added easy color not taking any care to color inside of the lines.
I saved the negative piece of Deco Foil from the toner card front as I always do, but this time I actually used it to make a second card! I covered a piece of white cardstock with iCraft 6x6 Easy Cut Adhesive and added my negative foil piece over the adhesive and pressed it in place. I find it best to roll the foil into the adhesive to minimize bubbles. I trimmed away any excess adhesive and used a rectangle die to cut down the panel. Now I have a beautiful negative foiled piece!
ThermOWeb and Unity Stamp Co are at it again! There are five new Holiday designs of Unity Toner Card Fronts and they are stunning! I have a video showing off all five designs and three different coloring mediums with both classic and non-traditional color palettes!
Unity Toner Card Fronts are incredibly versatile. You can use just about any coloring medium with them. Today I used Copic Markers, watercolor, and ink blending - both dye inks and hybrid inks. I love that you can use what you already have in your stash! The Unity Toner Card Fronts are perfectly designed for ready to foil card fronts, but you can absolutely cut them up or embellish them and change your card designs!
I added color to each of my Unity Toner Card Fronts before transferring foil to them, but you can absolutely foil first and add color after. It's personal preference in my opinion! Let's start with the two Unity Toner Card Fronts that I colored with Copic Markers. The Unity Toner Card Fronts have a coated surface and I love how they take color! The Flurry Forest Unity Toner Card Front is one of my favorites. I love the chunky trees! I used two shades of pink and two shades of mint Copic Markers and quickly added color right over the toner.
I colored the Ornate Ornaments Unity Toner Card Front with the same Copic Markers before I added Gold Deco Foil to each of the card fronts. When I use Deco Foil Transfer Sheets in my laminator I think it's important to heat up my laminator really well. I turn on my laminator to the 5mil setting and let it heat up for about 20 to 30 minutes before use. I placed a piece of Gold Deco Foil that was slightly larger than the Unity Toner Card Front pretty side up onto the background and ran it through my laminator. You want to be sure that the reverse side of the foil makes contact with the toner in order for the foil to transfer. Then let the background cool and peel away the Deco Foil Transfer Sheet and see the beautiful foiled design!
Let's move on to some ink blending. This is probably my favorite way to add color to the Unity Toner Card Fronts. Remember that slick coating I mentioned before? It really helps with blending! I used some bright rainbow colors of dye ink for the Gifts a Plenty Unity Toner Card Front and they blend together beautifully! After I completed my ink blending I lightly buffed away any excess ink that may have sat on top of the toner. I cut a piece of a Silver Deco Foil Toner Sheet to be slightly larger than the background and ran it through my hot laminator (pretty side up!). I love the silver gifts against the rainbow ink!
I wanted to try ink blending again, but this time with a different type of ink. I used a few colors of red hybrid inks and blended them over the Holiday Lights Unity Toner Card Front. I chose to foil the background with Silver Stars Deco Foil. I thought the Silver Stars Foil would shine with those chunky lights and it does! It would be a really fun idea to pick multiple colors of Deco Foil Transfer Sheets and foil the light bulbs in multiple colors!
I've saved my favorite for last! I colored the Snow Many Flakes Unity Toner Card Front with shimmery watercolors. Although these card fronts are not made from watercolor cardstock I didn't have any trouble blending watercolor on them. Once my panel was dried it was slightly warped, but the heat from the laminator not only transferred the foil onto the design, but it also flattened my panel! Bonus! I used Iridescent Deco Foil for my final design. I LOVE the shine!
I kept each of the Unity Toner Card Fronts in their original form, but there are so many ways you could cut them or manipulate them into other designs! I used a sentiment from the Unity Stamp Co glimmering Greetings Stamp Set on each of the card fronts. I used both heat embossing and stamping onto die cuts to finish the Unity Toner Card Fronts into full card projects. I hope you've enjoyed this set of cards!
Hello, hello! I'm so so so excited about the new Deco Foil Unity Toner Card Fronts! They are SO incredibly easy to use! Shiny, foiled cards are a breeze! And if you cut them up like I do in this video you can stretch them even further and make multiple cards from one foiled Toner Card Front!
I can't say enough how fabulous these Deco Foil Unity Toner Card Fronts are! I love that they are printed on cardstock that is perfect for a variety of mediums! Today I used Distress Inks to blend ink onto the Toner Card Fronts, but I have a video coming soon that shows how I colored with alcohol markers as well!
The Deco Foil Unity Toner Card Fronts are great for coloring, foiling, and adding it to a card front for a gorgeous simple card. I decided to cut them apart and mix and match the patterns for today's card set. I used three of the patterns - Circles A Plenty, Flowers Devine, and Butterfly Fly Away. It's hard to pick a favorite! Every time I sat down to grab my favorite pattern I ended up picking more than one!
I finished off the butterfly cards by adding a thin strip of black cardstock to the panel with iCraft Ultra Bond Liquid Adhesive. I used a stitched circle die to cut out a circle from black cardstock and white heat embossed a sentiment from the Gina K Designs Petals and Wings stamp set onto the circle and adhered it with Gina K Designs White Foam Tape. That's it! It's so easy to created beautiful foiled backgrounds with the Deco Foil Unity Card Fronts! Hopefully you're inspired to cut them apart and use them in different ways!
Hey, everyone! I have a video for the Beth Duff Designs YouTube channel today using two of the new collaboration stamp sets between Beth Duff Designs and Unity Stamp Co! Serenity is Peace and Peppermint Mocha are two of my favorite sets from the collaboration! I made a card using both of the sets and CASEd one of my cards that I made for the blog hop a few days ago! Scroll to the bottom for the video!
I used a new-to-me product for the background of this card - Nuvo Mousse! This product has been on the market for quite some time, but I'm a newbie! And I LOVE how versatile it is! I used the Aquamarine color and added some water to the mousse to add a blob of watercolor to a piece of watercolor cardstock. I love how shimmery and shiny it is! Super metallic! And it dries so quickly! I wanted my background to appear snowy, so I used the Falling Snow stencil from Simon Says Stamp and an ink blending foam with the Gunmetal Gray color of mousse.
I stamped the girl image from the Serenity is Peace stamp set with a bit of masking. Her original face is sad - and I love it! But I wanted to use a different sentiment with this card, so I masked off her frown and drew in a small smile. I colored her with a mix of alcohol markers - Marvy Le Plume, Copic, and Spectrum Noir. Here's a list of my color combos:
Coat - G76 and G79 Marvy Le Plume
Brown accents and pockets - GB8 and GB10 Spectrum Noir
Dark brown accents - EB5 Spectrum Noir
Hair - GB8, GB10, and EB5 Spectrum Noir
Skin - E000 Copic and FS3 Spectrum Noir
Cheeks - R81 Copic
To finish off the card I stamped the tree wreath image from the Serenity is Peace stamp set and the sentiment from the Peppermint Mocha stamp set and heat embossed them with white powder! Watch the video below!
Hello! Welcome to my stop on the Unity Stamp Co and Beth Duff Designs collaboration blog hop! I'm so happy you're here! And I'm super duper excited to show you what I made with these AMAZING stamps! Remember to click through all the links and leave comments at EACH stop on the hop because Unity is giving away TWO prize packages filled with Unity products to someone who comments on EACH blog post in the hop! The winners will be announced on the Unity blog on Tuesday the 30th! Let's see what I made!
Let's start with my FAVORITE! I started by using Distress Inks in Peacock Feathers, Mermaid Lagoon, and Chipped Sapphire to make a watercolor background. I added some spatters as well. I wanted it to look like a stormy background to fit my sentiment. I used various images from the GORGEOUS Serenity is Peace stamp set! I used Heat and Stick embossing powder to foil the sentiment and branches and I used Copics to color the girl.
Here's another one that's similar to the other, but much simpler. I used a teal foil on the tree background stamp and gold foil for the sentiment. I colored the girl in a similar way to I did for the previous card and assembled everything together.
Don't you just LOVE this little gnome?! His name is Peppermint Mocha (also the name of the stamp set)! I love to color gnomes like Santa! I used a stencil and some Deco Foil transfer gel to create the background and added the gold embossed sentiment and wreath as accents.
I hope you've enjoyed these cards! Thanks for stopping by my blog! The next stop in the hop is Annie! Be sure to leave comments on EVERY stop in the hop for your chance to win one of two prize packs from Unity Stamp Co!