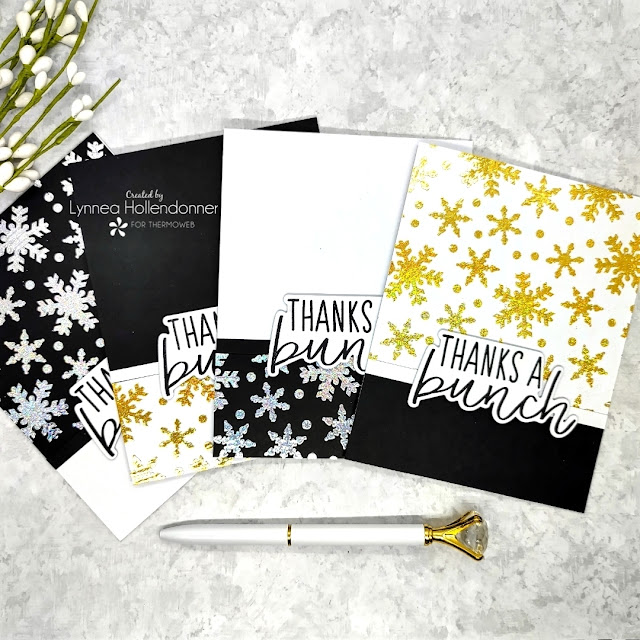
Tis the season for sending thank you cards! I have an easy way to make four foiled snowflake thank you cards! I'll share my step by step process LIVE on the ThermOWeb YouTube Channel on Wednesday the 5th at 11am CT/12pm ET!
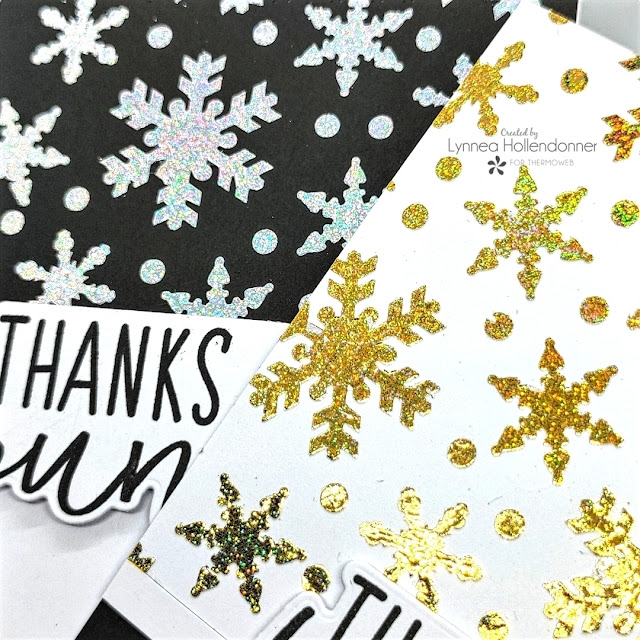
I like to make clean and simple cards with a punch of something special and the Unity Transfer Foils are certainly something special! I LOVE that they glitter!!
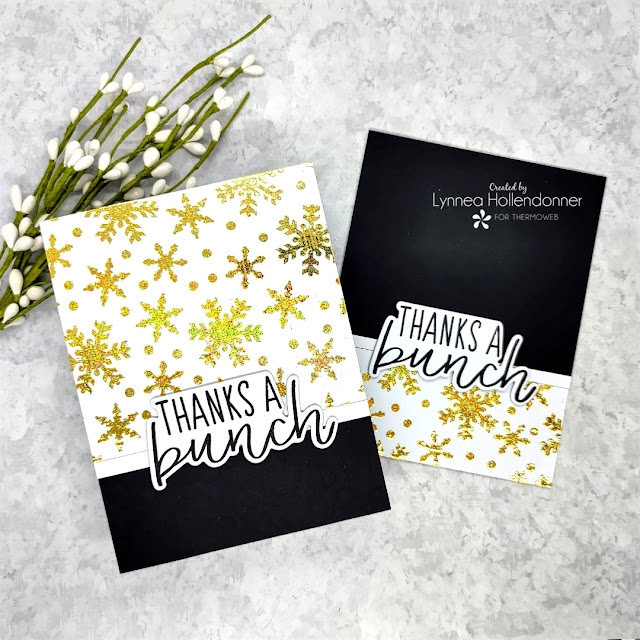
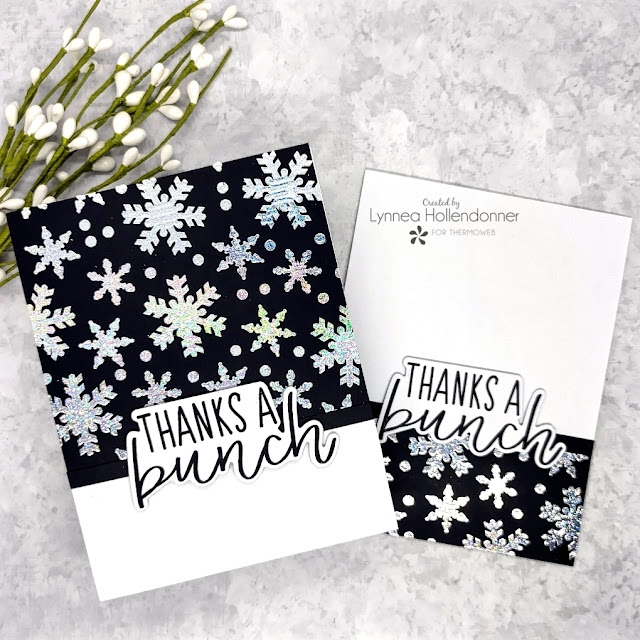
The weeks after Christmas I am busy making and sending thank you cards, so any time I can make a two for one design I will! Cutting a panel in pieces is one of the quickest and easiest ways to make two cards from one panel. Plus it's one of my favorite designs!
I used a snowflake stencil along with some Deco Foil Transfer Gel Blanco and created both a white and black background. I thought the Deco Foil Unity Silver Glitter Foil would really POP on black and the Gold Glitter Foil would look best on white. I didn't even have to clean my stencil in between applications - I'll show you a little trick for that in the live tutorial!
I'll see you LIVE on the ThermOWeb YouTube Channel on Wednesday at 11am CT/12pm ET for all the glittery, foiled, snowflake, mass producing goodness!
It's getting warmer outside! And that makes me think of sunshine ... and that makes me think of lemons! Is that just me? Maybe it's because they're yellow. Maybe because they remind me of lemonade. Or maybe the sweet scent of the leaves! I made a set of four cards with Gina K Designs and Rina K Designs Glitz Glitter Gel and some fun lemons as the center piece!
I have lots of photos because I just can't get enough of this set of cards! The glitter from the Glitz Glitter Gel on the colored cardstock makes my heart so happy!
I used two different stencils for this set of cards - the Sunburst Stencil from Miss Ink Stamps and the Radiant Stencil from Honey Bee Stamps. I started with using each stencil on a piece of yellow cardstock, but I ended up using some dark pink cardstock as well. I wasn't sure how the Hello Yellow Glitz Glitter Gel would turn out on the yellow cardstock, but I ended up LOVING the tone on tone look! I wasn't going to waste the pink cardstock, so I made a set of two cards into a set of four!
I sprayed the back of the Miss Ink Stamps Sunburst Stencil with a coating of Pixie Spray and temporarily adhered the stencil onto a piece of cardstock. I started with the yellow cardstock and used a Stencil Pal to spread some Hello Yellow Rina K Designs Glitz Glitter Gel over the top.
I am just OBSESSED with the Hello Yellow Glitz Glitter Gel on top of the yellow cardstock! It is such a perfect background. It's slightly subtle but packs a punch with the glitter! Don't get me wrong - I like the Hello Yellow Glitz Glitter Gel on the pink cardstock as well, but the yellow just grabs me!
All of the images for my cards are from the My Favorite Things Main Squeeze stamp set. I simply love lemons. Lemon planners, pens, leggings, real lemons haha! I've been hinting to my husband for so long that I want a lemon tree, but since I live in the northeast that probably wouldn't work too well.
I colored all of my images with the same Copic Markers. I did very simple blending so that I could quickly color all of the images I needed for my cards. I used Y15 and Y17 for the lighter portions of the lemons, Y35 and Y38 for the darker yellow, and YG17 and YG25 for the greenery.
Once I had all of my images cut and colored I arranged them at the center of each card. I didn't want to mess up the arrangements, so I used a piece of Purple Tape to pick up the arrangement all at once so that I could easily work with 5 or 6 die cut images as one piece. I used iCraft Ultra Bond Liquid Adhesive to adhere the leaves and Gina K Designs White Foam Squares to give the lemons a bit of dimension.
I hope these simple Glitz Glitter Gel cards remind you of sunshine and have you thinking warm thoughts! See you soon!
Hey, everyone! I'm on the ThermOWeb blog today with a special collaboration card with Kindred Stamps! I love that ThermOWeb works with so many different companies to show how different products and companies can pair together!
Hi, again! I have another clean and simple, easy peasy card for you today! I'm using just a few stamp sets and some gorgeous paper and embossing powder!
I picked up some gorgeous metallic paper from Neenah at my local craft store the other day and I just couldn't wait to use it! It has such a beautiful metallic sheen that I love! I thought it would look pretty with some Liquid Platinum embossing powder from Hero Arts. I stamped and embossed the large floral border from the Honeybee Stamps Zen Floral stamp set. I used my Versamarker to add a defined edge to the bottom of the flowers. I added a sentiment from the Right at Home Script Greetings set and added some sequins!
I tried to capture the sheen of the paper, but it was so difficult! You'll just have to take my word for it that it's gorgeous in real life!
Hello, everyone! I was so inspired by Jennifer McGuire and her "color me" cards that I had to try them for myself! Adult coloring has been all the rage this year, and I thought I would make a set of these cards to give as a gift to a crafty family member!
I grabbed a bunch of stamp sets to create this set. I used the Lace Leaf set from Concord & 9th, Stars Above from My Favorite Things, Zen Florals from Honey Bee Stamps, and I See You and Handwritten Floral Greetings from Simon Says Stamp.
I stamped my images with archival black ink directly on the cards and I'm including a set of colored pencils with the gift. My Misti was so handy for these cards! I made multiples of each design and I could easily switch cards or double stamp if I needed to. I stamped coordinating sentiments on some of the cards and for some I only stamped the images.
I didn't add anything to any of the cards except for the one with the Honey Bee floral image. I felt like the florals needed an edge, so I used a ruler and a black pen to add a finished edge to the line of flowers.
And that's it! These were so simple to make and I really love them! I will probably end up making another set for myself to color!