

Isn't it just too cute! I'm a lover of little creepy things - not that lizards are creepy...I seriously considered using the snake image because I love them!! Let's get started with the tutorial!

Here's a few of the supplies I will be using - some white paper cut to 4.25" by 5.5", Memento Tuxedo Black ink, and the Rockin Reptilians stamp set. I stamped the little lizard all over my paper making sure to rotate my image to give the look of lizards crawling all over my card.

Next I chose some Copic marker combos- the lightest lizards are R81 and R83, the medium lizards are R85 and R25, and the darkest are RV09 and RV17. Honestly, there's not much of a difference between the medium and dark lizards, so you could skip and just do 2 different colored lizards, but once I started I decided to keep going with the 3 color combos. I did simple blending - putting down a line of the darker color along the curve of the body with the spots and then coloring in the rest of the lizard with the lighter color.
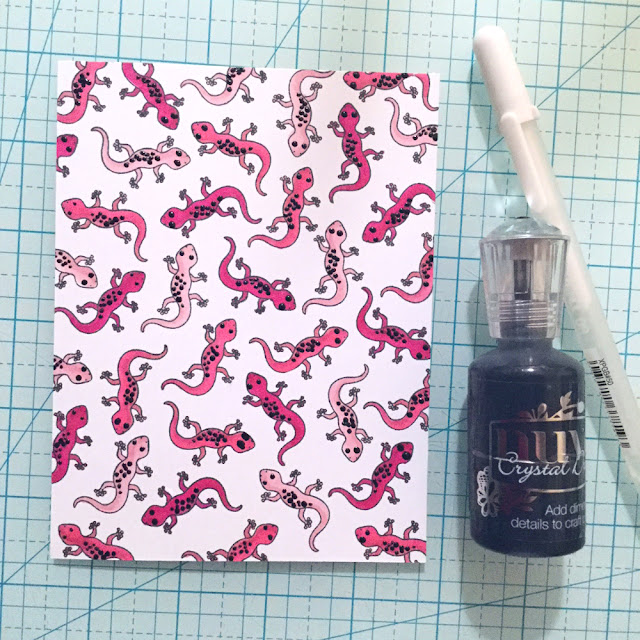
Once the panel is colored it's time to fix any mistakes and embellish a little bit! I used a white gel pen to cover up any areas where I had gotten outside of the line. The black Nuvo Drops are PERFECT for adding dimension to each little spot and to the eyes. You can see here in this photo that I goofed on a few of the eyes and added too much - no problem! In the final card I turned the panel upside down and covered it up with the sentiment!

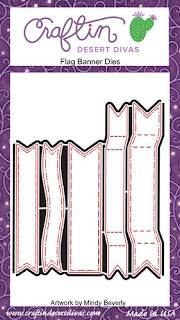
Speaking of sentiments...I grabbed the new Happy Sentiments stamp set and a banner from the Flag Banner Dies and curved my sentiment to fit into the die cut banner.

To add to the sentiment I die cut the word "happy" from the new Happy Dies - black for the word and white for the shadow. I added some clear shimmer to the black cardstock to make it pop!

I popped up the "happy" with foam squares and adhered the banner flat to my card - making sure to cover up those wonky eyes!. That's all! Simple and easy enough! Click the photos below to check out the supplies I've used today!

SUPPLIES


No comments:
Post a Comment