This card is amazingly simple to make! I used the Miss Ink Stamps Pretty Birds Stamp Set as the focal point and some of my handmade shimmer watercolors to make a textured background!
I started by adding some simple textured stripes of watercolor vertically down my card and added some black watercolor ink spatters for extra texture.
I stamped the branches and a couple of birds from the Pretty Birds Stamp Set and colored them with Copic Markers and cut them out with my scissors. I popped them up with foam tape in the center of my card. I was sure to use bolder colors than my background so that they would stand out.
I added a sentiment strip below my images and that finishes the card! Thanks for joining me!\
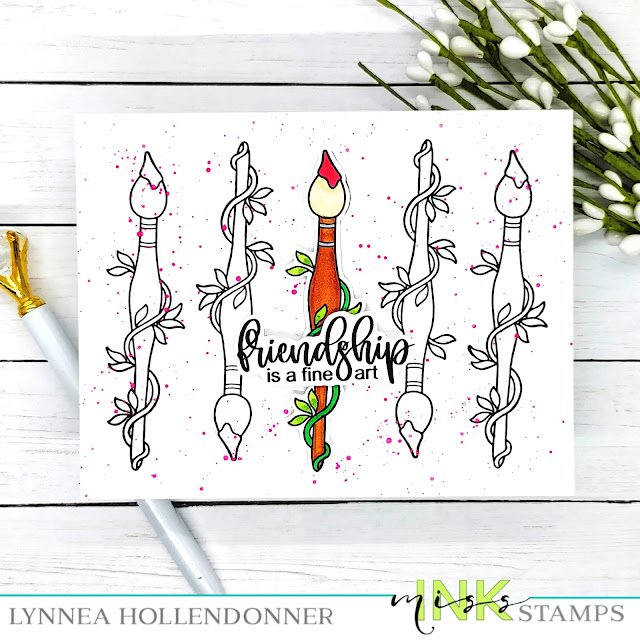
I haven't reached for the Miss Ink Stamps Blooming Brushes Stamp Set in quite some time and that just feels like a crime! I made a clean and simple card with some repeat stamping and simple Copic coloring.
I stamped the paintbrush from the Blooming Brushes Stamp Set five times across a piece of cardstock and added some neon pink paint spatters to the background.
I stamped the brush again on a separate piece of cardstock and colored it with Copic Markers. I also stamped a sentiment and trimmed out both pieces with my scissors and popped them up onto my card with foam tape.
Unfortunately I once again find myself needing a sympathy card and I needed it quite quickly. I used Miss Ink Stamps stencils and stamps to pull together this card.
I created a double stencil look by adding pink, orange, and yellow inks through the base layer of the In & Outs: Mediterranean Stencil and then placed the Floral Stained Glass over the top and added the same inks again. This gives me a subtle masked pattern.
I stamped the Gardenia Stamp right in the center of my masked design with black ink letting some of the image hang off the side for a spotlight effect. I stamped a sentiment from the Magnolia Sympathy Stamp Set onto a strip and popped it up near the bottom of my flower.
I added a few pearls around the sentiment and that finishes the card!
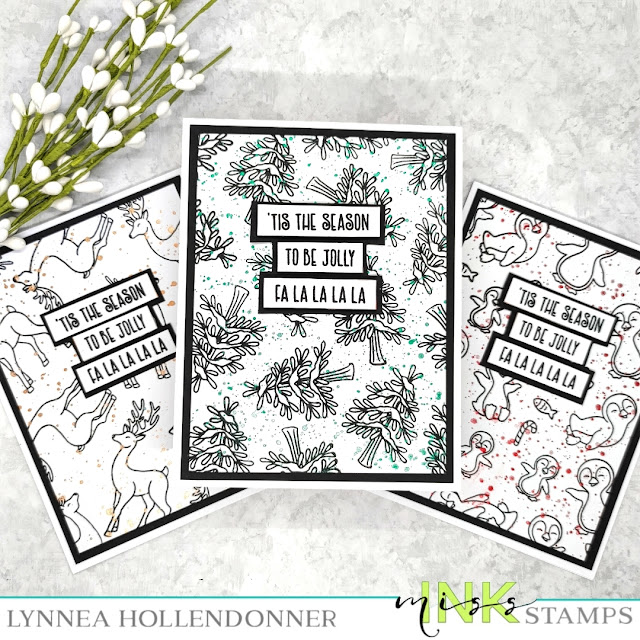
I have another last minute card set to share using a few different stamp sets from Miss Ink Stamps! I am in love with black and white this holiday season - it's just so classy!
You only need a few supplies for cards like these - making this design perfect for beginners or anyone who just wants a quick set of cards!
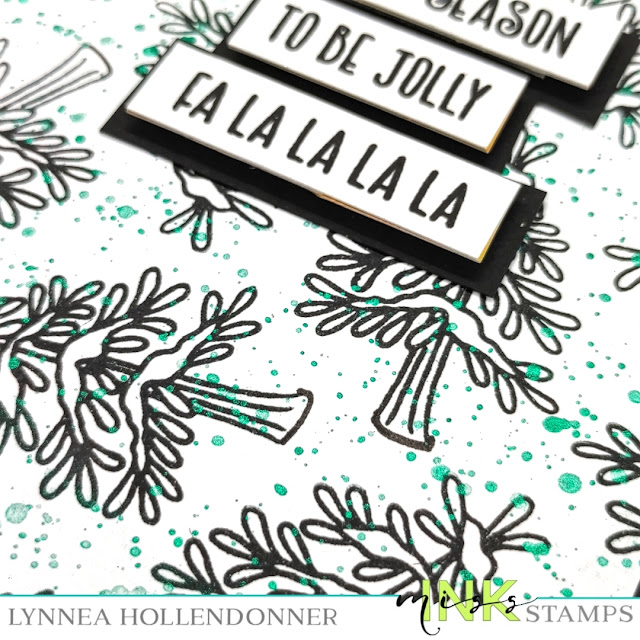
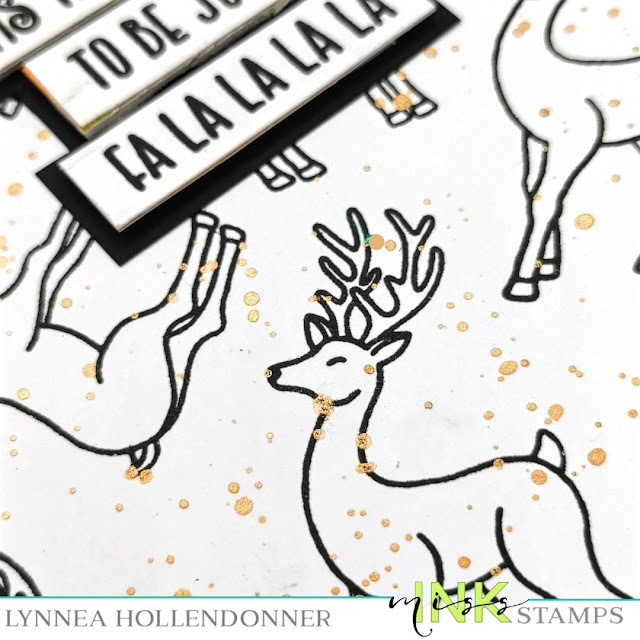
I used a dark black pigment ink to stamp three different backgrounds using the Calm and Bright, Oh Deer!, and Ice Day Stamp Sets. I stamped different images repeatedly across a background turning the images to make them look random.
I wanted to step up my cards a bit and add a pop of color, so I added some shimmer watercolor spatters to each card. I used different colors, but you could speed up the process by using just one.
I stamped sentiment strips from the Season's Greetings Stamp Set and foam mounted them onto black cardstock and trimmed around the strips to create a shadow layer. I trimmed down the stamped panels and matted them onto black cardstock and added those to white card bases. I love how everything is black and white with just a bit of color!
I hope this idea helps you out if you need some last minute Holiday cards! Thanks for joining me!
I stamped the snowmen from the Warm Winter Wishes Stamp Set and colored them with Copic Markers. I wanted to create a simple night scene so I die cut some pine trees and adhered them onto an embossed navy background. I cut a piece of white cardstock for a snowy ground and then popped up my image and sentiment on top.
I love finding ways to add a bit of glam to ThermOWeb Toner Sheets, so I decided to add some Glitz Glitter Gel to create a plaid pattern! Find out all the details live on the ThermOWeb YouTube channel Wednesday, December 1st at 11am CT/ 12pm ET!
Want to learn all the tips, tricks, in and outs of this card? Join me live on the ThermOWeb YouTube channel Wednesday the 1st at 11am CT/ 12pm ET! I'll see you there!
The Thanksgiving Holiday weekend is almost here and Miss Ink Stamps is celebrating with a winter release! I'm sneaking the Ice Day Stamp Set with this fun slider card!
There will be FOUR new stamp sets released on Small Business Saturday - November 27th! They are perfect for all of your wintery cards!
As soon as I saw the little penguin on his belly in the Ice Day Stamp Set (releasing on the 27th!) I knew that I wanted to make a slider card with him sliding down the iceburg! I stamped three of the penguins, some Santa hats, and the iceburg and colored them with Copics and cut them out with scissors.
Once I had my images and background ready to go I created a simple slider card. Check out my video above to see how the interactive portion of the card came together!
I hope you've enjoyed this sneak peek of the Ice Day Stamp Set! This stamp set and the rest of the release will be available on Small Business Saturday - November 27th! Keep your eye on the Miss Ink social media channels for more sneaks and special sales announcements!
I stamped and colored the tree and the critters from the Calm and Bright Stamp Set and cut them out with scissors. I added them to my card front with foam tape and added a fussy cut sentiment to finish the card.
I stamped the fall foliage image from the Pumpkin Spice Gnomes Stamp Set, colored it with Copics, and cut it out with my scissors. I also stamped a sentiment from the Autumn Thanks Stamp Set and bubble cut around the sentiment.
I added the image and the sentiment to my card with foam tape and that finishes the card! See you soon!
I stamped the house and some critters from the Welcome Home Stamp Set and colored them with Copic Markers and fussy cut them leaving a slight white border.
I stamped the large "spooky" and a coordinating sentiment strip from the Halloween Sentiments Stamp Set and added them near the bottom of my card. I added all my critters with foam tape and covered them with shimmer. That's it! Thanks for joining me!
I stamped the beetles from the Bugs and Kisses Stamp Set onto a piece of white cardstock and used a stitched die to cut out the panel and colored them with Copic Markers.
I love beetles and think they are truly gorgeous. I wanted to create a shiny background to mimic their shiny coverings, so I added Deco Foil Transfer Gel Blanco over the Wonky Checker Stencil and let it dry. Once it was dry I used my laminator to transfer Brutus Monroe Rainglow Foil over the stencil. I LOVE the effect!
I stamped a sentiment from the Bugs and Kisses Stamp Set and created a drop shadow with a piece of black cardstock. I used foam to mount all of my pieces onto my background.
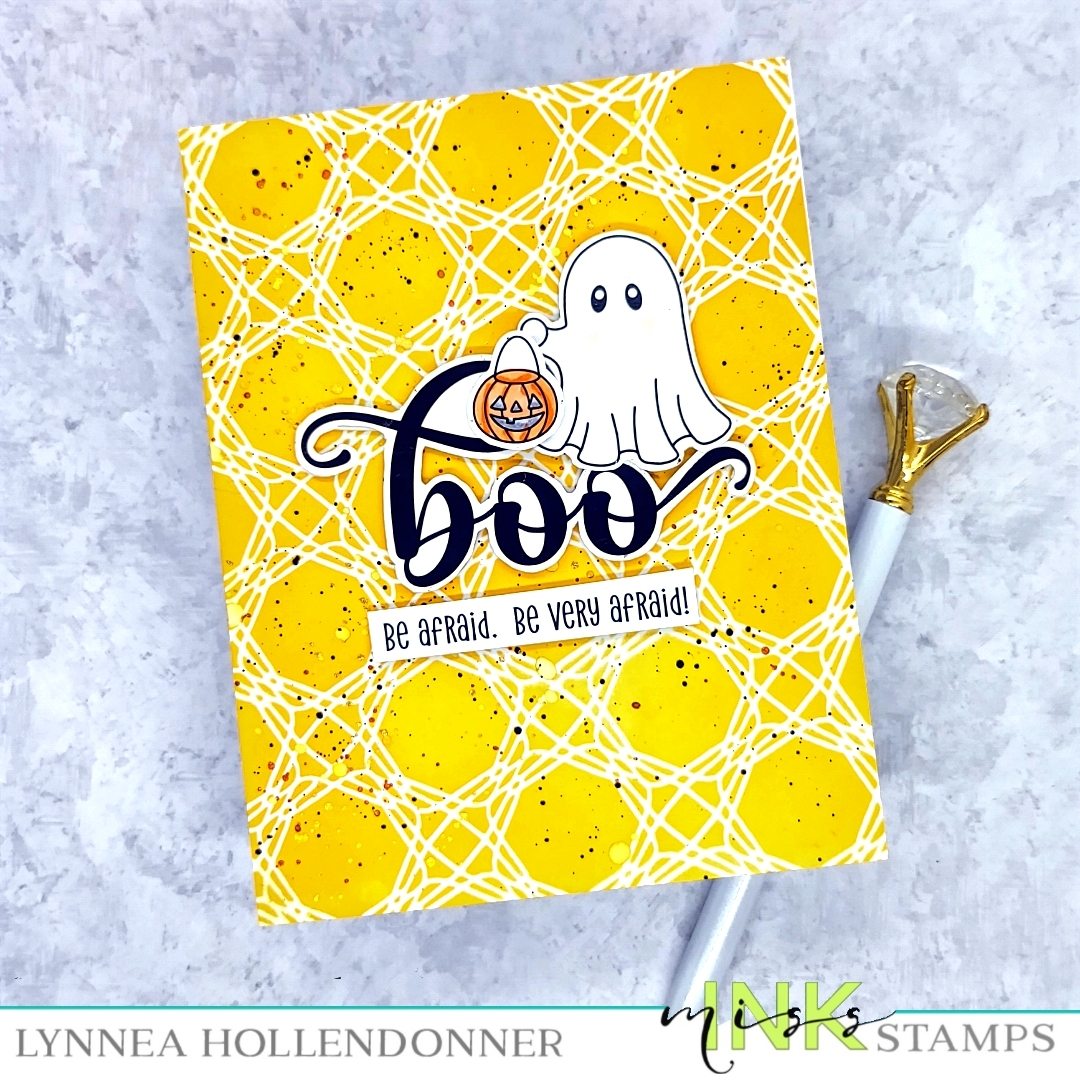
It's sneak peek time for the new Miss Ink Stamps release! I'm using the new Boo Sheet and Halloween Sentiments Stamp Set on this cute and spooky card. All of the new products will be available on Tuesday the 21st!
I started with a simple background - just a bit of yellow ink over the Basket Case Stencil. I added a bit of texture by flicking on black, gold, and orange glitter watercolor.
I stamped the adorable ghost and his little bucket from the Boo Sheet Stamp Set (coming soon!) and colored them with Copic Markers and cut them out.
I am obsessed with the Halloween Sentiments Stamp Set! There are big sentiments and smaller sentiments that you can mix together. I stamped the large "boo" and cut it out and then stamped a coordinating sentiment onto a strip.
This card is so happy! And I love that the rainbows aren't traditionally colored. I decided to go with navy blue and dark purple with pops of bright pink!
I used the Rainbow Builder Stencil Set along with some navy and purple inks and layered the rainbows on top of my stenciled background. I used the details stencil along with some Gold Glitz Glitter Gel for some glittery details!
I hope you enjoyed this quick video tutorial! See you again soon!